Do you know what they say about the stars? They say, if you reach for the stars, you may just become one of them. Wonderful, no? Also, I know another myth about the stars. That the stars don’t go anywhere clearly. Do you know what that means? Because the stars leave trails everywhere they go behind them. But you don’t see star trails very often. Do you? That’s why in this blog, you’ll talk about star trail photography.
What Is Star Trails?
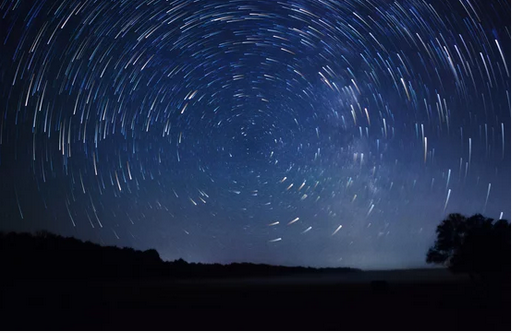
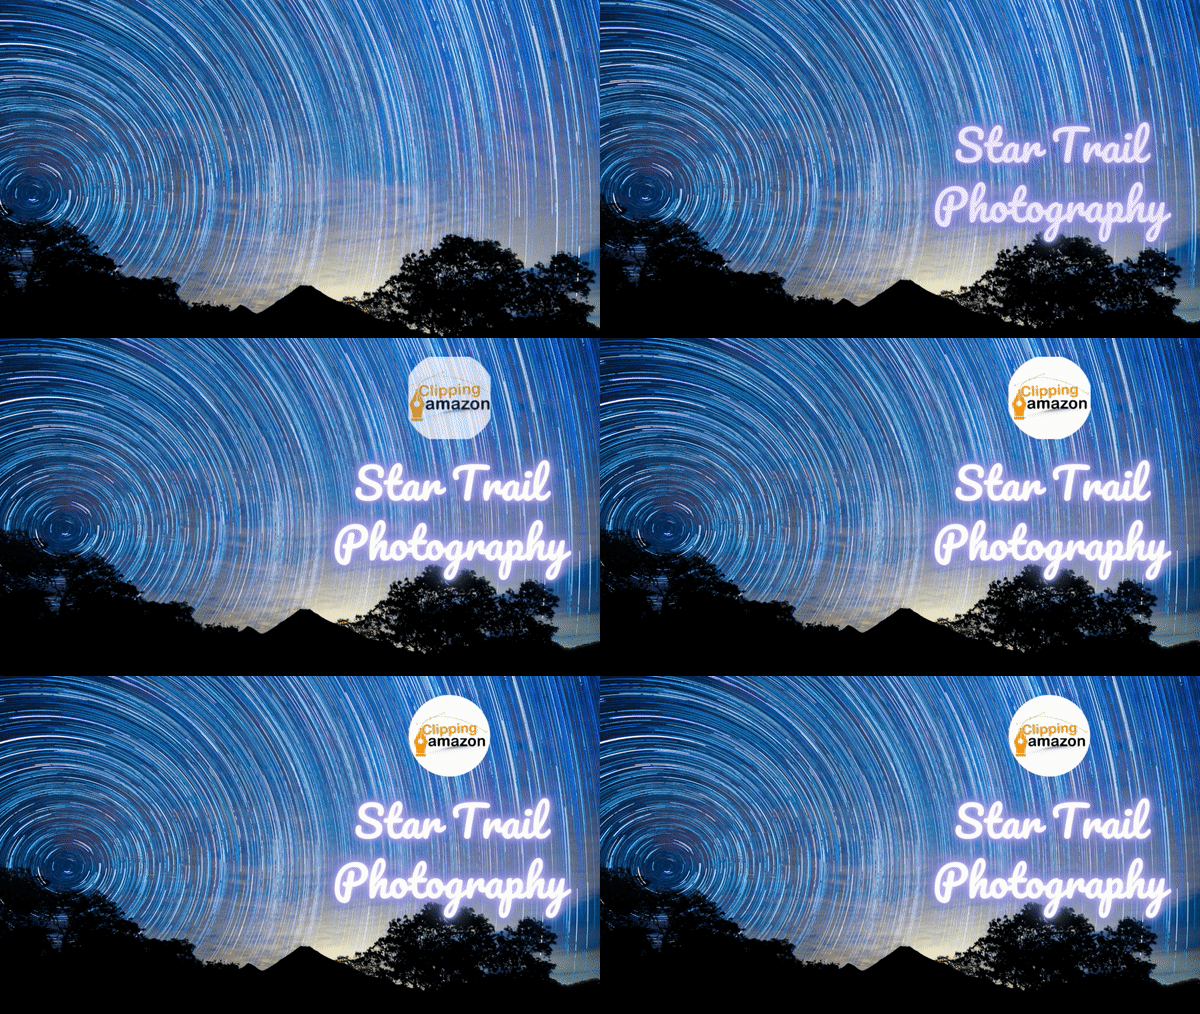
Before digging deep into star trail photography, you need to know what star trails are, no? So let’s get to it. The stars are always moving from east to west in the night sky. They don’t have fixed positions. Yeah, we all know that. Stars that are close to the celestial poles produce smaller circles. Also, stars that are close to the celestial equator produce larger circles.
Stars twinkle and are a beautiful sight to behold, no? But they’re unpredictable too. So, you have to learn to use shutter speed to ensure you don’t miss capturing the stars. However, the earth’s rotation creates the illusion that the stars appear to move across the night sky. From our perspective, we can capture streaks of light. That’s what star trails are. Our star trail photos are shot using long exposures at the midnight. So, if you’re capturing star trails in the night sky, Yes, you’re doing star trail photography.
Photography That Falls Under Astrophotography:
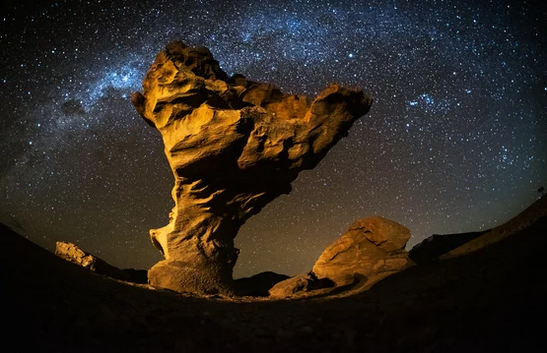
Everything that the sky offers to us, falls under astrophotography. Although star trails are not that visible. Not popular even. Still, star trails are hard to capture. Because it calls very different camera settings from any other photography. So, yeah, this definitely falls under astrophotography.
Camera Settings For Star Trail Photography:
To make the most out of star trail photography, you must your camera in manual mode. However, you can use this setting to get the best result-
Shutter Speed Not More Than 30 Seconds
ISO Settings Not More Than 3200
Set The Aperture At F/3.5
Start with a test photo. Take a test shot, check the image, and adjust the settings to make the most of what you have. See if you’ve got enough light. Because if the image is too dark, increase the ISO. Set your camera to the Shutter speed of 30 seconds. If you get a picture that looks good on the back of your camera, you’re set. Also, you can just set the camera to continuous shooting mode with long-exposure noise reduction turned off.
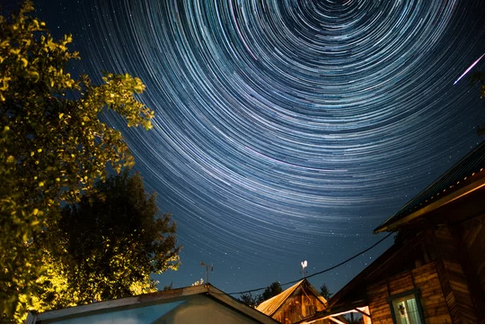
In addition to setting the focus using the dial, set your camera or lens to manual focus. For the best depth of field, while also keeping the stars sharp, focus on distant light sources with your camera. Going the extra mile is to try and bring in the foreground, focus stacking, or any other trick to take better pictures of nature.
Tips For Star Trail Photography:
Once you set the camera to manual mode, you can get awesome star trail photos using these tips. Although you need to pick up a good location.
The Celestial Pole:
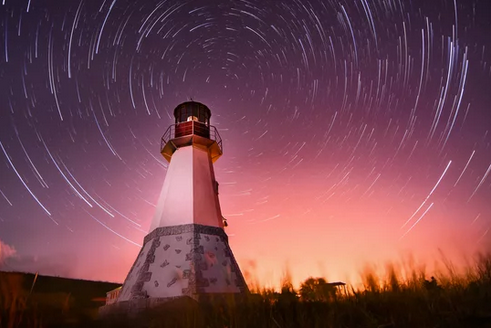
Oh well, it’s probably the easiest way to create your own Star Trails photo. But it’s also the most powerful one. Now whether it is near or at the celestial poles, such as the North Star, or the Southern Celestial Pole, you’ve only one chance.
The Magic:
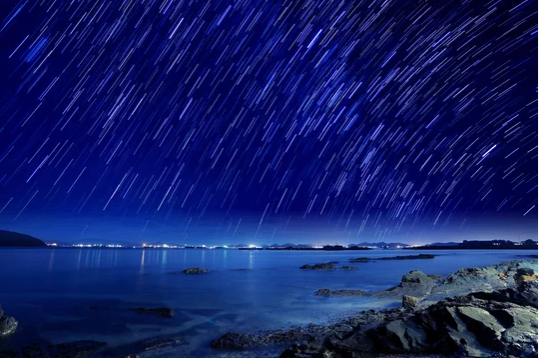
Aim your camera in the direction of the rising or setting sun. The scene will change. Because you know how the twilight hour works. Also. you’ll discover the celestial equator there. Moreover, the three different paths that stars take. You can capture magical photos at that time.
Use Artificial Lights:
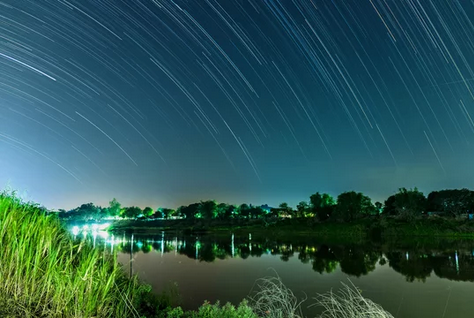
Using artificial moving lights will give you amazing results. So, you can keep one light source with you. You can also use your car light as an artificial light source.
Use Water Reflection:
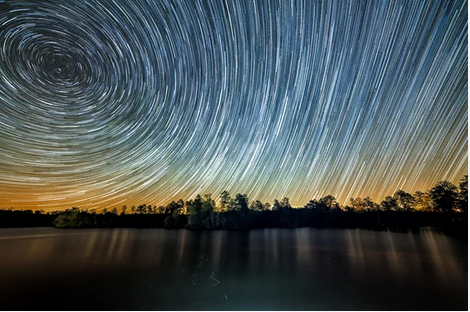
Reflections are always beautiful, no? But when you mix that with star trail photography. Trust me, you’re going to love the result very much.
The Star Trail Colors:
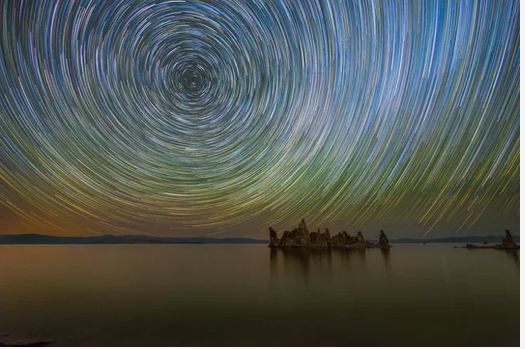
At first glance, they seem to be white. But, in reality, stars come in various colors, including gold, blue, white, and red even. Although, the star seems white always. Because they have different surface temperatures. It’s harder to capture the natural color when you’re shooting in a light-polluted location.
Combine Moon Trails:
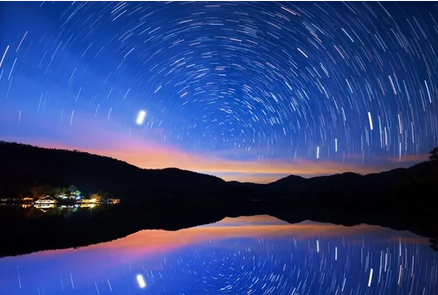
The stars always rule by the moon’s side, no? So, combine the moon trails with the star trails. Not that it’ll only give you an amazingly beautiful photo but also you’ll get to spice up your photos.
Add Human Figures:
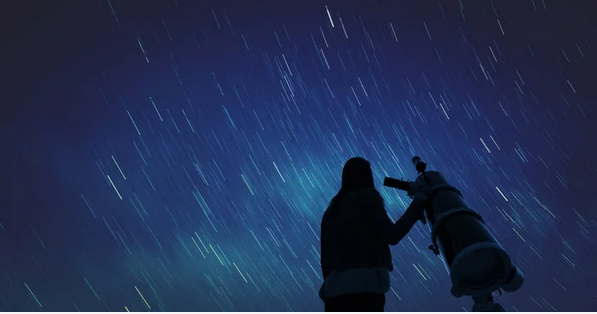
Playing with human figures allows you to create very appealing images by playing with many different compositions. Also, you can easily decide where you want your model to be and build your story with this tool.
Go Black And White:
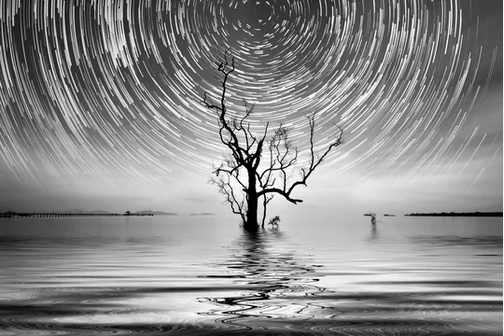
Black and white photography is always on trend. So, you can definitely use that in your star trail photography. I mean, breaking the rules is a must in photography.
High-End Editing For Impressive Results:
Editing is really important in the photography world. Because anything that goes wrong in the photo session, editing can save it. And you have to know that astrophotography needs high-end photo editing services. Because the sky is so far away. So, you’ll need to edit photos very carefully. Although you can handle all the burdens to Clipping Amazon.
Why Clipping Amazon?

Clipping Amazon is the most professional photo editing service provider. We provide 17 kinds of photo editing services. Background removal or background replacement, color correction or color enhancement, image cleaning services, image masking services, clipping path, and many more. The reason for choosing Clipping Amazon? Because we provide professional services for 24 hours in 7 days. We also do urgent delivery. Don’t worry. Urgent delivery doesn’t mean low-quality editing. We have a very expert graphics team working day and night. We also have a very interesting blog site. Where you can get various kinds of blog posts. Feel free to check out.
Lastly, don’t miss the chance to get such a trustable business companion! I’m leaving the contact details in the button below.
