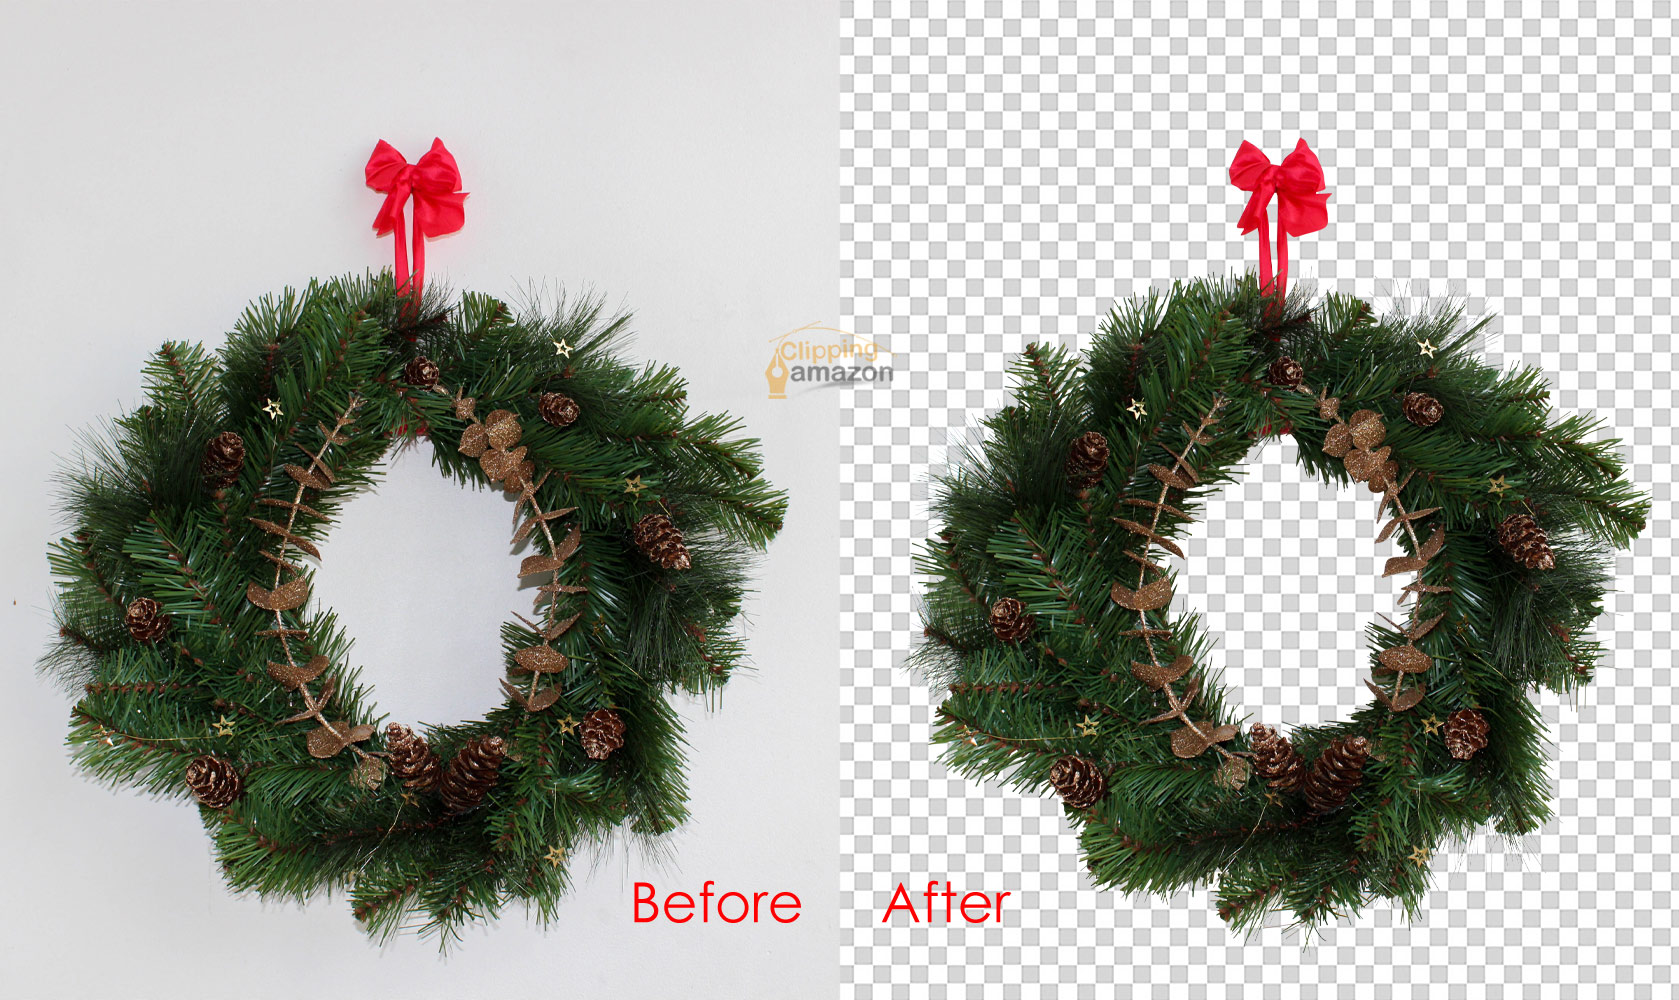
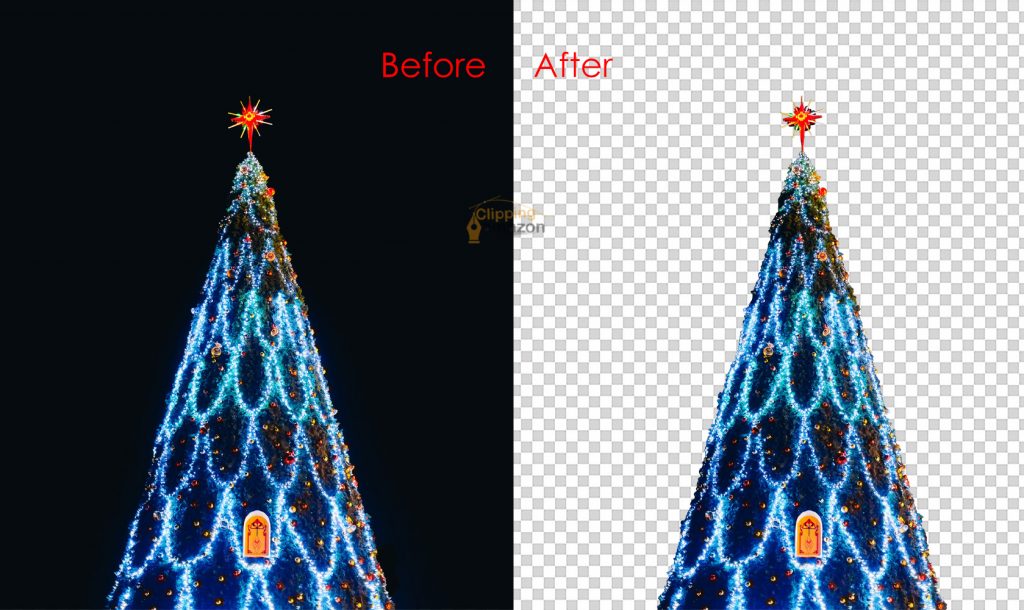
We live in a digital era. Don’t we? And this era has already made our brain picture-oriented. Because the moment we see a photo, our brain easily gets the idea and we start to memorize it. So, you can also say that we’re living in a time where almost everything is picture or photo-oriented. In this blog, I’ll show you how to make the background transparent in your photo. So let’s get started!
Why Exactly You Want to Make Background Transparent?
Well, the thing is, it’s true that our brain catches anything quickly when we see anything. But due to the image’s background, sometimes the main object goes unfocused. You surely don’t want that. Right? I guess nobody wants.
So, focusing on the main object, making background transparent is very important. Also, it’s easy to read an image that has a transparent background. Because too many things in the background make an image noisy. So, you’d want to make the background transparent or delete background. A picture with a transparent background always creates more urgency or emotion. Why? Because making the background transparent has its perks. It lets you see a thing more clearly.
Also, Amazon & eBay requires solid or transparent background for the product photography. Many sellers can’t come with a pure white or solid background, they call for a professional background removed from image editors.
So, if you’re an Amazon or eBay seller, you need to follow their requirements. Otherwise, you won’t be able to upload any product photos there. Let alone running a business.
Who Needs Background Removal In Photos?
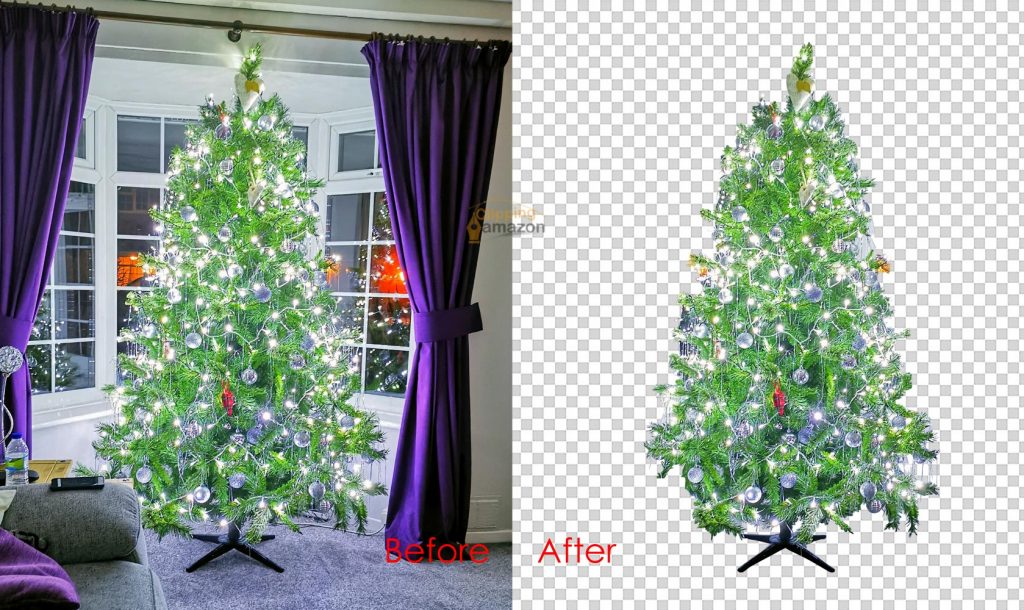
Mainly, a transparent background is needed by successful online business owners. Yes, I agree that a beautiful background can grow your sale. But sometimes, when there are too many unwanted objects. What happens then? The noisy background makes the product less alluring. When you’re selling products online, you want to dazzle customers so that they buy your products. Right? What if they are being attracted by the background but not the product? This is why sellers call for this service from the best image editors. They want their customer to get attracted just by the product. Not anything else.
Besides, there is more online platform coming on the way. You can be sure that due to stopping cheaters, the demand for transparent background will be growing. Also, arranging different kinds of backgrounds for different products is a hassle. Don’t you think it calls for a good amount of time? Because you have to decorate a set with colors that match your product. Sometimes, it seems difficult for sellers to afford this. For these reasons, most online sellers want to make their product background transparent.
Besides, it costs much less even if you go for a professional image editor. I must admit that these professional photo editing service companies are making online businesses a lot easier.
On the other hand, making a background transparent takes less than 1 minute!
Delete background In 5 Ways:
I promised that I’ll show you how to make a background transparent in less than 1 minute. So let’s see! If you can pull it off, you don’t need to go for any professional background removal service.
How To Make Background Transparent By Photoshop With Quick Selection Tool:
Step-1: Open Photoshop. Then press Ctrl+O. Select the photo of your choice. As you’re doing it for the first time, I suggest choosing a photo with a simple subject. So that you can easily remove the background.
Step-2: Now select ‘Quick Selection Tool’ from the menu bar. After that, select the object of your image with the tool. You need to select the areas you want to keep without background.
Step-3: Now, after the selection is done, press Ctrl+C to copy the selected layer, now press Ctrl+N to take a new layer.
Step-4: Now, a box will pop up. Look closely, there’s an option called ‘Background Content’, click on the option and make it transparent. Now press ‘Enter’.
Step-5: Now, you must see a layer completely without background. Now press Ctrl+V. And you’re good to go!
There Are Other Tools That Can Make Background Transparent Of A Product or Image.
A red flag here! Because, look, I’ve tried to show the easiest way you can remove a background. But I won’t promise that this trick will give you the professional look. Because to capture the product very smoothly, to detect the edges very sharply is a very hard task. Only professionals can capture an object perfectly and make the background transparent of an object.
Now I’ll introduce you to some other tools. You can also make the background transparent of your product with these tools.
Make Background Transparent By Magic Wand Tool 🎆:
Oh, I forgot to mention that, there are two selection tools in Adobe Photoshop. And you can easily delete background with both of these tools. Because the difference between these two tools of Photoshop is about to be revealed.
The magic wand tool is considered one of the most powerful tools in Photoshop. Do you know why? Because it lets you select the object of an image automatically. Other tools, on the other hand, work manually. Magic wand tool also does necessary editing to selected areas.
But this tool is mainly needed for selecting the background of an image. Or an object that has a solid color. Although this tool saves time, you can’t use this on blurry images. The same goes for photos that have gradient-colored backgrounds or objects.
Now let’s see how to make background transparent with this magic wand tool.
Step-1: Actually, the whole thing works with just a single click. I’ve taken a cherry picture here. Because its color is the same in all parts and solid. Now, I’m taking the magic wand tool from the selection tool options. Now I’m clicking on the leaf. Because I want its background transparent.
Step-2: After selecting the cherry leaf, I’m pressing Ctrl+C to copy the subject. And then Ctrl+N to take a new layer. As the setting in the Background Content was transparent from before, so I’m not changing anything. Now I’m pressing ‘Enter’. Now I’m pressing Ctrl+V to paste the selected subject. And What do you think? It’s done!
How To Delete Background By Using Lasso Tool:
Yes, like the cow folks we’ll make a lasso here in Photoshop and make our photo background transparent. Kidding!
There is a tool on the menu bar of Photoshop named lasso tool. Under this tool, you’ll get more three types of lasso tools. You can easily select an area of an image with these types of tools.
Although, there are three types of lasso tool- Lasso tool, Polygonal Lasso tool, Magnetic Lasso tool in Photoshop. I’ll show you how to make a transparent background with the Lasso tool.
Step-1: Here I’ve taken a hand-drawn flower picture. I want only the flower on a transparent background. So, I’m taking the lasso tool here and drawing outlines around the flower with my mouse.
Step-2: Now the process is like before. I’m copying the selected flower with Ctrl+C. And then Ctrl+N to take a new layer. As the Background Content is set transparent so I’m not making any changes. Now I’m pressing ‘Enter’. And then Ctrl+V to paste the flower. And my doing the background remove by lasso tool is done.
Note: You must keep in mind that, when you’re pressing Ctrl+N to take a new layer, you need to keep an eye on ‘Background Content’. Make sure it’s transparent. Now, if you want to make your background white or any solid color, now is the time. Because you can set the color of your choice here.
Make Background Transparent By Pen Tool ✒️:
Okay, the pen tool in Photoshop is The most important. Because, you’ll need this tool in doing professional Clipping Path, Image Masking Services, and Multi-Clipping Path. A professionally expert graphic designer is known for his skill in pen tools.
Although, selecting an object with pen tool and making its background transparent process is not the same. Still, you can pull it off!
Step-1: Now, I’ve taken a set of sports balls here. I want the basketball in transparent background. So, I’m taking the pen tool and making paths around the basketball carefully.
Step-2: Now, look at the right side of Photoshop. Beneath the layers, there is a work path. Now take your mouse pointer over the work path and click the right button of your mouse.
Step-3: A box will pop up. Now select the ‘Make Selection’ option. Now, look at your screen. The path you made by the pen tool is now selected.
Step-4: The rest of the process is the same. Copy the object by Ctrl+C. Then Ctrl+N takes a new layer. Check out if the Background Content is Transparent. Then ‘Enter’ and paste by Ctrl+V.
I admit, considering all the ways of making the background transparent. The selection tool seemed the easiest to me. Although it doesn’t give a professional transparent background, it saves time and easy to do.
Still-
I definitely won’t recommend this for professional or business purposes. Why? Because, if you make your product’s background transparent using a selection tool, magic wand tool, or lasso tool. Trust me, it won’t attract your audience.
Because, as I said, the pen tool is the one that brings out the professional look out of your image. Although the process is complex, it does the job best.
Now, what if you don’t have any Photoshop and still you need background removal?
Well, there is an option though! You can remove the background on Canva. It’s even easier! Although getting the pro version will cost you $9.99 per year.
Delete Background In Canva:
Step-1: I’m taking a photo from the upload section. Then I’m clicking on the effect and then ‘ Background Remover’. And wait for several moments. And it’s done! Easiest! Right?
Now, you should know that if you want to use Canva for a transparent background, you’ll need to pay $9.99 just for this feature. You can’t get any other feature. And the whole pro version costs $700.
What If You Need Professional Help For Removing Background?
As you know, many successful business owners use background removal services. Because famous online sites like Amazon, eBay, Ali express require a pure white or transparent background of products. And there are a lot of sellers on these digital platforms to snatch your customers. And they don’t spend time on making their product background transparent the whole day. Why? Because they have a lot to do to beat their competitors. Also, you’ll have a lot of products. It’s not possible to make the background transparent all alone. So, they hand this boredom over the professional photo editing companies.
So I suggest you do the same. That is if you want to get success like your competitors. And if you’re thinking about going to give it a shot, I say Clipping Amazon would be the best choice for you.
Why Clipping Amazon:

As much as you’d want your business successful, you need to keep an eye on the cost too. Definitely, you wouldn’t want to spare too many dollars. Clipping Amazon provides 17 types of photo editing services including background. We arranged our service price list considering new entrepreneurs like you. So that, everyone can have a professional, trustworthy photo editing company by their side.
By following these criteria, we’ve served in almost 26 countries. And guess what? We have permanent customers from those countries. We value our client’s demands the highest. Also, you can reach us anytime you need. We provide services 24/7. Which makes us taking pride in being the best image editor.
If you need any other service aside from the background remove, you can look at our service page. We also provide professional color correction, image masking services, clipping path, multi-clipping path, image cleaning services, etc.
And I forgot to mention, we do have an amazing blog site. You can have a clear idea about the photo editing terms, types of photography, product photography, international days, or observance of anything over there.
Oh, you’re thinking of your product photos to your competitors? No pressure, your photos are completely safe with us. Once you contact us, you’ll send the photos via Mail or We Transfer. After the necessary editing, we’ll return the photos per your instruction.
If you want to set your goal as a successful business owner, it’s good to test and find a trustworthy partner. So you can drop a photo to test our professionalism. Just tap on the button below and grab your free trial.