We wonder how pro photographers take great pictures. We love to shoot interior photography. How can I improve this skill? It is difficult to take such posh photography, but with basic and advanced interior photography tips, you can nail your interior photoshoot.
Patience, top-quality gadgets, and creativity are what you need for interior photography. This is a lengthy write-up about interior photography. If you would like to learn more about this niche of photography, this is the place for you. So, learn more from here-
What is Interior Photography?
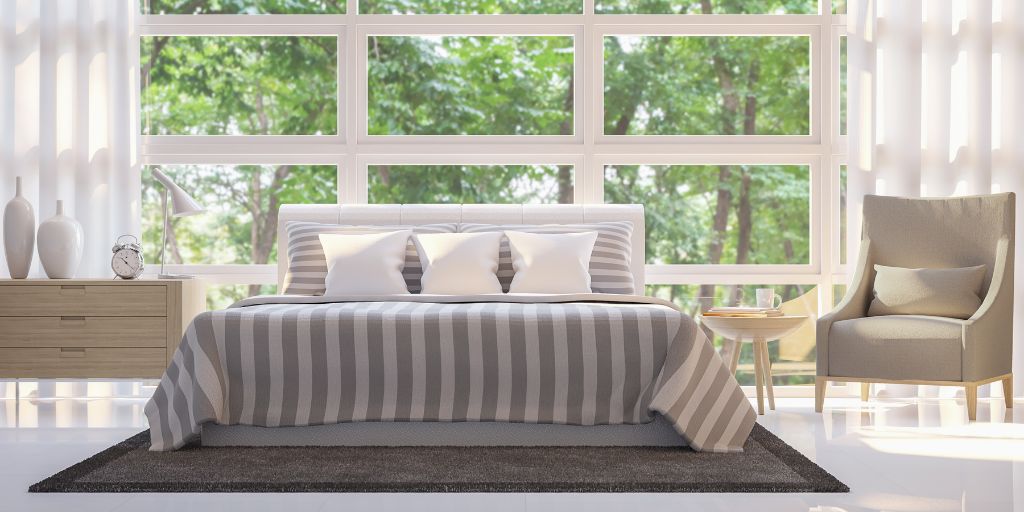
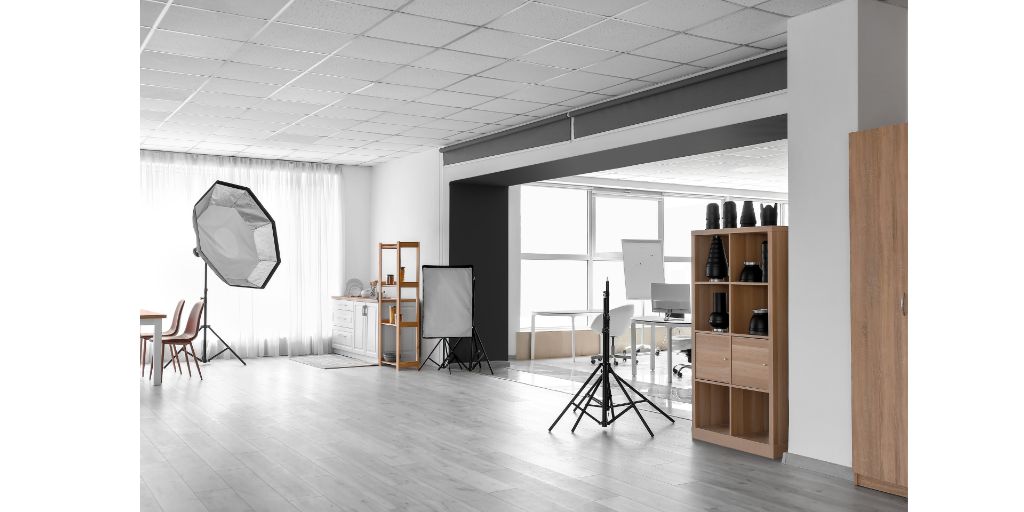
Understand the definition first before discussing interior photography tips and tricks. Interior photography captures photos of rooms, furniture, walls, home décor, or any other indoor set-up.
You might think this only applies to houses or apartments but it can encompass the commercial environment. Real-estate photography, architectural photography, and other fields of photography are all related to interior photography.
If you want to become a great landscape or nature photographer, then this is the course for you. Interior Photography is an area of photography that has seen many new faces.
Basic Interior Photography Tips?
It’s possible to get a lot of photography equipment to help you with interior shots. There are at least four gadgets that you need to take good interior photos. They should be checked out.
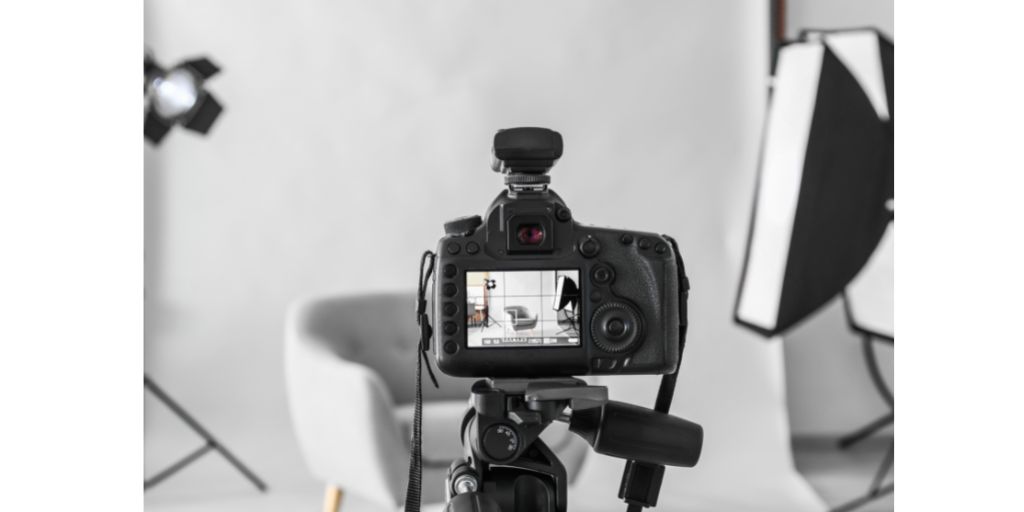
Camera-
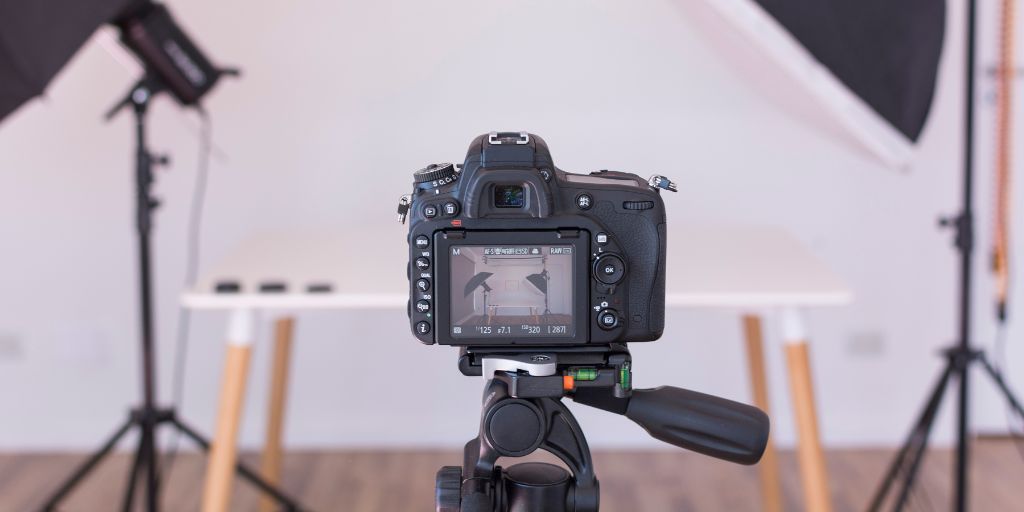
The first thing you need from interior photography tips is a digital camera. The cameras give freedom to experiment. There is a lot of control over camera settings in manual mode.
Also, a DSLR camera will give you all the essential modes and settings to shoot interior images. When coupled with manual camera apps, the phones can take stunning interior photos.
Tripod-
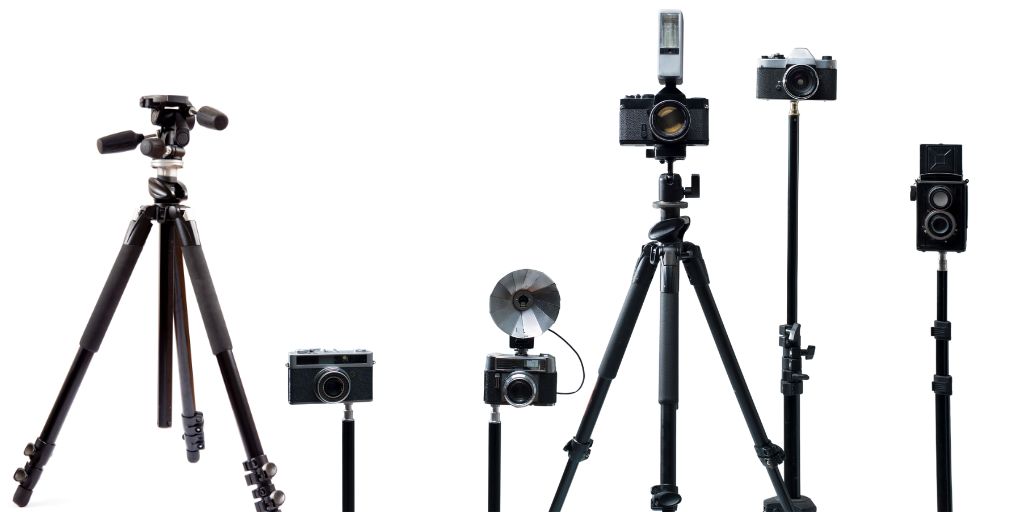
The second one from interior photography tips is the tripod. It’s a good idea to use a tripod in interior photos. Whether you use a heavy telephoto lens or need a room’s lines matched up in your viewfinder, a tripod will resist camera shake and stable your camera leading to crisper, clearer, and sharper final images.
Flash-
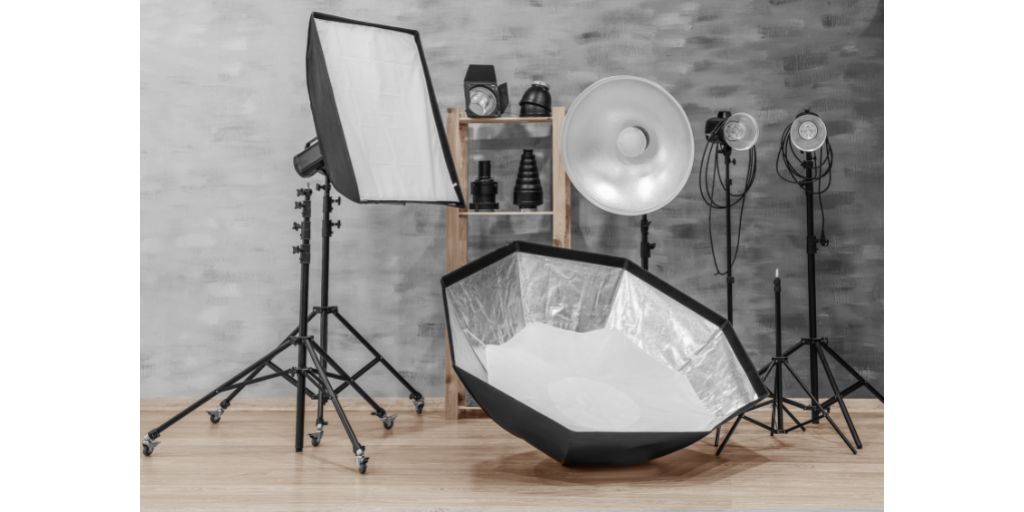
The use of light in interior photoshoots is very important. So, set up your camera with a flash attachment to get brighter, more appealing, and more vivid images. Speed lights, bounces, and shoot-through umbrellas can be added to your kit for a more balanced light presence.
Standard camera lens-
When we are dealing with interior photography, there is no excuse to not have a camera. A standard zoom lens will suffice for clicking close-up and macro shots in interior photography.
There Are Some Interior Photography Tips On How To Shoot:
The whole space isn’t just about using a wide-angle lens. It is about taking lifestyle photos of furniture, materials, and patterns to create a pleasing composition.
It’s time for the chase. There are some interior photography tips that you can use. So, no matter what your background is, this write-up will give you substance.
1. Have A Plan For Your Interior Photography:
This is one of the very important interior photography tips. You have to plan your interior photography to get a professional outcome. You should speak to your client also. Because this will allow you to do your job more quickly.

You will find out what interior photographs they want for each room. A site visit before the shoot date will allow you to get an idea of what spots will look best. You will learn how the light comes in at different times of the day and what type of details you can get.
You must know the orientation of the building. It will allow you to see the direction of the sunshine and avoid overexposing the room. Getting clear on what gear you need to use during the interior photography shoot is one of the benefits of a site visit.
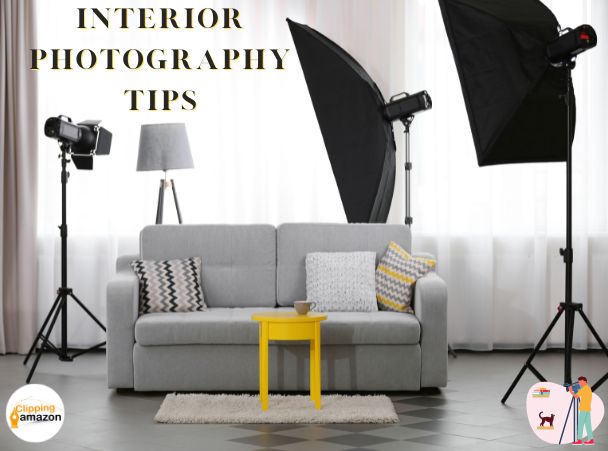
2. Use The Benefits Of Natural Light:
Natural lights and artificial lights are the best sources of light for interior photography. It makes a huge difference when you use natural light or a flashlight.
Light bulbs cause terrible effects in photography and are not something a professional would want to use. Since they cast fewer shadows and lines, try to use led bulbs.
They don’t make the photo as grand as natural light, but they seem to work better than light bulbs. One of the reasons fluorescent bulbs aren’t used is because of the color contrast they cause. It is always a good idea to use natural lights.
3. Interior Photography Tips- Go For Fill Flash:
Some elements of exposure may not look like they are being exposed. A portion of the shot may be exposed due to the lack of light. It might be due to the effect of backlighting.
How to fix it? The solution is “fill flash”. With a fill flash, you can improve your shots. Because the shadows will remove from the part of your shooting area.
The shadows in front of you can be mitigated by aiming your flash at the ceiling and walls behind you. It is possible to do this on camera and off camera also.
4. Interior Photography Tips- Make The Tripod Useful:
In order to contain small details, stability is important to bring out stellar shots. It’s not safe to steady the camera also. This is where the tripod is used.
Of course, shutter speed won’t be a big deal with your camera mounted on the tripod. It’s possible to set it between F 9 and F11. As a high ISO can produce excessive noise, it’s important to keep the ISO low also.
5. Involve Your Client To Capitalize On Tethering:
It’s important to work with clients in interior photoshoots. In order to ensure that your client is involved in each setup means taking your time to set up each shot.
One way to carry out this is to tether your camera to a device. Tethering allows your laptop to display photos. Also, the photos are shown in real-time. You can use the Live View mode on your laptop also. Of course, it is dependent on the system you are using.
The client can help style the space before you take a shot. This helps in reducing how many photos you have to sift through also. Your client’s role is to make sure that each shot looks exactly how they want it. Moreover, they can make a lot of money out of their investment.
6. Interior Photography Tips- Don’t Overlook Details:
There are a lot of minute details in interior photography. Stray objects and subtle elements of rooms and furniture are what you have to take pictures of. Interior or architectural photography is very complex and different from real estate photography.

Post-production is one of the parts of the photography process that requires more time and energy to be applied. While working with interior designers or builders, the expectations mount as well.
The interior photography process demands a very collaborative approach. If you don’t spend enough time with your client, you won’t be successful. So, the goal is always to produce great pictures of the interior.
7. Interior Photography Tips- Go For Bracketed Shots:
Correct exposure is crucial in interior photography. If you have windows in your shots, it’s a good idea to take 3-4 exposures. You can show the view outside the windows with underexposed or dark frames.
Middle exposures will help to balance out bright highlights. You will get a shot that has vibrant shadows as well.
If you want to maintain the natural vibe, use large soft brushes to blend layers. Your full focus is needed throughout the entire process. To maintain quality control for your clients, you need to skip too much automation.
8. Don’t Go For Too Wider Shots:
You’ll be more likely to emphasize how large the space is by showing wider shots. You have to focus more on the design in interior design photography.
If you want to cover an entire room in a single shot, you shouldn’t go wider than 24mm for a full frame. Premium compositions can be brought out with multiple shots from different angles.
If you have enough room, make use of a tighter lens like 50mm or 70mm, and distance yourself further away from the composition. This makes it less likely that the lens will be distorted as well.
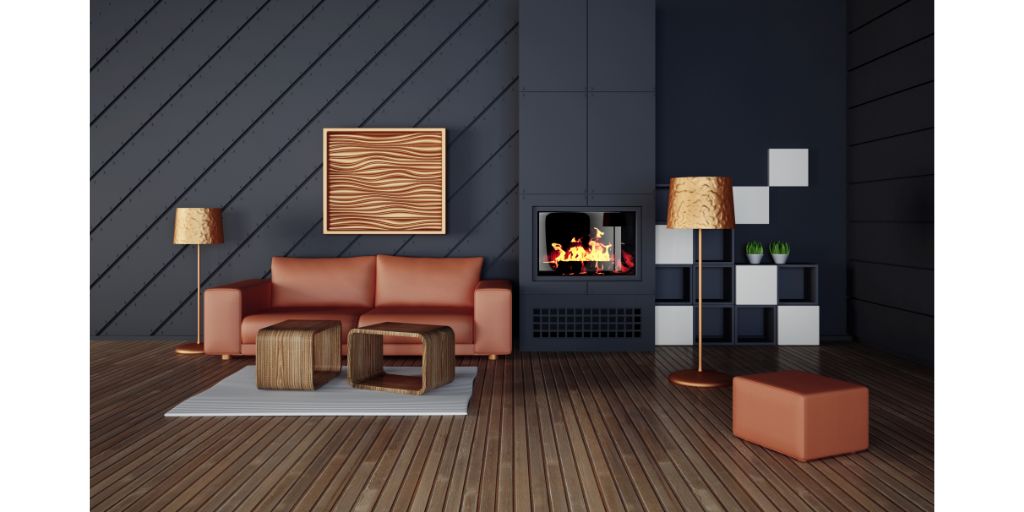
9. Deploy Styling Objects To Create Depth:
Interior photography without depth is not good. The required depth in your compositions can be achieved by using styling items and furniture placement. Of course, it will add a luxurious feel to the place.
Make sure that your eyes are on the area you want to highlight. Also, the part of the foreground can enter the frame.
Make sure that your f-stop is consistent and sharp. Interior photos need f-stops in the range of 8 to 16. So, if you want to generate depth, you can always go for a lower f-stop.
10. Tidy Up Your Location:
If you have a room full of junk, it will look dull and disgusting, and all your attempts will go in vain. If you have an untidy spot, it will cause distraction and wreck your photos.
You have to think like an interior designer, laying out a room before you start taking shots. Every room needs electric wires and cables. Unplug electrical cords, and hide objects.
Also, dust off furniture, walls, countertops, and window frames to make sure they look their best. If you like the look of your room, you can take shots.
11. Be Wary of the Clutter
It is a known fact to clear the cluttered, but still, it is a reminder to remember. You always want to look at your countertop marble. Because you want to be able to see the top of your living room table without being distracted.
It is a part of your interior photography job to let your client know how to get the best photos. You can show the value of a clean space before the shoot.
You have to take a look at the space after you arrive. And, if you want your client to clear up the mess, give them recommendations on the surfaces. Because clients make a higher investment in your services, and they will look forward to a mind-blowing interior photoshoot.
12. Show Your Creativity With Space:
Things won’t be ready-made for you every time. You can not come to a location and shoot blindly. Because sometimes, you have to come up with an innovative approach. You might have to shoot a room that is too small to fit in a photo.
You can use a creative approach here. Taking shots from an adjoining hallway or room will give you a different perspective. This type of approach provides an interest in interior photography.
13. Emphasize The Lines:
Horizontal and vertical lines are found in interior photography. The balance of your photo will be disrupted if the lines in your interior photo aren’t perfect.
The corner of a room can be seen in the other portion of the photograph. While shooting an interior space, make sure that the lines of the walls, lamps, and windows look balanced and straight.
The camera isn’t able to sense that doors are vertical, even if we observe them from an angle. It’s easier to keep the lines straight and balanced with the use of a tripod and a tripod head.
14. Interior Photography Tips- Allow Composition To Guide Your Shot:
Composition is the most important thing to remember when photographing interiors. Moreover, balance, color, leading lines, and depth are the basics that you need to brush up on.
The composition will level up the image. It presents a photo as a work of art, not a photo, that documents something. Also, the composition of interior design photography makes them stand out. Yes, these are what your client is looking for.
The rule of thirds is the best way to start picking up about composition. For several weeks, use the rule of thirds to guide composition in your work. You can move on to another principle like leading lines after that.
15. Ensure each Object is Defined Clearly:
The same scene can be different from different angles. It is natural to do this. Making necessary adjustments on different shots is crucial here. So, if you are snapping the same scene from different directions, tweaking will make it look better.
You have to make sure that each object is easy to see. You don’t want things hidden behind things or hazy. The viewer isn’t aware of what they’re looking at and will bring out a puzzling shot.
16. Interior Photography Tips- Find Your Main Point:
A photo needs to tell a story and serve a purpose, be it an interior photo or any other genre of photo. You need to clarify what you want to show. What are you trying to get the viewer to notice?
The center of the show is where you want it to be. So, to create a clean backdrop, take away objects in the background. The best version of that space is your goal.
You should be a pro at styling interior items a bit, folding a blanket, or opening a magazine. Because these acts will ensure a great interior shoot.
17. Interior Photography Tips- Keep Moddy Days In Mind:
Interior photography does well in overcast conditions. Clouds are one of the things that make for great interior shots. As a large softbox, it brings out soft shadows.
The sunlight creates a sharp difference between the light and dark inside when it is sunny. This is even more visible when the sun is shining through the window. It is difficult to shoot interior photography in sunny conditions.
18. Edit And Retouch Every Single Photo:
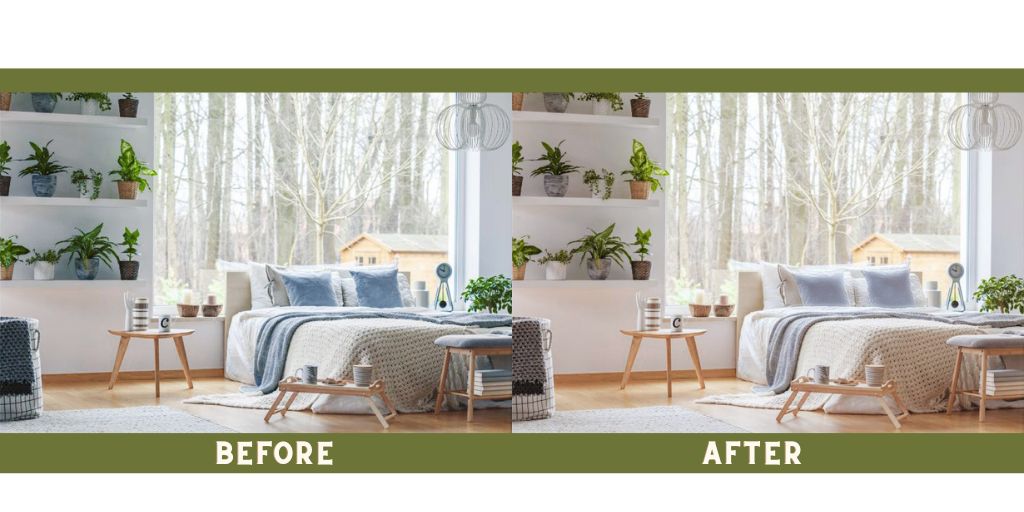
It is editing. You can create magic here. So, make your photos magical. You can’t get the best result for your photography if you don’t edit your interior photos. There are different types of editing software. Adobe Photoshop is one of them. It will give you professional results.
Pro photo editors and enhancers can also be used to get your interior imagery edited. Of course, it will allow you to devote more time to other things. Blending their skills with the knowledge of a photo editing program, pro photo retouchers create masterpieces of your interior snapshots. Clipping Amazon is one of them. To check our work quality you can check our service page. And for to learn more about interior photography check our relevant blogs.