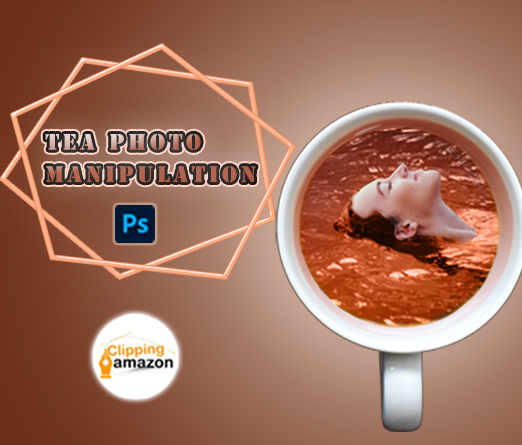
From aged to teenage, who doesn’t love to drink tea? Taking a snap of a cup of tea while having is trendy now. So, why don’t you have a little fun with tea photo manipulation? Let’s learn how you can manipulate tea photos and have some fun.
Tea Photo Manipulation Steps
As I was saying that tea is everyone’s all-time favorite drink. It is the best drink that will refresh your mind. So, you can have a little more refreshment by tea photo manipulation. You can share the image on social media and get a lot of engagements and reactions.
So, Manipulate Your Tea Photos In Few Clicks
We can create this exclusive manipulation in a few clicks and without any complications. So, let’s get started-
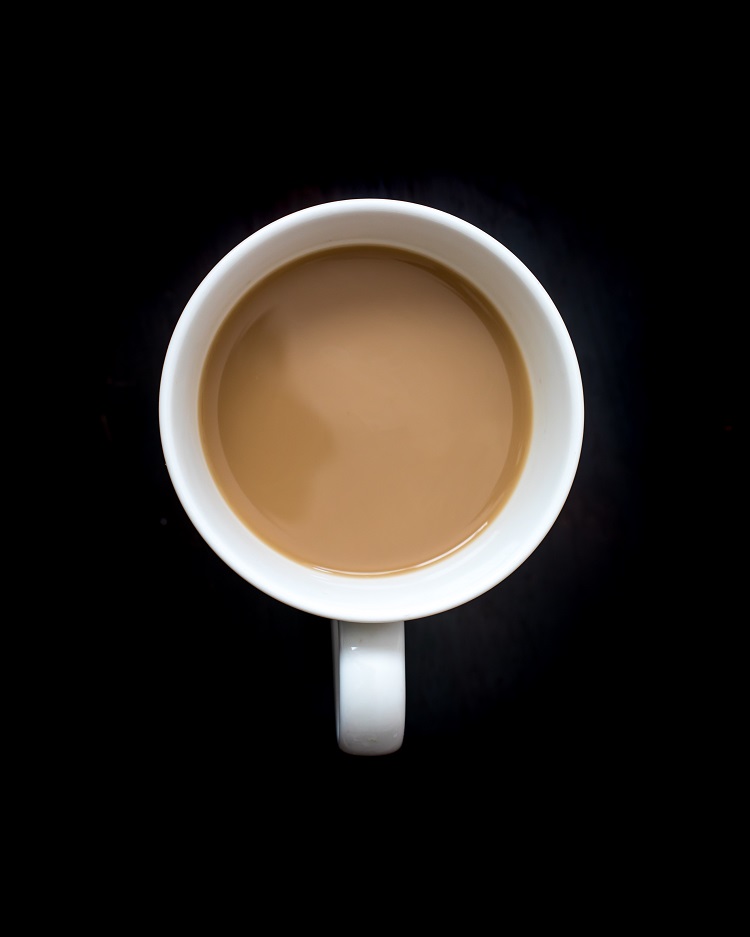
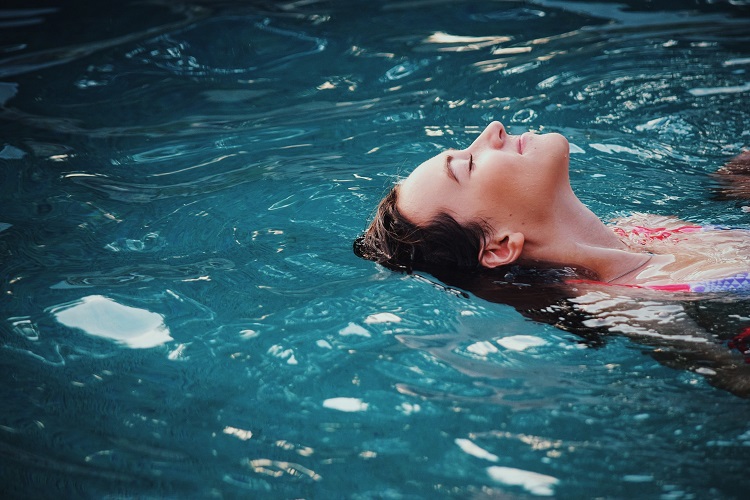
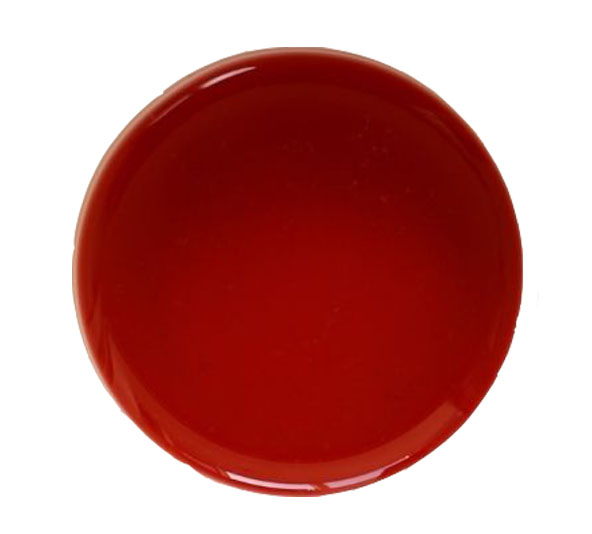
Firstly, to prepare the manipulation, we are going to need only three images. That will be, for instance, a cup of tea, an image of a swimmer girl, and a tea color. However, You can collect any photos that you like. Because you can find a lot of free photos on sites like unsplash.com, pexels.com. Moreover, I am using the following images-
Step 1:
Firstly, choose the free images from google and download those. Secondly, Open the images in Photoshop. So, to open the image, from the top bar go to File > Open. After that, select the images and hit “ok“. Certainly, your images will be opened in Photoshop.
Step 2:
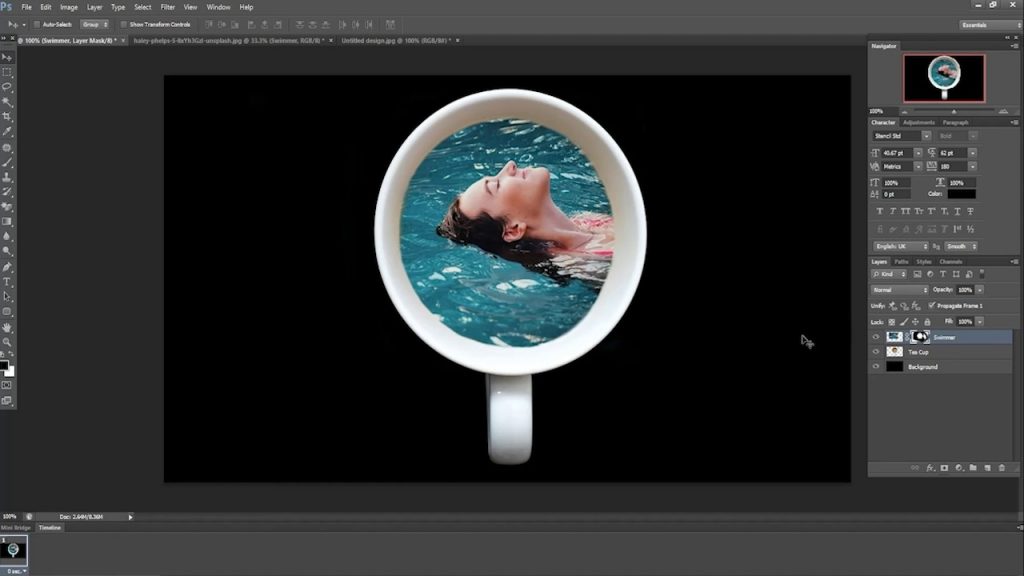
At first, We have to make a copy of the swimmer image. After that, take the image to the teacup tab. Then, adjust the image according to the cup shape. After that, we have to add a mask from the “add layer mask” option. We have to remove the side areas of the swimmer image that go beyond the teacup consequently. So, we will need the layer mask for that.
To remove the side areas, certainly, we have to select the swimmer layer mask at first. After that, select the brush tool, set the foreground color as black, and start painting around the image. Finally, you can see the side areas are removed. And now it’s ready for tea photo manipulation.
If you erase a bit much, swap the color from black and white and repaint. The portion will come back.
Step 3
Now, activate the swimmer layer, from blending mood select the Luminosity.

You can see the image has blended with the tea. But the face part doesn’t quite go with it. So, we are gonna cut the face part from the swimmer image and add it here.
Step 4
At this point, go to the swimmer image tab. We have to isolate the face part to manipulate tea photos. So, we will isolate the face using the “quick selection tool“. Once the selection is done, use “refine edge” for a smooth edge. Brush over the edges to make it smooth and set the smart radius, smooth, & feather for a smooth edge. Now take the image to the main tab, adjust and fix it.
Step 5
It’s time to add the tea color. So, bring the tea color image to the teacup tab at first. After that, adjust the image by scaling. After adjusting, change the blending to soft light and drag the layer under the swimmer layer. Then, Make a group of the layers by selecting them and pressing control + G.
At this point, the tea photo manipulation is done. But we are going to add some text effects. So, let’s do this-
Step 6
Now we will add the text effect. So, write the text first. Then select the text layer and go to the blending option by double-clicking the layer. Now, select Bevel & Emboss. Set the depth to 250, size to 90, and highlight mode opacity to 100. Set the shadow color to white and opacity to zero. After that, select drop shadow, set the shadow color, opacity, and distance.
Now make a copy of the text layer. After that, select the layer, click the right button of the mouse, and select clear layer style. Then go to filter from the top bar and select gaussian blur and set the amount around 30 to 35. See the glow? I am changing the text color matching with the image.
Step 7
Now I will add a shape around the text. I am selecting the polygon tool. Turning the fill color off and stroke color on. Now go to the blending options and set the bevel & emboss properties along with drop shadow properties like we did for the texts.
Make a duplicate of the layer, go to the blending option, select the stroke. Set the stroke size and color as per your choice.
Now, I will make a copy of the polygon layer and rotate it. I will add a gradient background to focus the design. To do so, go to gradient from the adjustment layer and select the preset of your choice. Now, it looks quite attractive tea photo manipulation.

If You want to watch the full video of the tutorial, you can see it from here-
Hope you have enjoyed and learned something new. If you want to learn exclusive photoshop tutorials, you can come back to Clipping Amazon. We are a photo editing service provider. Therefore, if you need any image editing service, you know where to find us.