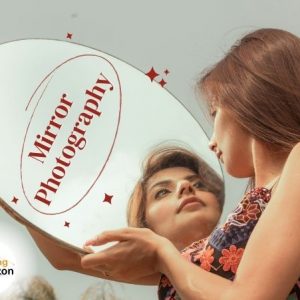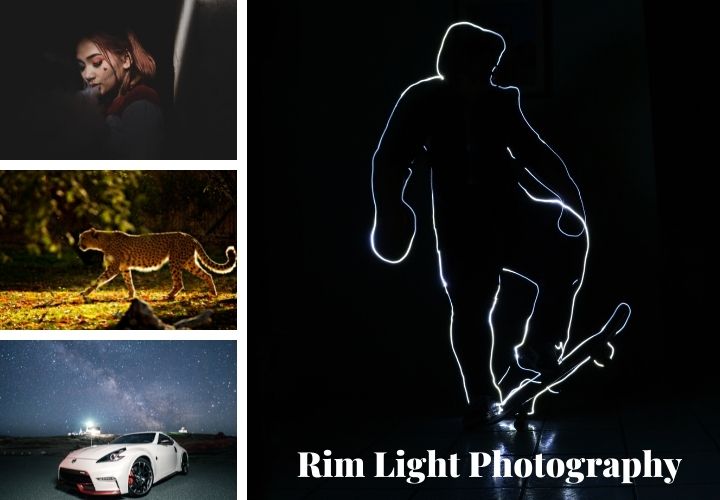
Rim light photography is a way to capture images in which the subject is at the center of the frame, and only the edge of the image is visible. This is especially useful for taking portrait photos of people and getting their eye line in the picture. So, we will discuss here some rim light photography tips.
The rim light is a special type of light that has created when you use a flash to shoot a picture. The light is usually in the very perimeter of the image that has been illuminated. Rim light photography is a type of low-light photography.
There’s a lot of misunderstanding and misinformation out there about how to take pictures of your product in the best way. RIM, or rim light photography, is an easy, inexpensive way to get some great images of your product. Also, you can add a lot to your websites. This type of photography captures the product and the space around it. The goal of rim shots is to capture the products and the surrounding environment as well as possible.
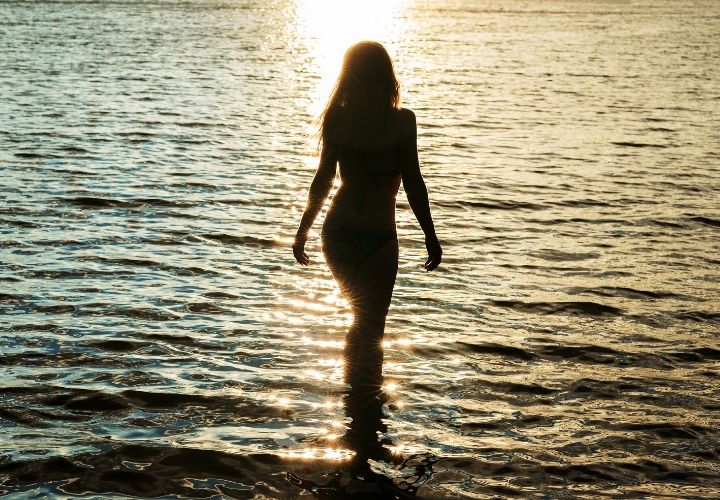
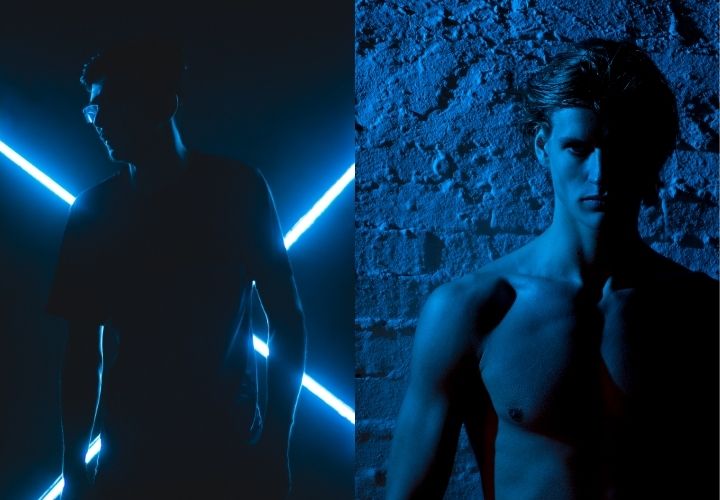
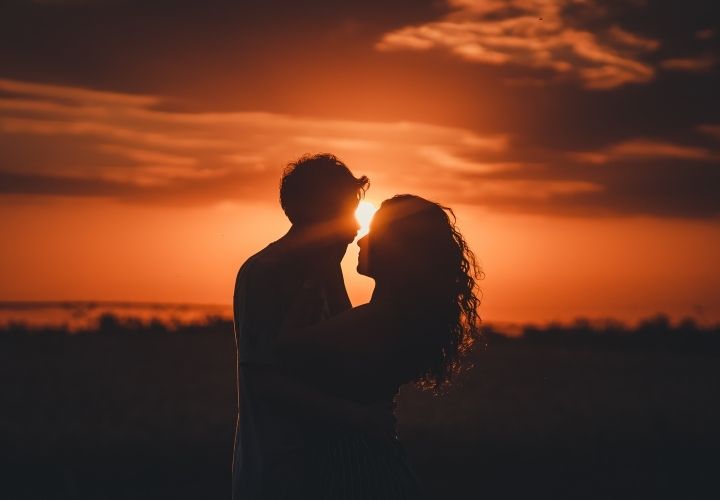
You can use rim lighting to illuminate a person’s silhouette by setting the light behind them. It is possible to produce a stunning effect by centering the rim of the subject with light. Also, you can achieve more appealing results by combining various lighting settings. This type of light is often referred to as hair lights or halo lighting.
How to Create a Rim Light Photography Setup?
There are some photography tips for creating a rim light setup. It takes more than just having some sort of light and a reflector. There are a few different ways to achieve this look, but you need to make sure that the light hits the proper areas to create the illusion of rim light.
1 Rim Light Setup:
The best photos on the Internet are the ones that you created by using the rim light photography tips. In this process, the camera is positioned so that the subject is in front of the flash, and the light shines onto the subject’s body. You won’t be able to hide all the extraneous features in a single light setup. Also, you can change the position of the light to solve the problem.
To illuminate the side of the face, place the lighting gear behind the model. Also, you can point the light at the subject. Silk or softbox can diffuse the glare.
2 Rim Light Setup
To illuminate the face without revealing too much, place the lighting gear behind the model and on the side of the face. It is necessary to direct the light to the subject. Also, it is possible to diffuse the glare with silk or softbox.
3 Rim Light Setup
In order to shoot captivating images, you need to use rim light photography tips. By placing three light sources around the model, you can illuminate them all. A back-light, a fill light, and a key light are using to illuminate a picture.

Let’s consider all three types of light separately. Here the key light is the main way of light. The strength, color, and angle of the key light affect the lighting scheme. The main source of illumination for shooting indoors is a lamp or camera flash. The key light when taking pictures outdoors in the sunshine.
The key light and the light behind your subject should be on the same side. Both lights are related. The lighting equipment should be positioned on a stand to adjust its position fast and easily. Of course, a subject standing out against the background can create a stunning halo lighting effect.
From the side angle, the fill light illuminates the subject. This type of equipment is usually higher than the model’s face. A shadow from the model’s nose that covers the rest of facial features can be mitigated by using this illumination. The fill light is softer than the main source of illumination.
The light is cast from behind and on one of the sides by the rim light. It makes a model stand out against the background.
Usage Of Rim Light Photography Tips:
Various shooting situations can be better with rim lighting. This type of illumination is what you are looking for in photography. Adding some depth to a portrait can be done by using the second source of background light. It can help the subjects stand out against the background. In our guide, this and other areas of usage will be discussed.
Creating More Depth In A Picture:
You can use the rim light photography tips to add more depth to your photos. So, you can make the subject stand out by using light. The rim light draws a light outline on the model’s hair that contrasts with the head and background, which creates a romantic image.
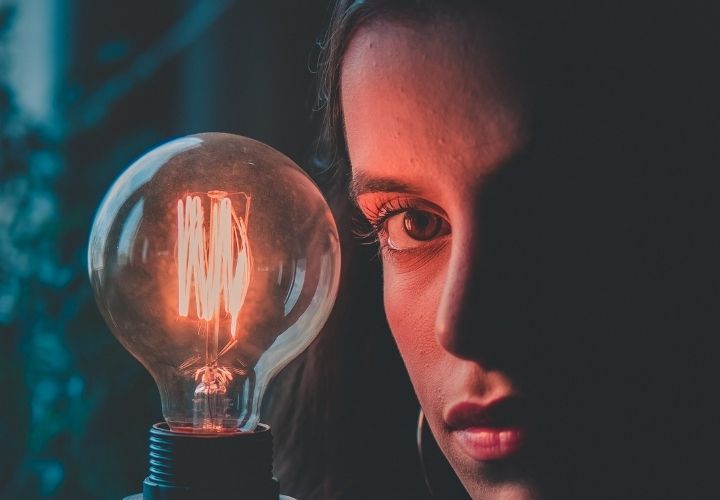
Dramatic Portraits:
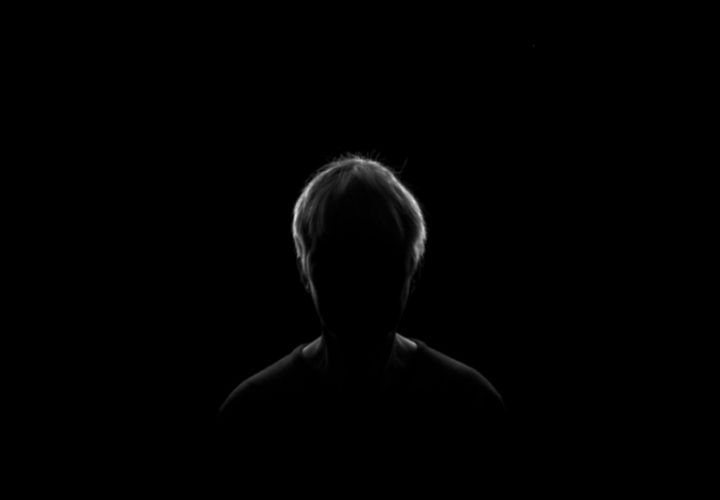
Different areas of brightness or darkness within a scene uses to produce impressive and emotional pictures. Also, the lighting technique creates a magical atmosphere for the subject.
You can achieve this effect by hiding the model’s facial features in the darkness. So, this type of photography is an easy and quick way to add some drama and mystery to your composition.
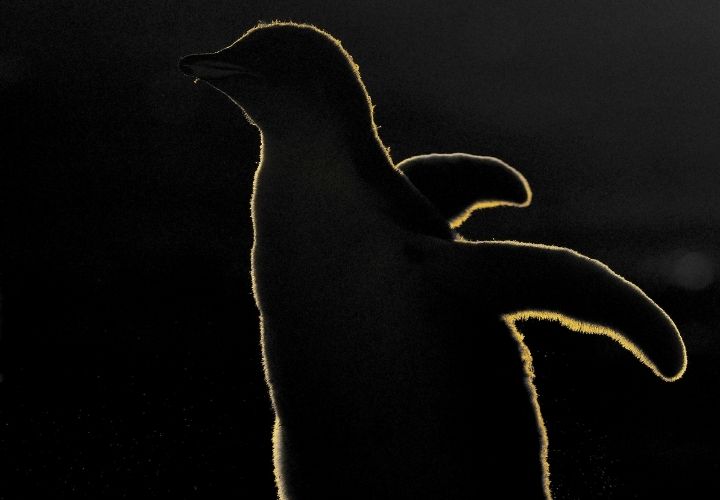
Creating High-Key Silhouettes:
You can make sophisticated silhouettes by redirecting the rim. Block the light from hitting the front of your model when you are conducting a photo session against a white background. The subject will be completely black and the background white.
Shooting Landscapes:
It’s helpful to use rim light photography tips to shoot portraits and landscape photos. The environment gets a wonderful look when the sunlight shines directly to the lens. It is possible to get the most original images when the sun rays are in the clouds.
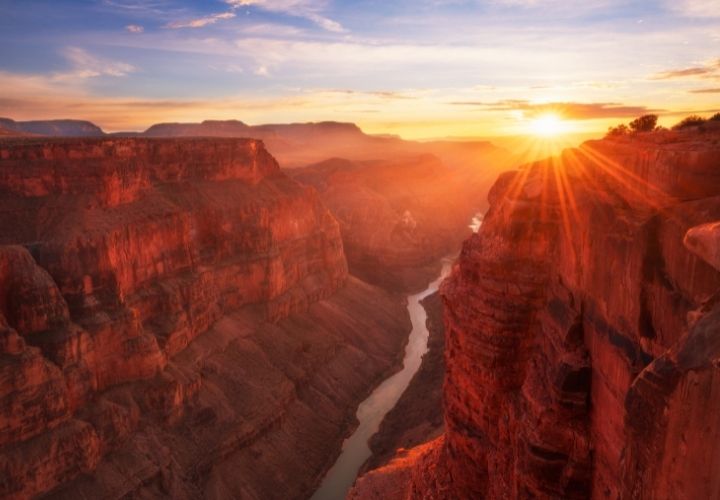
The silhouette of the model, as well as the objects of nature, can be captured with this technique. In this case, the object will be surrounded by a halo and darkened to the fullest extent. It is possible to achieve a magical effect by producing landscape photography.
Taking Macro:
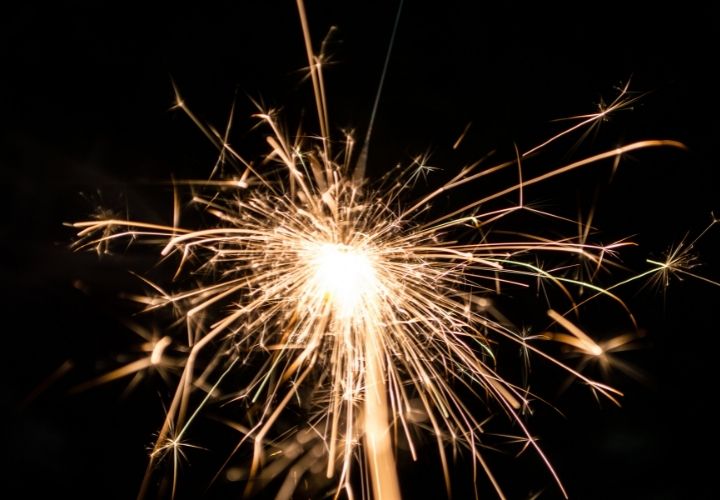
The macro mode is ideal for rim light photography. The flowers and grass look great in the picture. The rim light is using to implement the most daring macro photography ideas. Here, you need to place an external flash behind an object of a photoshoot and use your camera to take pictures.
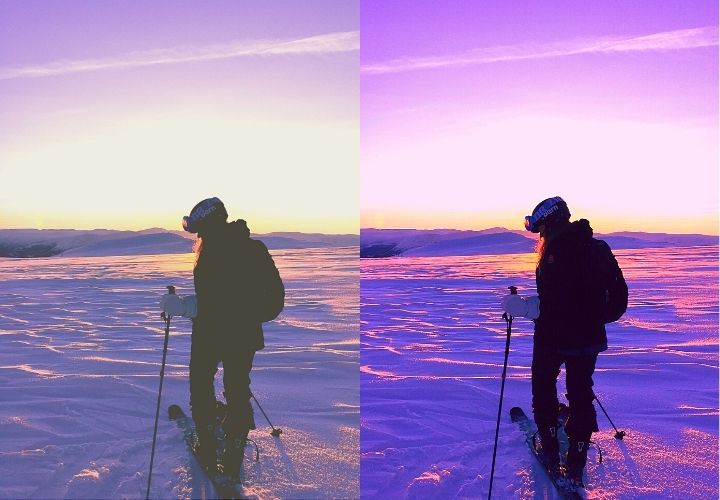
Shooting At Sunset:
Sunlight is a great source of rim light photography that can provide a beautiful color scheme for golden hour photography. The afternoon light is better than the sunset light. Even the weakest flash can destroy it. Also, by shooting at sunset, you can highlight the details in the foreground.
One more option is more complicated than the first one. The shade of the sky at sunset is what the model’s face has given. You will need an external flash and a camera to make such an effect.
If you want to take a series of photos, position the flash as close to the model as possible. Also, attach a flashlight, and set an alight filter to get the shade you need.
Rim Light Photography Tips:
When a photographer uses rim lighting, the object being photographed will appear backlit. The image will appear to be lit from behind, giving the illusion that the subject is illuminated from behind. If you use this type of illumination, you can produce dramatic images. The standard tips can be used to improve the quality of your pictures.
Set Your Exposure Settings With Care:
The rim lights on a set provide great light at the edge of an object. They often provide the perfect amount of light to illuminate what’s going on without blowing out the entire frame. Unfortunately, they also tend to provide an increased amount of exposure on the edges of the image as well. This can be caused by the edges of the objects being overly bright relative to the background. In this case, the best way to prevent this from happening is to make sure the background is not as bright as the edge of the object.
Always Edit Your Photos:
You need the most advanced photo editing software to refine your images. The most expensive sets of editing options are what I recommend to you. You have to adjust colors, exposure, and contrast. The lighting scheme of all images from the series is one of your most important tasks.
If you want to speed up your image editing process, you should contact a professional image editing company. Clipping Amazon Is a good and professional photo editing company. We are providing several photo editing services. If you want, you can visit our service page. It will cost you a very little amount. So, try it to make your photo perfect.
For photographers with high-quality results, such services will be useful. Clipping Amazon will perform color correction at a professional level if you do not have time for it.
Look At The Light Behind You:
Reflectors are available in many forms – paper, metal, plastic, glass, and even your own hand! But if you want to take the best photos you can, you’ll need to use a reflector that is specifically designed for your camera.
When you want to make the subject look better, you should not use the same setting you used when the subject was photographed. For example, if the subject is white, you can use white paper to add contrast to a gray background. This will make it easier for you to photograph the subject with the background.
If you want to shoot your models on a big lawn, look for areas that are pretty. A location where the space behind you is clear is important. I know there is no light for tossing it back on my subjects. Finding the right place for your model is important.
A Dark Background Is Ideal:
Rim light photography always suggests dark background. If objects place against a dark background, they look better. If you can find a backdrop that’s a bit darker than the object, you’ll get the contrast you need. The trees with green leaves and shadows, a dark wall, or the shady side of the building can serve as a background.
Avoid Flares And Spills:
When you take pictures using the “rim light”, make certain that you won’t run into any serious issues. Lens flare happens when the light that goes through the lens produces a hazy effect in the picture. The light spillover happens when the light illuminates the object from both sides and the front.
To get rid of flare, put a lens hood over the lens, or better yet, use a lens shade. If a sunbeam does enter the frame, take a test image. If you see any reflections in the image, chances are they’re due to flare.
To prevent spillover, you need to have a lot of light. Instead of an umbrella, use softboxes with grids.