Are you an e-commerce retailer? Or do you just sell products on any E-commerce platform? However, you must be concerned about product photography and be extremely focused on managing the best product photographs for your business. So, It is very important to have a good photo studio set up to take good pictures of the product.
Product photography is integral to online business. Unlike a brick-and-mortar type business where you have to showcase all available products in a showcase. Understanding the offerings of an online store for online businesses also requires product images.
Therefore, if you are going to start an e-commerce business or sell products online, you should consider it extremely important. Your product image can decide whether consumers will communicate and buy if needed.
To deal with these situations, retailers find professional product photographers or create their own product photo studios. In this article, we will show you how to do a budget-friendly product photo studio setup.
However, you can’t just end up capturing the product, you need to edit the product images so that they can grab the customer’s attention at first sight.
You Should Take Pictures Of Your Own Products
If you have a minimal photography sense, you will save a decent amount of money. Therefore Hiring a photography agency or freelance product photographer is expensive. If you start with a low budget, it will not reach you.
In this case, setting up a budget photo studio in your place can be comfortable and also give you freedom. Since you don’t have to maintain a photographer’s routine, you can take pictures of the product whenever you want.
Taking pictures of yourself will help you to do the job with 100% satisfaction. Although you do not need high photography skills to operate your own product photography. All you need is an accurate perception of the angle of the camera, good use of natural light and artificial light, creating a shadow for reality, and product presentation that makes the product look attractive.
What Do You Need For Your Own Product Photography Studio Setup?
Having a personal product photo studio in your home or desired place reflects your professionalism and work ambition. Most online retailers need to have their own Photo Studio set up to prepare product pictures for online stores.
They have to work with lots of products and they can include new products, items every day. When you have a photo studio setup, you simply take the product, think about the best suitable location and take a few shots.
But it will be possible if you set up a studio. You need some necessary equipment to set up a photography studio in your place. Without this tool, your product photography operation will not be so perfect. However, you will fail to capture the best form of products.
Here is a list of tools you need to set up your own product photo studio.
- Photography table
- The camera
- Tripod
- Lens
- Studio lighting
- White background
- Reflector
- Light tent
- Tape
These materials have unique features and requirements in the photography activity. If you do not know how to use these photography materials, you should do your own research to get some idea about them.
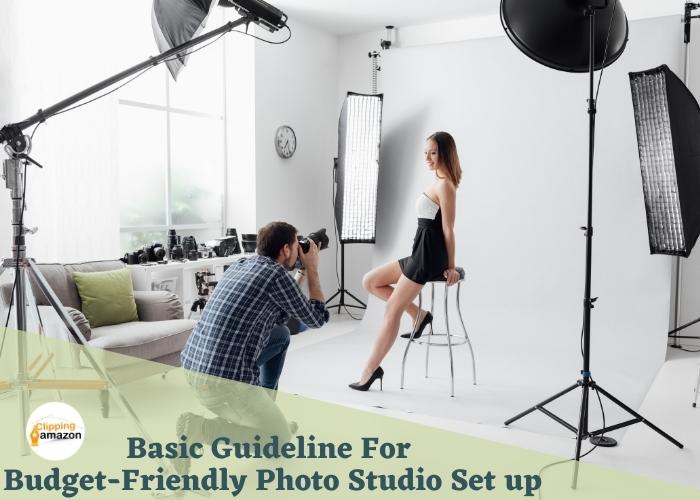
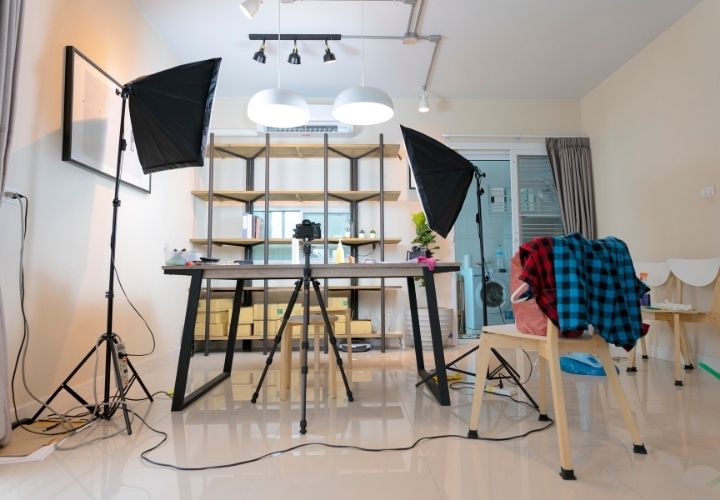
DIY Product Photo Studio Setup Guide
When all the equipment needed for your product photography studio is set up, you are now ready to create the framework. Although it is not so difficult so you can do it yourself. First, you need to choose a specific location that is suitable for photography.
Lighting is an important issue in product photography. The place you choose should be in a place where there is enough light during the day. Proper lighting can make photos of your product look great if you use it perfectly.
If you are going to sit inside your house, choose a place next to the window. You will be assisted by direct light from the windows during the day. Natural light can create favorable light shadows in product images.
Set Up The Background In Photo Studio
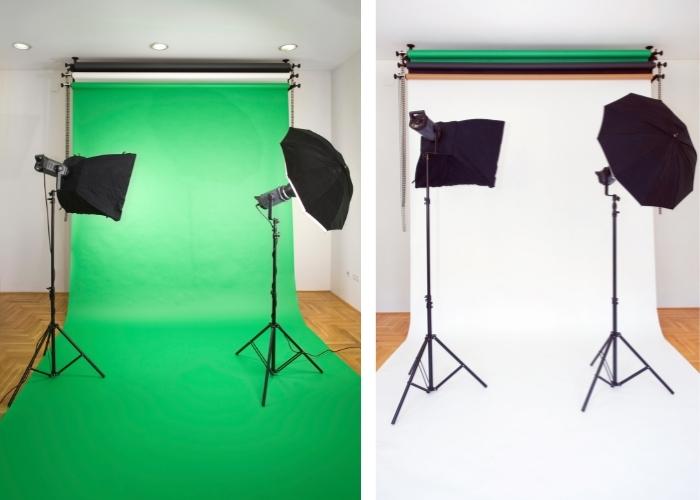
The background is a matter of product photo management. You can manually fix the background image of the final product while taking pictures or even through post-processing. The background is a very important part of Photo Studio Set Up.
For the product photo shoot, you need to attach a white backdrop to the back corner of the photography table. You can use white paper, foam, or cloth to create a white background for product photography.
The white background increases the visibility rate of the image while eliminating distortion and presenting objects in a capturing way.
Although you can technically associate a white background with Photoshop’s background removal service. These are professional image editing services that you can find online. Just give them pictures of all your products, they will do several editing processes to make the images look better
Set Photo Studio Light Position
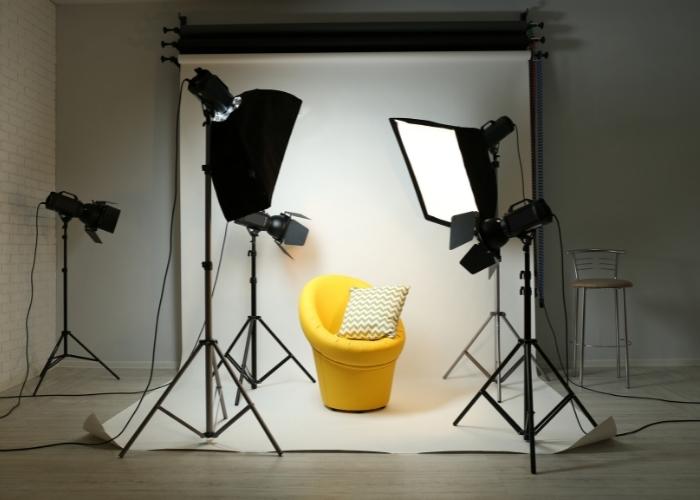
Natural light makes it easy for photographers but they can’t always rely on natural light. Also, there is not always natural light for you. So, you must prepare with artificial light in your Photo Studio which is also known as studio light in the market.
Studio lights are so effective if you have the knowledge to use them effectively. For important product photography, you need at least two studio lights, one as main lighting and the other to support the background. Place the main light on the product or front where the light can fall directly on the focused object. Other lights should be placed in contrast to the main light.
Light Modifier
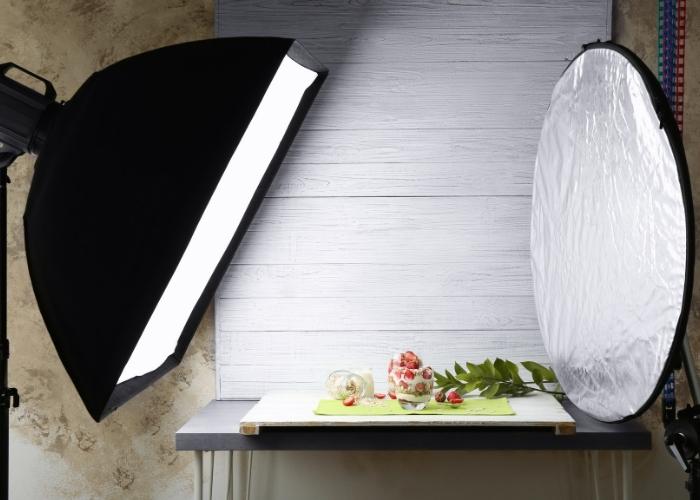
Your product must have light correction equipment on the photography ride. In your photo shooting, you need to control the intensity of both natural and artificial light. Because sometimes, they become too harsh and this can cause the images to become abnormal.
In this regard, a light modifier will help prevent light harshness and allow you to create the perfect light shade feeling for your photography activities. You can use a reflector card that bounces light and is perfect to get to the desired position.
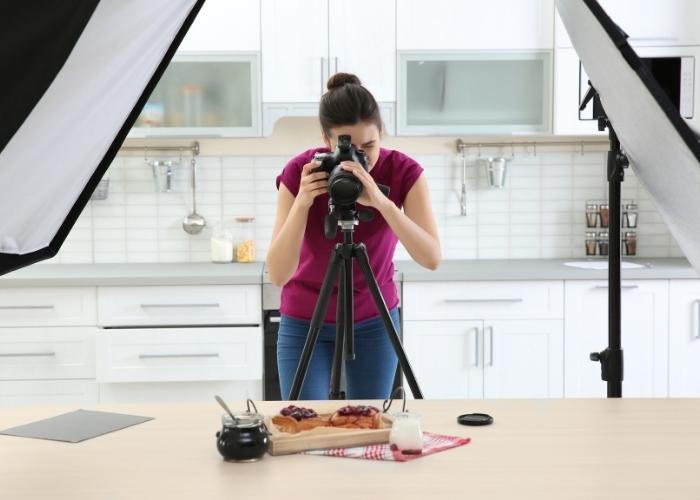
Adjust Tripod With The Camera
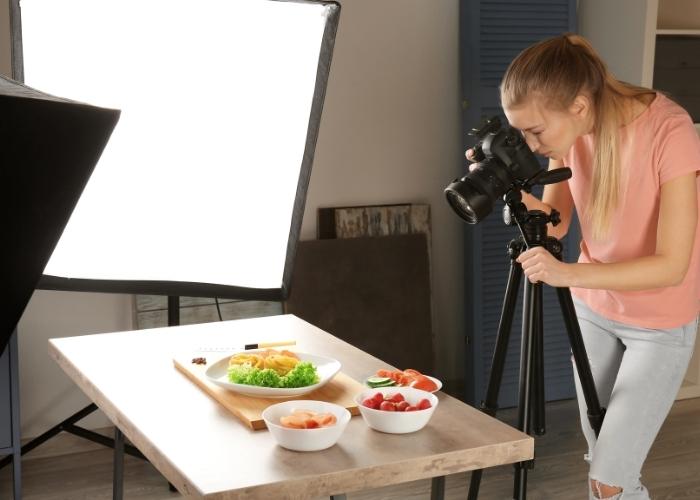
After completing all of the above steps, you are now ready for a product photoshoot. Using a tripod reduces the hassle and ensures the best image form without any distortion and shaking. Shaking hands in the product photoshoot can be a big problem.
Holding the camera for a long time causes the hand to tremble which is responsible for blurring the image. In this case, a tripod is an option that can relieve you and keep you focused all the time. A tripod ensures the stillest and most consistent product image. There are also tripods through which you can get super-flexibility in the product photoshoot.
Once the camera is adjusted with the tripod, place the product on the table. Pick the best angle for the camera. You can try different angles to understand where the product looks attractive through the camera. Take multiple shots and choose the best one for the final combination.
What To Do After Finishing Product Photography?
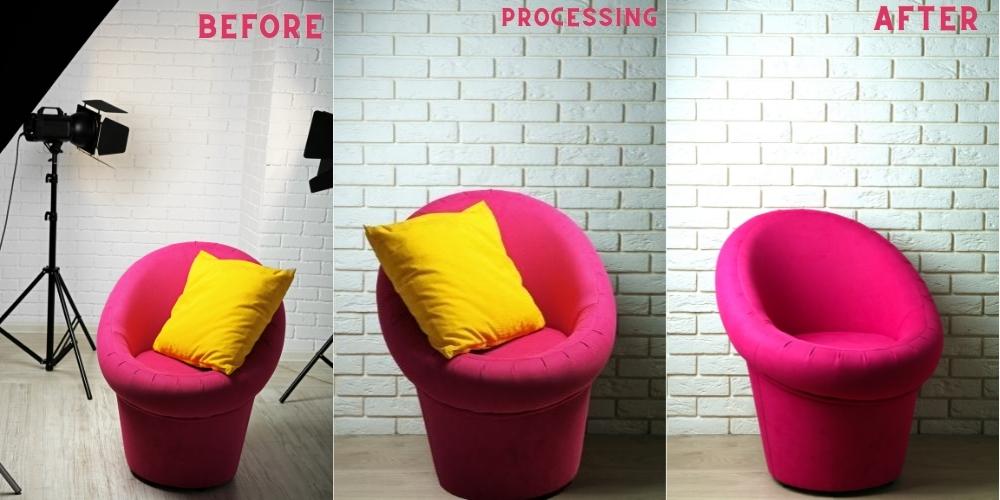
When you capture images of all products in your own Photo Studio, it’s time for post-processing. Post-processing is required for e-commerce product images. RAW images can be used as a final product display on the website. Because these are unusual in many ways and you need to fix them to get the best results.
When consumers land on an e-commerce website, they only see pictures of the products on display. If the pictures are visually appealing, they can easily grab the attention of visitors and customers. The image of the product is also responsible for buying the product in the minds of the consumers.
Therefore, you need to take post-processing into your account and get it done properly. However, photo post-processing is done with photo editing software like Photoshop or Lightroom. Post-processing has several post-processing applications. They are,
- Background Removal
- Retouching
- Natural, drop shadow, and mirror shadow effects
- Removes scratches and flashes
- Sharpen
- Color fix
- Optimization
- Neck Join
Each image in this application has a selective effect. Having Photoshop skills will allow you to properly post-process your own product photos. Otherwise, you need to seek professional help in this regard.
For your information, there are many online post-processing services. You can choose them to fill it. In this work Professional editor is recommended because you are going to show customers product pictures. If they are not perfect, they will not be able to persuade consumers, so you will not be able to reach the goal. So, you need to hire a professional photo editing service provider. Clipping Amazon is one of them. They have 100+ experienced Photo editors who will never disappoint you. If you have any doubt you can try their Free Trial. Then if you are satisfied with their work you can hire them.
Finaly
This is all for setting up your own budget product Photo Studio. With the list of tools mentioned above, you will find many options when buying these. Do a little market research and consider which one will suit your budget. Good luck to you on your product photography journey.