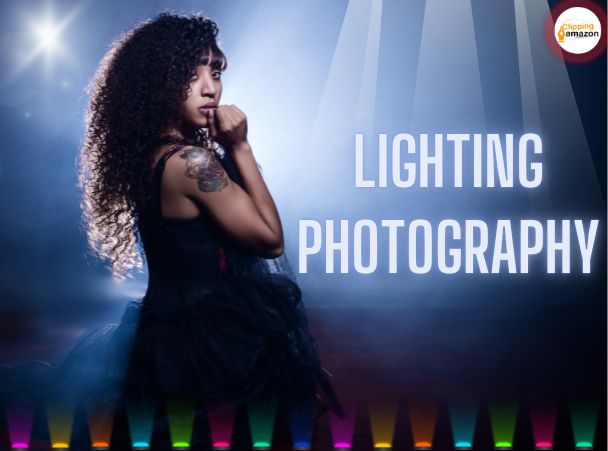
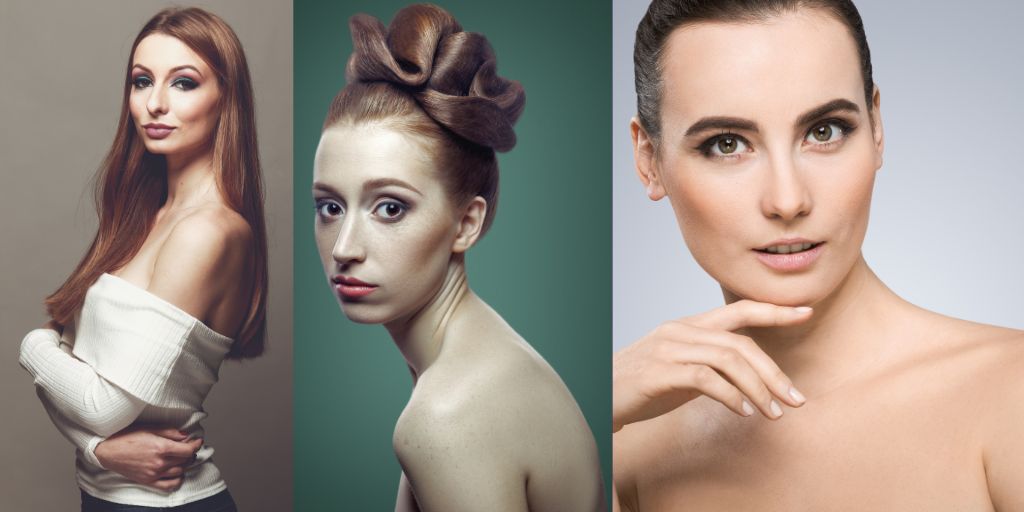
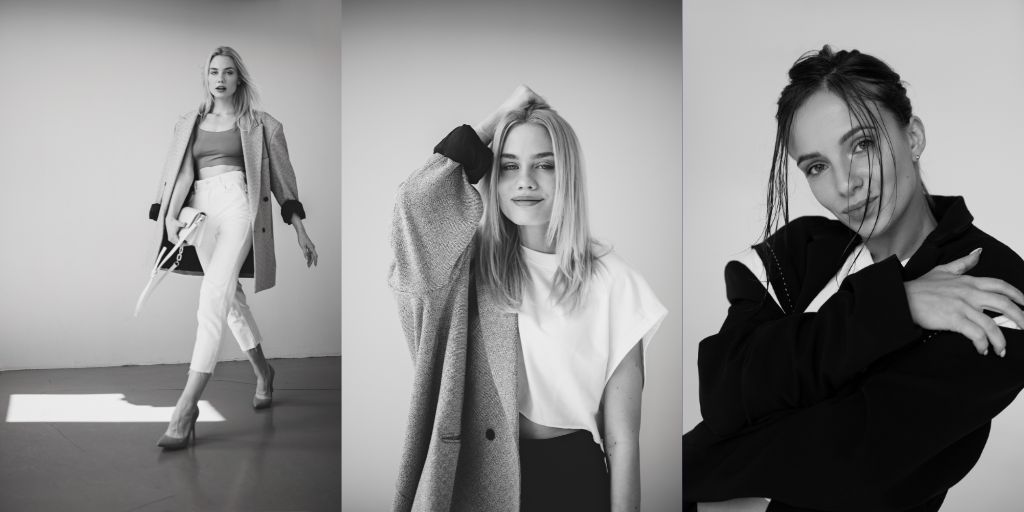
The lighting is what makes a picture come to life. Proper lighting is one of the best ways to get a perfect photo. Even if the lighting source is natural or artificial, it’s important to use it correctly. If you want to improve your photography skills, you need to learn more about lighting.
It is the most cost-effective way to use natural light. Artificial lighting helps create eye-catching results because it is free and easy to access. So, the basics of lighting are covered in the article.
What Is Lighting In Photography?
Natural or artificial lighting is used in photography. In order to get a true vibrancy of color, luminosity, and texture, a light source’s intensity and position are essential. A professional-looking photograph can be created by distributing the shadows and highlights correctly.
Let’s look at photography lighting techniques. Also, understand how to use them. You will gain practical knowledge at the end of the article. Now, get a better idea of using different types of light.
Light Photography Types-
We already know that we can use lights in different ways. Let’s look at light photography types first.
Flat Lighting Photography:
The flat light and front light are the same. The front light is when the light source is in front of the subject. So, it makes a difference in the picture. It is common in photography to create a uniform illumination across the subject of a photo.
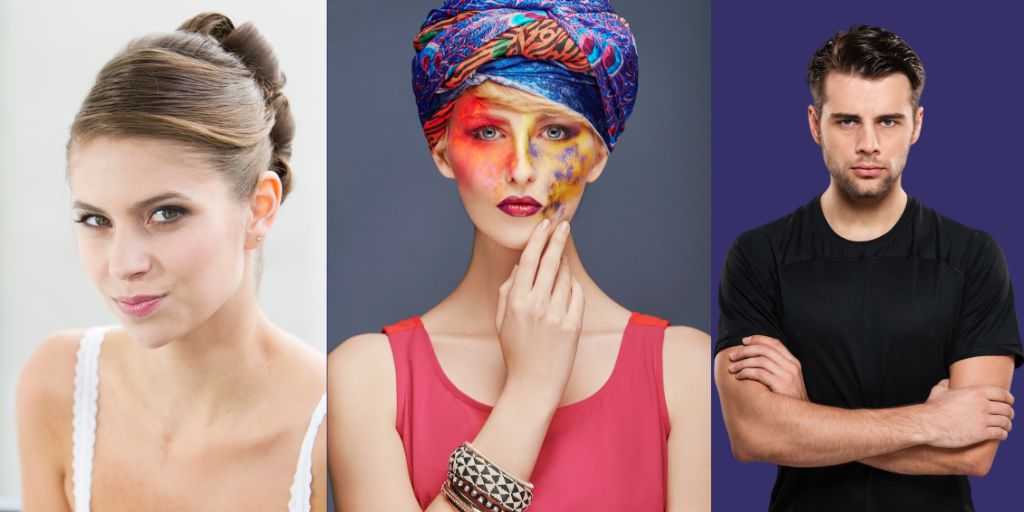
During photography, focus on the model face and make sure. Though it is well lit, there is no shadow on the face as shadows show up the flaws of the face. Also, you can use flat light to hide your model’s flaws. It works well with someone who is oozing. However, it is not the look that the person wants. Sometimes the subject looks lifeless when there is no shadow.
For flat light, the lighting setup is easy to understand. The light should place in front of the model. Because, after adjusting it slightly above the face, the light will fall onto the face.
Advantage:
- Flat lighting for photography is necessary to hide skin defects.
- Beauty photography light aims to make the skin look smooth and flawless.
- Also, it can use for a large group shot like a wedding party photo.
Disadvantage:
- Flat light is not suitable for shadows or glowing rays.
- Also, you can’t use it in landscape photography.
- The photo looks lifeless because it doesn’t show a shadow or highlight.
Broad Lighting Photography:
Side lighting photography is also referred to as broad lighting. Here one side of the subject is facing the camera. The side with the most light is that one. The shadow is on the other side and away from the camera. The less well-lit side is where it is found.

The others don’t provide as much contrast as the broad lighting does. Broad lighting works great for a person with a slim face. This lighting setup is very similar to flat lighting photography. The light source should be positioned at a 45-degree angle. Also, it shouldn’t be too far above the subject. The light source needs to be turned away from the subject. If you want to shoot the subject, make sure that the face is partly lit. If you move the camera, you can find the brighter portion of the subject.
It’s ideal for narrow faces. You can use it for baby photography.
Advantages:
- There one part of the face is not visible. That is why photographers use this to hide any marks on the model face.
- It has a good depth. So, broad lighting is the best for flattering results.
- The short side will throw the shadow.
- also, the lighting patterns provide more contrast.
Disadvantage:
- It doesn’t give a good result for someone who is overweight or has a round face.
Short Lighting Photography:
Short lighting is similar to broad lighting. It is called narrow lighting. The side that gets the light is referred to as the short side. The entire face looks thinner because it’s in the shadow.
However, the broad lighting setup requires a light source at a 45-degree angle. It is possible to do it with only one light. So, the camera should be in a position in front of the subject. Then look at the subject from a different point of view. The light must fall on the side of the face in order to be important.
Advantage:
- It’s perfect for low-key images and to create a high depth images.
- Also, it’s easy to make the model face look smaller.
Disadvantage:
- Sometimes it needs a light source. Because the fill light can be used to control situations.
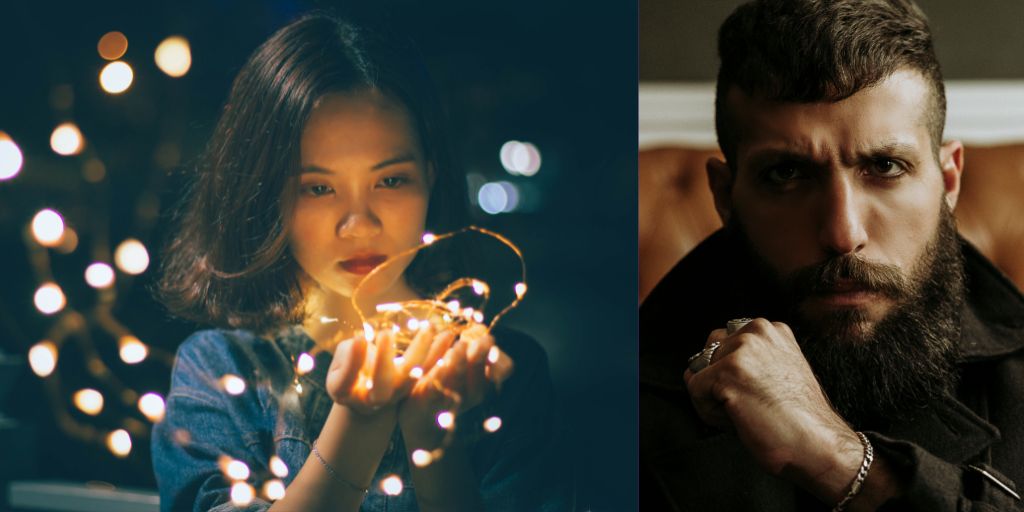
Back Lighting:
The name indicates that light comes from behind the subject. So, it is used to make shadows in pictures. When the sun begins to set, you can use the natural light to create a silhouette. Also, it will create a dramatic photo if combined with other atmospheric conditions. So, if you want to light your subjects as softly as possible, use fill light.

It is not easy as the others because of the factors. The light behind the subject, different angles, and white balance is correct.
Advantage:
- It’s not necessary to have extra lighting for outdoor photography. So, you can use natural light to illuminate.
- This emphasizes the depth between the subject and the background.
- Also, can take pictures in only black and white.
Disadvantage:
- The backlight can make the subject blurry.
- Secondly, it needs to use reflective material.
- Also, you have to choose the right time to use natural light.
Soft lighting:
Portraiture, travel, and food are some types of photography that use soft lighting. The subject will look more youthful because of this light. Shadow edges will be smooth and open in soft lighting. Also, the contrast will be less by it.
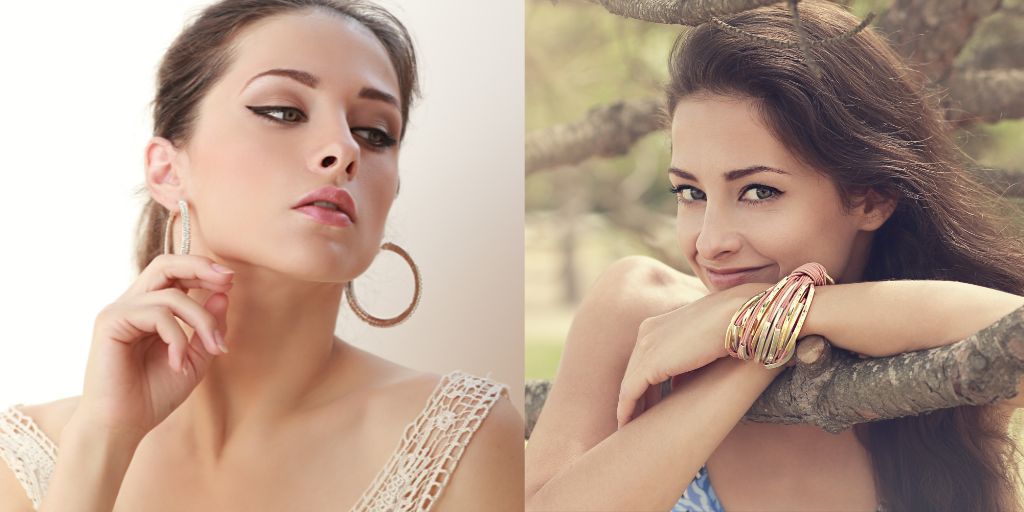
The light should place closer to the subject in order to achieve this. Also, a softbox will place between the subject and the light source in the studio. So, there is a lot of soft light coming from the window lighting. It’s perfect for outdoor soft lighting when there is an overcast day.
Advantages:
- The subject looks warm and natural under the soft light.
- So, it doesn’t need a lot of retouching.
- Also, it helps to keep the skin looking good.
Disadvantages:
- It is not possible to create a sharp contrast image with soft light.
- It’s hard to create a dark shadow image with soft light.
Hard Lighting:
Soft light and hard light are different. Hard light creates a shadow with high contrast whereas soft light is not. So, the shadow and light both are very different. That is the reason it can create a sharper image. It looks at a single part of the photo.

The studio is created by positioning the light source in a place that casts a shadow. The light is softer because of the diffusers. Camera flash can be an example. Also, the hard light makes the shadow increase.
When a photographer first uses flash, it considers suitable.
Advantage:
- It adds complexity to the subject.
- So, its high contrast nature makes it look different.
- Also, action shooting, it creates a strong sense of drama.
Disadvantage:
- In the hard light, every model wouldn’t look good.
- For some places, hard light isn’t good.
Rim Lighting:
It’s a kind of backlighting. The light hits the subject from an angle. The highlighted edge shows the subject’s shape and separates it from the background.
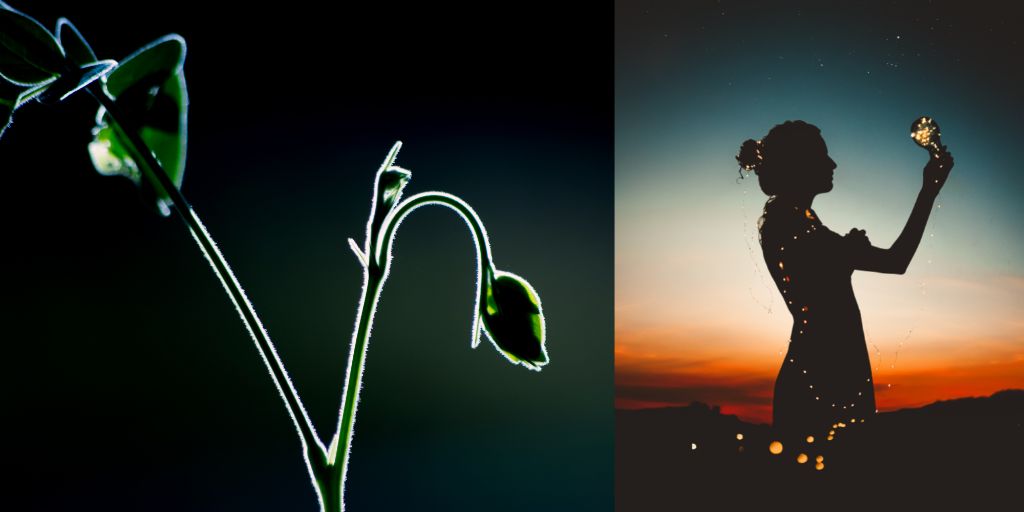
A single light source behind the subject is needed to create rim light in the studio. The subject needs to be turned until its edges are highlighted. It’s a good idea to use natural light on sunny days. The subject should be in a position where the light is from above and behind it. The higher the contrast, the greater the effect on the rim.
Advantage:
- When you have to separate the subject from the background, it is perfect.
- It creates two-dimensional silhouettes.
- You can only natural light to create stunning images in rim lighting photography.
Disadvantage:
- It is difficult for beginners who don’t have a lot of experience
- It’s difficult to find a perfect position of light and subject.
Loop Lighting:
The glamour lighting and loop lighting are the same. Portrait photos use loop lighting. It is less dramatic and creates more depth because it is agreeable. Beginners can start with loop lighting. It is easy to do.

The lighting is just 45-degree above eye level. There is a shadow on the side of the nose. The nose makes an entire triangle. Also, the shape of the shadow can be adjusted with the light source.
Advantage:
- The lighting pattern is very easy to implement.
- This lighting can be adjusted easily by any subject.
Disadvantage:
- Loop lighting is not perfect for a dramatic photo.
Butterfly Lighting Photography:
Paramount lighting creates a butterfly shadow under a person’s nose. It looks great because it highlights the cheekbones. A slim look is created by butterfly lighting. Short lighting and butterfly lighting can make a model look thinner.
A light will place in front and above the subject. It’s great for fashion magazine portraits.
Advantage:
- When you want to emphasize the angles of the face, you can use it.
- It works well for glamor photos.
Disadvantage:
- Model eyes look dark.
- Not for children and family photos.
Split Lighting:
Split lighting a half shadow effect. The lighting pattern splits the face into halves. The source of light will place from the angle. The subject will be in the shadows and light, creating a more demanding and dramatic image. It shows the texture of the face where a harder light source makes the shadow dramatic and, A softer light source makes the image bigger.
In fashion and commercial photography, split lighting is very popular to create variety in photos.
Advantage:
- It’s possible to do it with a single light source. It is so easy to learn.
- If you want to highlight glamour, split lighting is the best.
- Also, you can use it in both photography and cinematography.
Disadvantages:
- It shows the texture of the face and narrows the face.
Rembrandt Lighting:
Portrait photography uses Rembrandt lighting. An upside-down light creates a triangle. It makes portraits like split lighting.
The light source is placed at a 45-degree angle from the subject. The key light might be a flashlight, studio lamp, or household lamp. Also, an optional light source can be a fill light. The key light must be higher than the eye level. So, the fill light should be opposite the key light. The triangle of the light can be seen under the subject’s eye.
Advantage:
- It can be done with less equipment.
- The Rembrandt lighting emphasizes light.
Disadvantage:
- It suits only black or dark background. The background wouldn’t give a good result.
To make your lighting photos more beautiful and appealing you can apply photo editing services. Clipping Amazon is a professional photo editing company. We have an expert team of photo editors. To learn more about our services visit our website.