If you are just starting to learn food photography, you might find it hard to create beautiful food photos that you have visualized in your mind. The best way to master any skill is to practice—and this applies to food photography ideas as much as it does to anything else. So, set aside time and experiment to build your skills.
The ultimate goal of food photography is to bring your dishes to life, so it’s important to shoot them as realistically as possible. This is why we’re showing you a range of techniques that can be used to achieve that effect.
Food Photography Ideas For Beginners:
If you are looking for food photography ideas for beginners, you are in the right place.
These easy food photography tips and tricks and a few basic techniques can improve your photography. This article will help you get the brilliant results that you strive for, whether you want to make your cookbook or shoot a video about food.
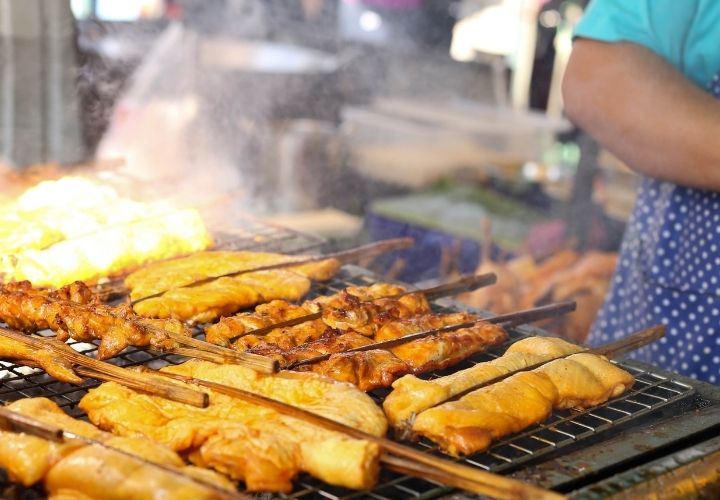
Food Photography Ideas- Using Artificial Light:
Food photography lighting is the most important thing you should learn first, as it can make or break your photos. Natural light is the best light for photographing. Other photographers use artificial light to get consistent lighting and white balance, which saves them time in the post-processing.
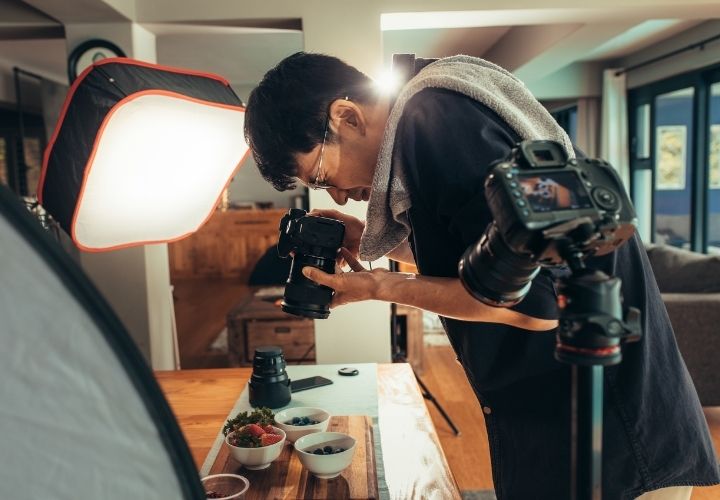
Artificial light in food photography makes it possible for them to take photos at any time.
If you decide to use artificial light, don’t use a flash or overhead light. A bounce card and a good quality flash are needed. As the light will fall harshly and the food will lose all the details, never direct the flash to the food background.
To bounce the light to the food, you should use a reflector. The angles, camera settings, and intensity of the light can be used to experiment with a food shot.
Setting The Light On Different Sides:
If you don’t stick to one side when setting the light, you can do a lot with it. You can experiment with front lighting, backlighting, and side lighting to see the difference they make.
Can you tell the difference between those three photos of dishes?
There will be less shadow on the food if front lighting is used, and it is a safe choice. The results are nice enough. When you want to show the texture and contrast of the food, side lighting can be used.
It is worth the effort to backlight. It gives a clean, light background that helps turn the focus to the food and gives highlights to the glorious details of the food. Sometimes the light will change when you adjust the light setting to make it darker or lighter, but manual settings are usually better for taking.
You will see what works when you keep trying. This will allow you to create stunning images of your food in fancy editorial styles.
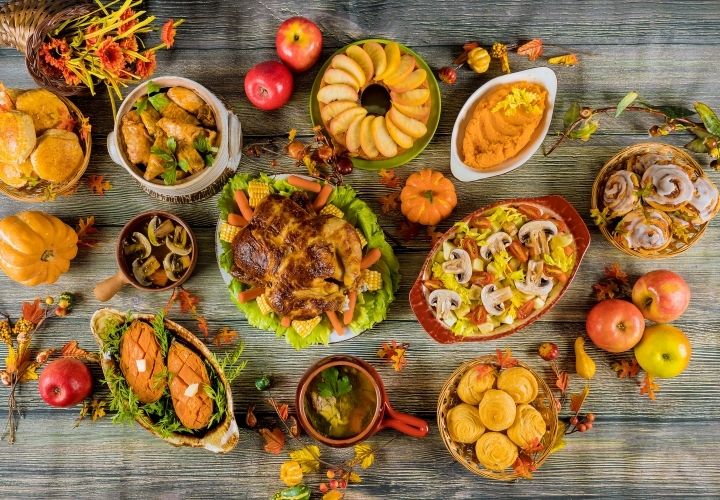
Food Photography Ideas- Use Fresh Ingredients:
Food photography ideas are all about the appearance of the food, so you need to make sure that every food is in perfect condition. You have to be careful not to take bad photos when you exercise. You can’t have wilted lettuce or a bruised tomato to ruin your photos.
If you want to save yourself from the extra work, only use the freshest ingredients.
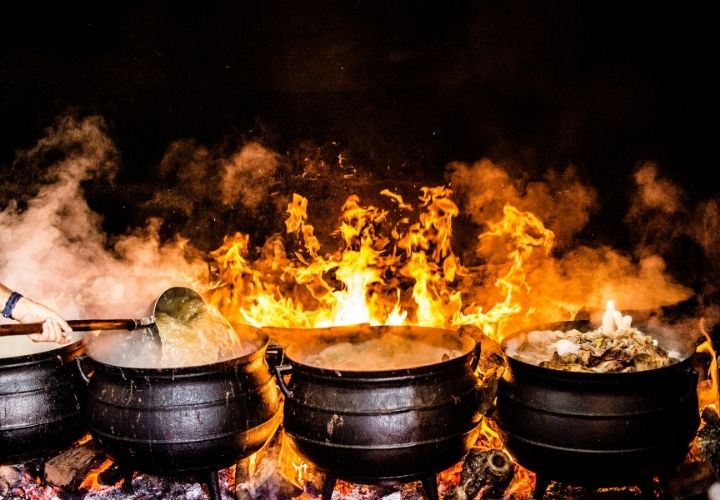
Shooting The Food While Cooking:
Shooting after the food is cooked is too late because you’ll miss a lot of opportunities to get good pictures during the cooking process.
Before the food is cooked, start when the ingredients are being prepared. Think of boring soup, pasta with white sauce, or brown dishes like chili, beans, or stuffing, they don’t look good when they’re cooked.
When it still looks flat and boring, you can attempt to shoot the cooking photography process. Sometimes the raw or half-cooked ingredients look more appetizing than the cooked dishes.
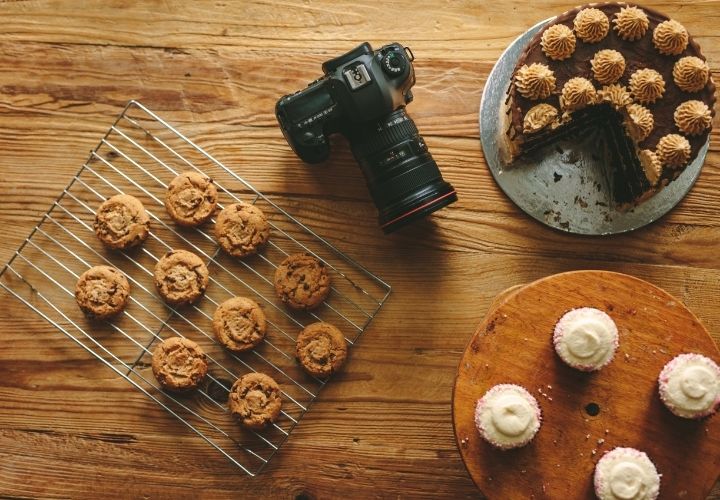
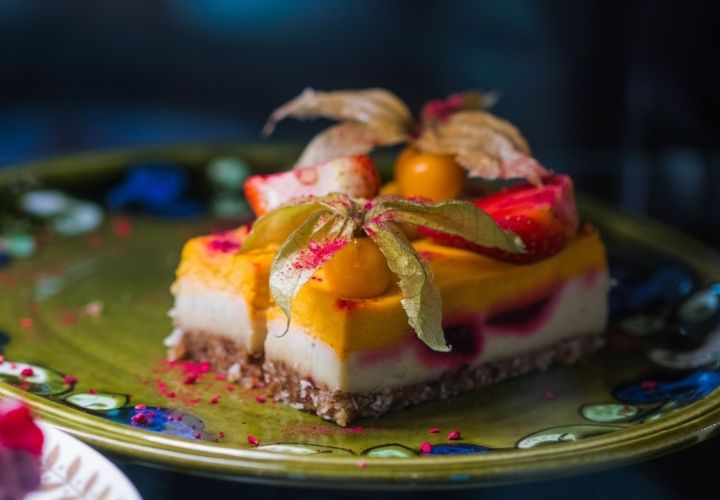
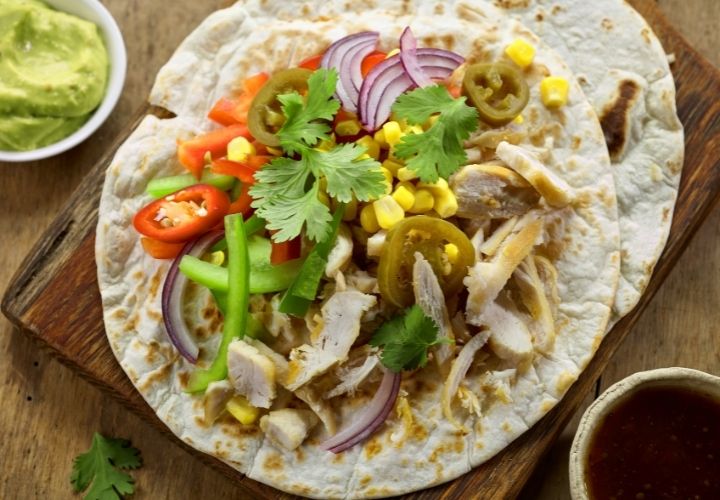
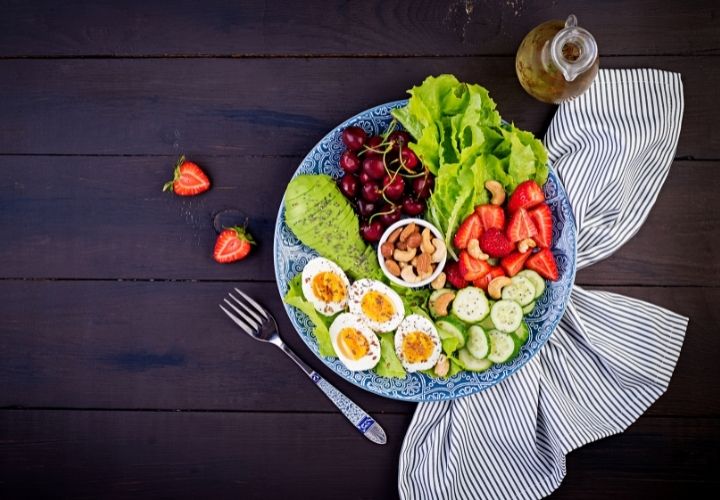
Taking Photos From Different Angles:
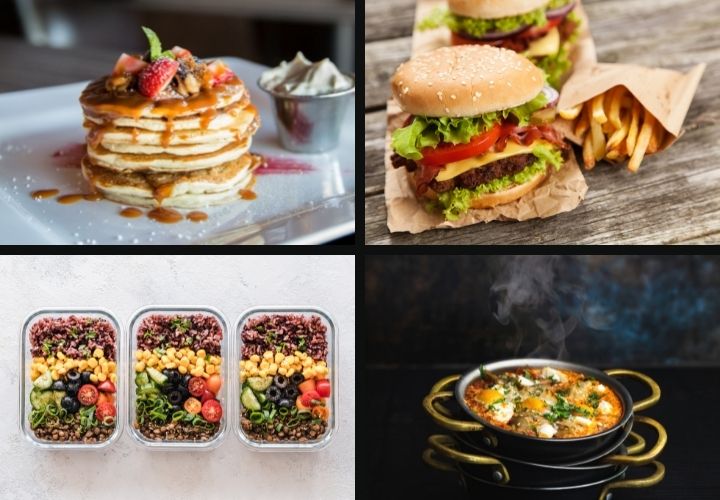
There is no one-size-fits-all angle. Different foods have different angles.
This cheese and fruit platter looks best from above, while a taco or burger looks best from the side. There is more than one angle that works for each food. To make it easier for people to see the food needs, you need to show it in different ways.
Don’t be afraid to experiment and get creative, because you can explore the angles you can think of for each dish.
Food Photography Ideas- Taking Photos With Negative Space:
Many photographers take photos of food in two different ways-
- Show the whole dish in the frame;
- To show the luscious details of the food.
But, taking photos with negative space is one of the ways they shouldn’t miss! Leaving a negative or blank space in a photo can be useful for the clients when they need to put a logo or writing in it.
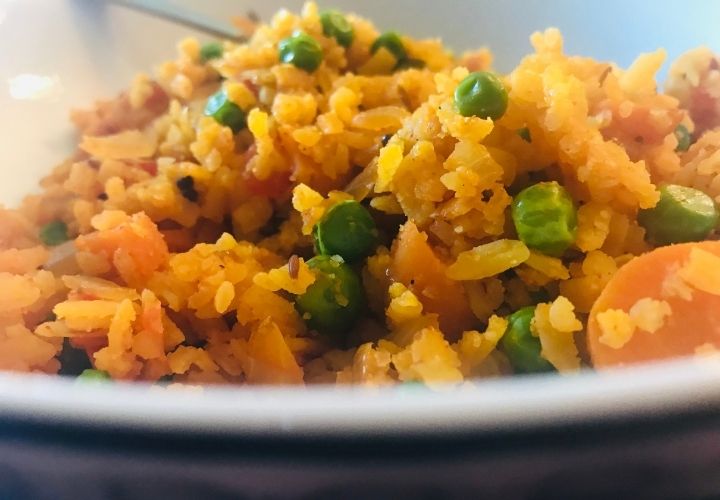
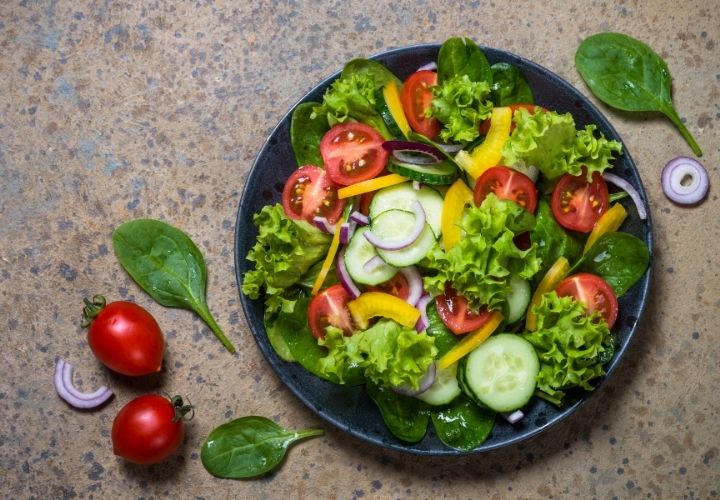
Bumping Up The Saturation Too Much Is Not Good:
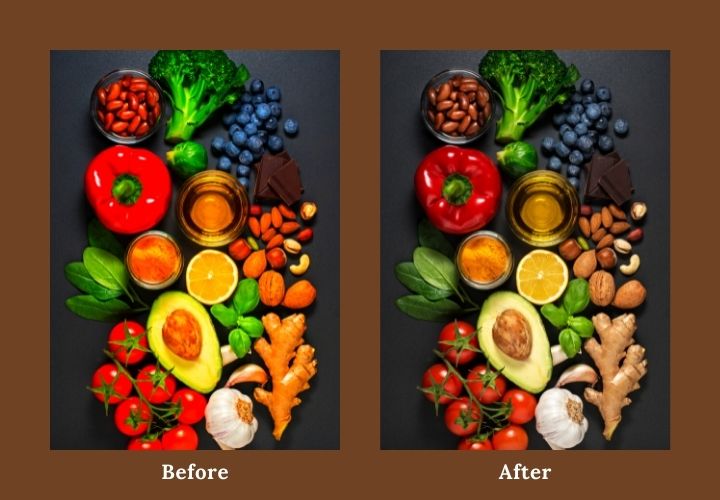
Sometimes, food photographers can fall into the trap of bumping up the saturation too much to make the food photoshoot look more gorgeous with all the colors.
Take good care of your food photos, because they can determine if someone will order your food or not. Keep your photos away from being too bright. Try to use the exact colors in your image.
Using Too Much Food For Plating Is Bad:
It isn’t a good idea to put a lot of food on the plate. Because it wouldn’t look good on the camera. Too much food on the plate will make it harder for the audience to pay attention.
Simplicity is what food photography is all about. The audience will appreciate the food if enough space is on the plate. Less is better!
Food Photography Ideas- Don’t Allow The Food Sit For Too Long:
There are some foods that require you to capture them quickly once they get ready. Otherwise, they will lose their real beauty.
Meat can look a bit dry after some time, while leafy greens can look a bit wilted. If you don’t do your setup before the food arrives, you won’t be able to take action when they’re ready. So, keep setting your table before the food set is ready. For it uses empty plates or bowls to set up. Then, when the food is ready, you can put it in.
Food Photo Editing:
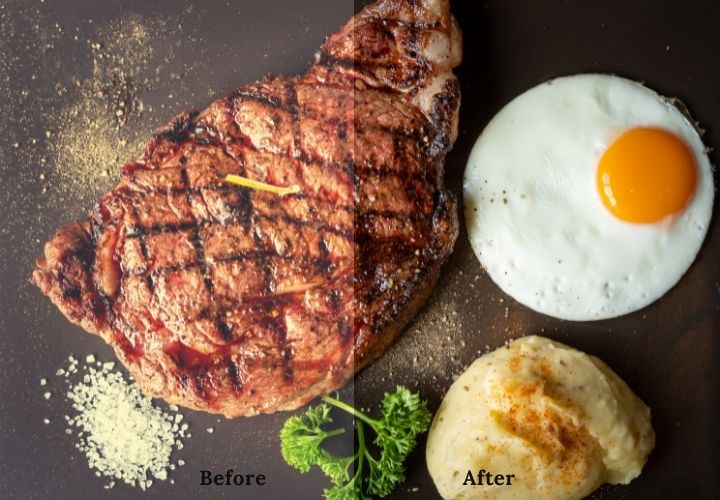
A photo editor can help you create more compelling and attention-grabbing photos. A good photo editor will help you enhance your pictures. It will also help you make your food photos look more professional. A good photo editor will teach you how to edit your images. It will show you how to change your images into more appealing and interesting ones. Also, it will help you find out what kind of photos you like best. You can buy a photo editing program or use a free one. You can either use a photo editor if you want to make your food photos more attractive. Clipping Amazon is the best professional photo editing company. If you want the best food photos, you can hire Clipping Amazon. To learn more, visit the website.