Have you decided to start an online store? or, Do you own an e-shop? I bet you’re very excited to start selling. I know you think your products look great. But does it look great when you upload them? Just think about how your products really stand out in the era of Instagram filters? Are you tensed? No worries! You don’t have to be a professional photographer. You can have attention-grabbing photos of your products through smartphone photography. Let’s learn how to take beautiful product photography with a smartphone, some natural light, and a good product photo app.
How to Take Professional Smartphone Photography?
Most eCommerce storekeepers know the essentials of taking item photography with a Smartphone. Set a white backdrop and some normal light, pick the greatest setting and goal conceivable on your telephone, and capture! You have an item photograph. This is an incredible beginning.
Yet, there are a couple of additional devices and adornments that can extraordinarily upgrade your photographs and exhibit the estimation of your item to allow customers to imagine it in their lives.
On the off chance that you need to turn into an expert photographic artist with your cell phone and make astonishing item efforts, here’s the manner by which to fabricate your arrangement.
1. Use a Room with Enough Light

In the first place, discover a room in your home with a sufficiently bright window. The greater the window, the more characteristic light you’ll have for rejuvenating your item. Taking item photographs nearer to the window makes a gentler light with more obscure shadows. Being farther away from the light source will give you lighter, more keen shadows.
2. Choose your Smartphone
Most cameras of smartphones nowadays make extraordinary DSLR substitute for product photography. The higher the megapixel tally, the better will be your product photographs
You can utilize any smartphone phone with a decent camera, yet expect to get your hands on a more up to date model with a 12-megapixel camera or more, for example,
- Apple iPhone 8 or newer
- Samsung Galaxy S8 or newer
- Huawei P20 Pro or newer
- Google Pixel 2 or newer
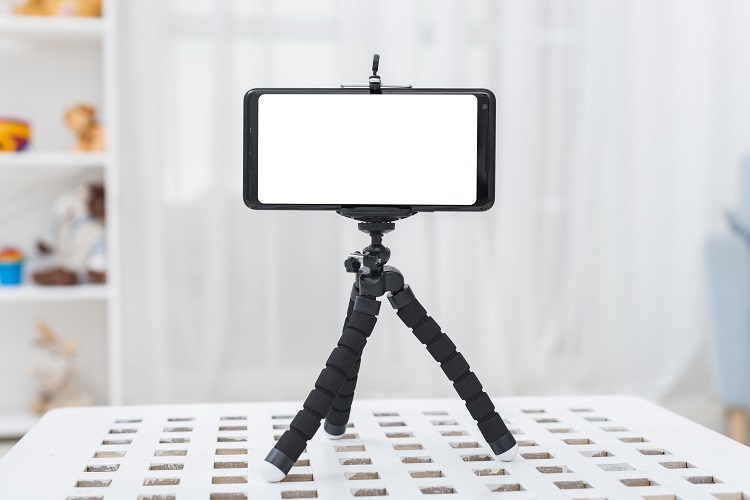
3. Use a Mini Tripod
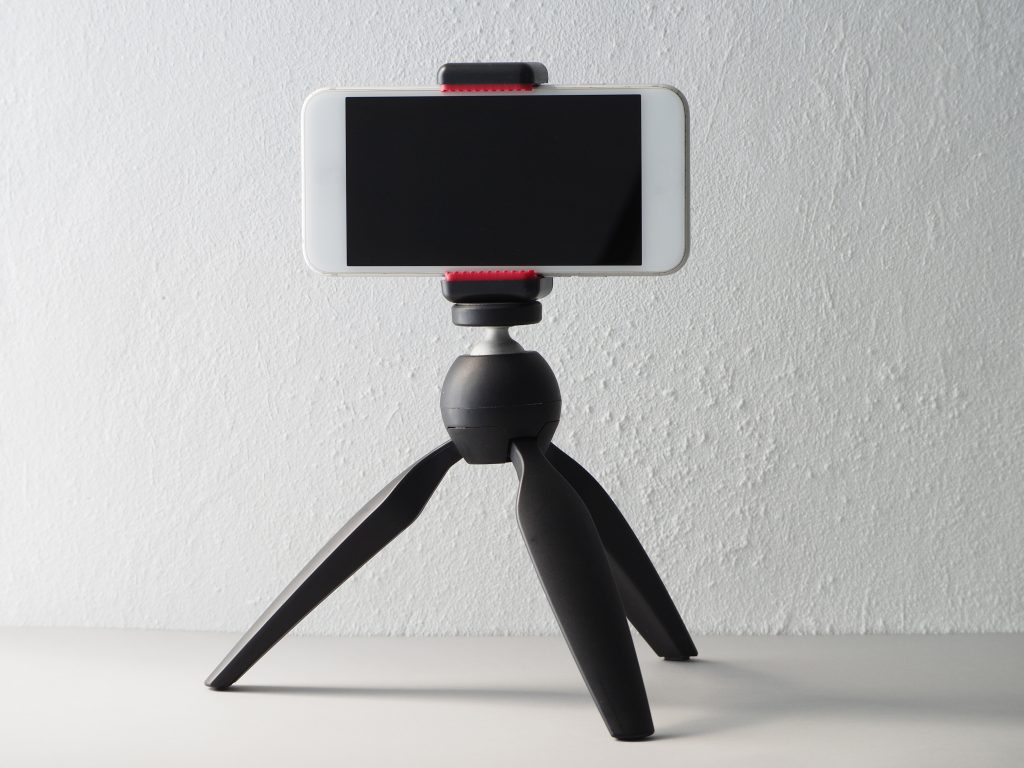
You can get a mini tripod. It will be very helpful for smartphone photography. You can get an expensive one or an economical one. However, the uplifting news is, regardless of your financial plan, they’re a wise venture with high results. Such as, a mini tripod will lessen camera shake. It will also help to normalize photograph points as well as style for your product offering.
You can consider the Manfrotto PIXI if you just want a simple mini tripod. It’s a mini tripod kit.
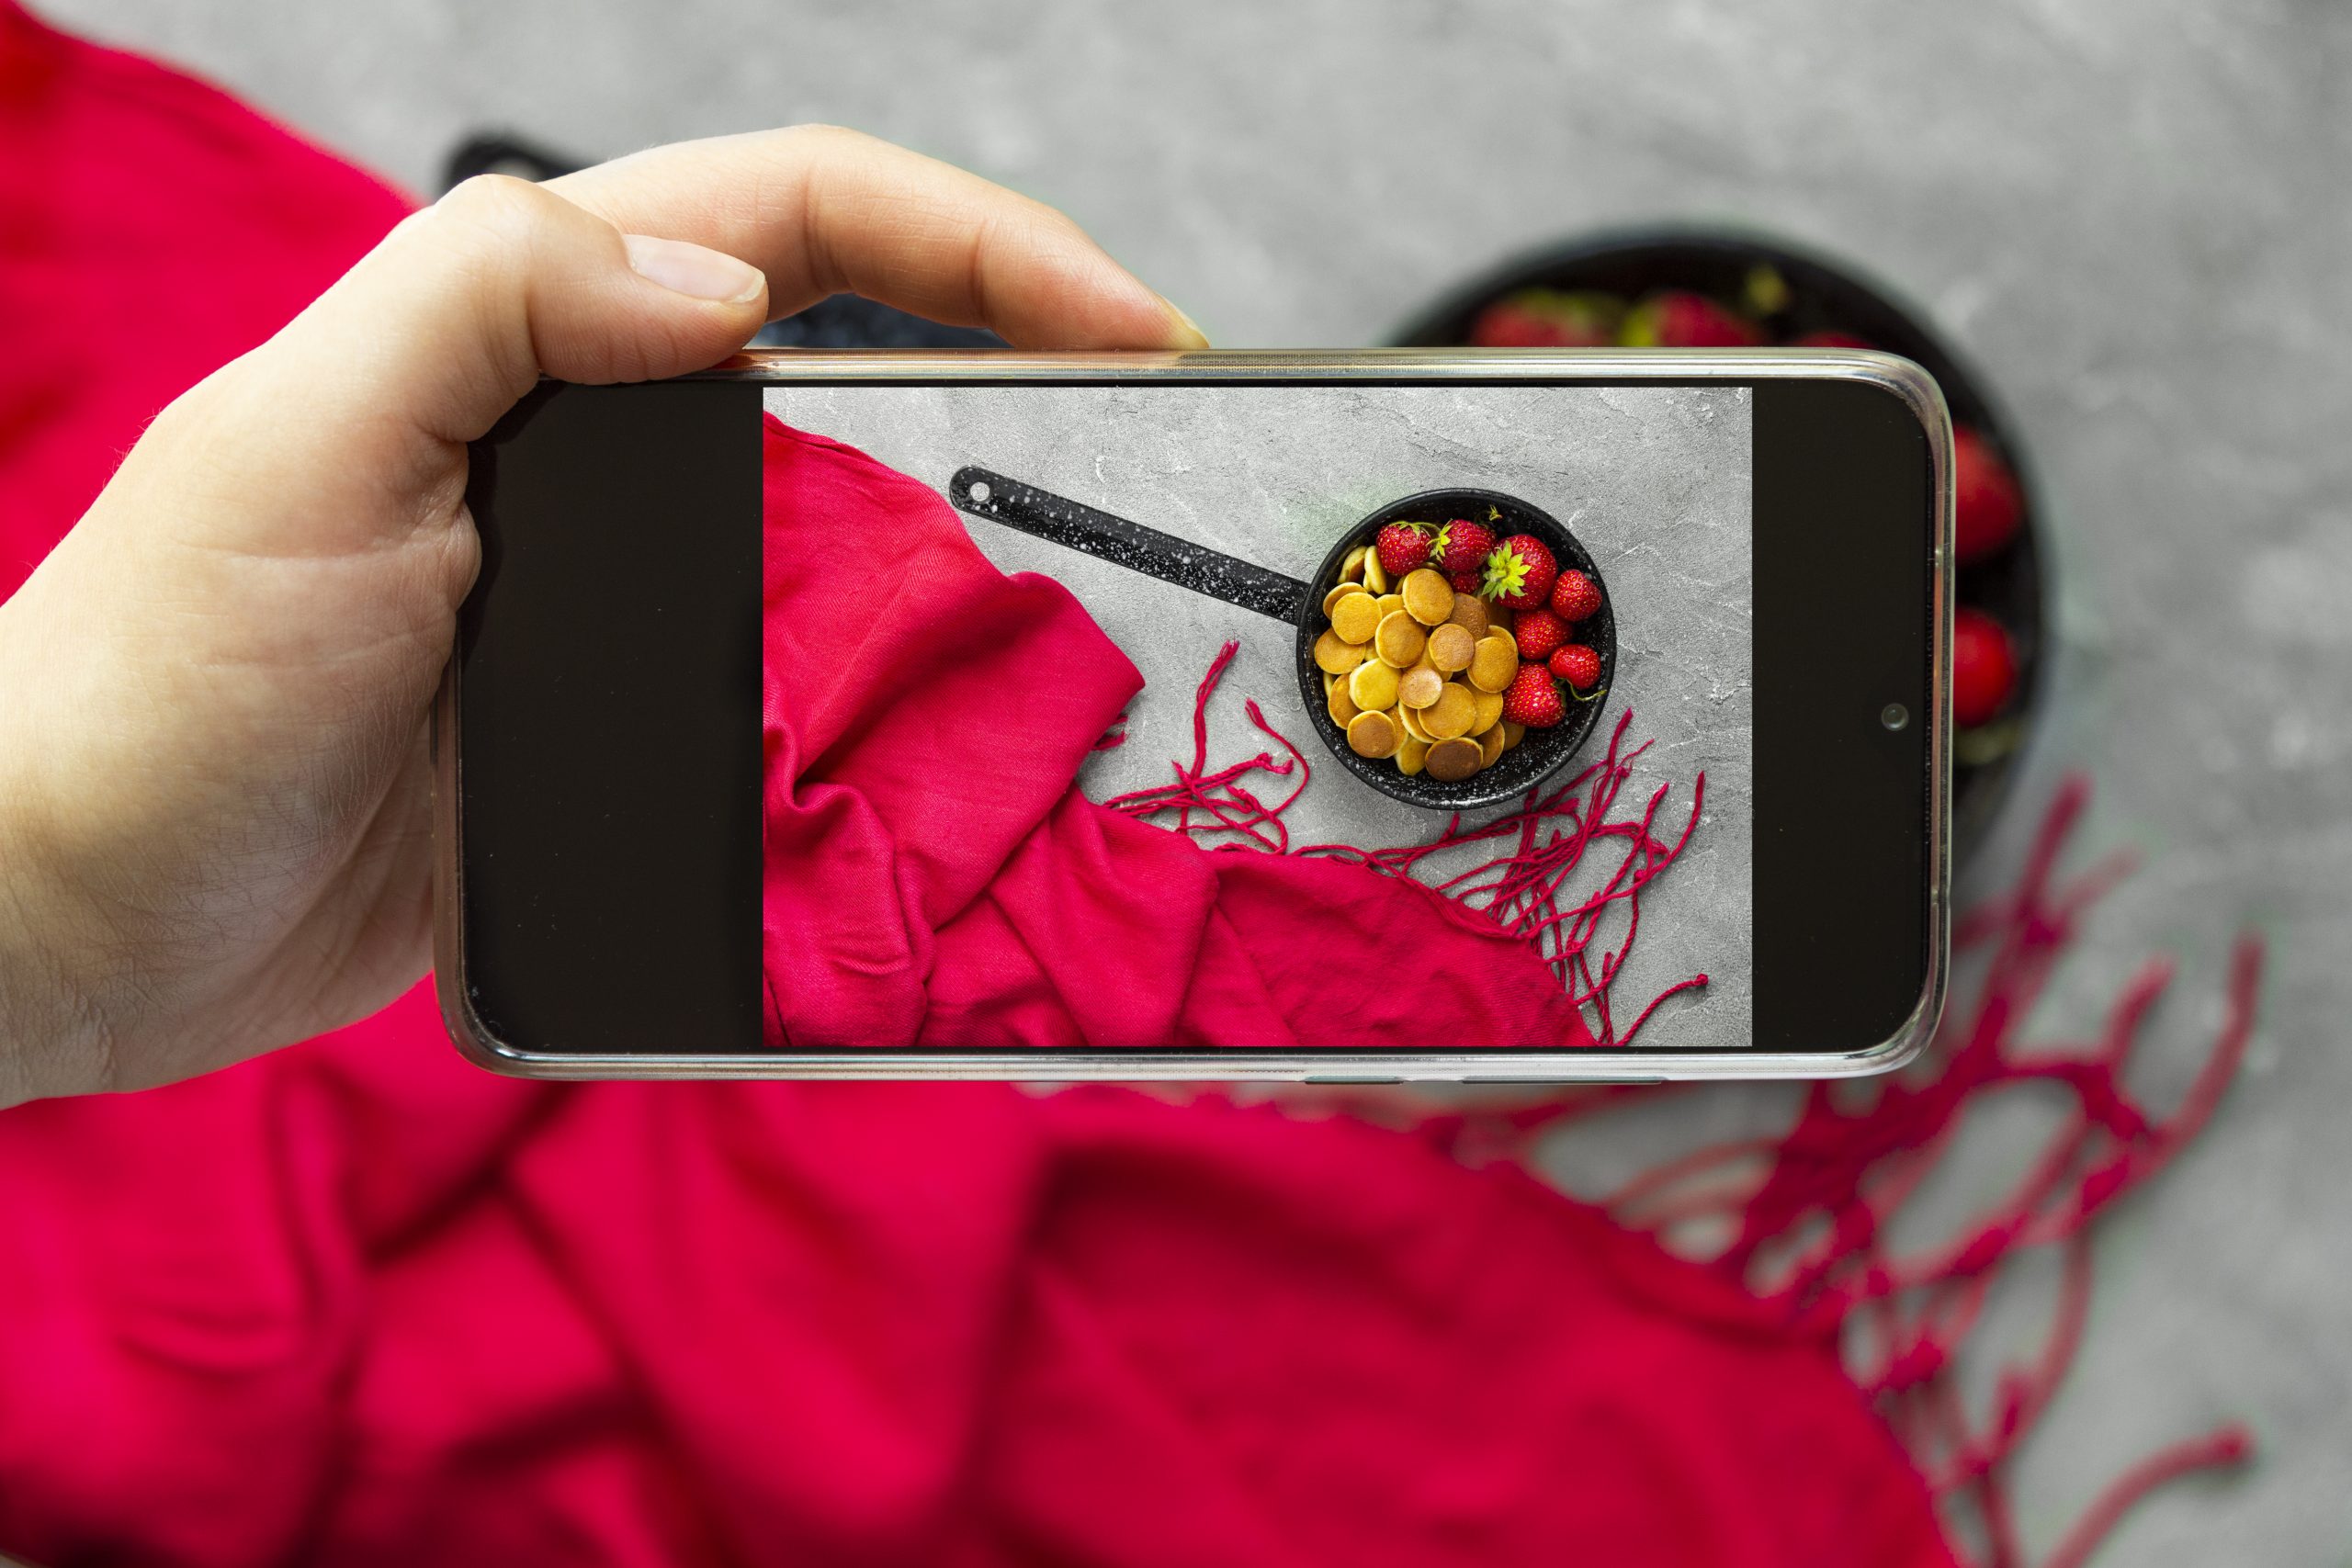
4. Set Up Your Background
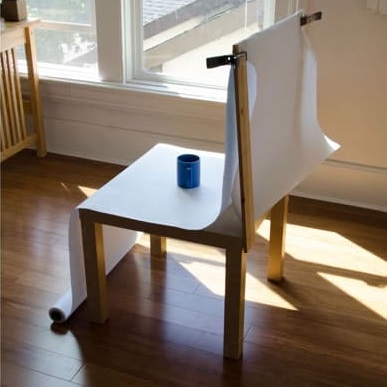
Set up a white background behind your items to give your photos a perfect and reliable look and to wipe out interruptions. You could utilize a white paper sweep or purchase a banner board craftsmanship store. You’ll additionally require a table to put your set on.
You can utilize Scotch tape to hold the background down or stick your item to the setting.
Continuously keep your setting white. A white background mirrors natural light to the products. Because of this, you can get an equitably lit photograph. It likewise makes the altering cycle simpler if you need to eliminate the foundation. A cream or grayish shading will make altering and lighting troublesome. Likewise, attempt to situate your scenery behind your item as well as under it too.
5. Use White Bounce Boards
Controlling the lighting is key when figuring out how to take item photographs with an iPhone or Android. Bounce Board helps to limit solid shadows. It also establishes more adjusted lighting. As a result, you will get the finest details of your product.
6. Set Up a Diffuser Sheet
At the point when the lighting is too harsh, the diffuser sheets will suppress the light. However, You can find them on Amazon. On the other hand, you can make one by yourself at home with some parchment papers.
Since you have your arrangement prepared, we should discuss how to utilize Natural light when taking product photographs with smartphone or an iPhone
Natural Lighting For Product Photography
Photography lighting can be your closest companion or most exceedingly awful adversary when figuring out how to take item photographs with an iPhone or Android. Hit the nail on the head and you’ll have flabbergast product pictures on your hands. Failure to understand the situation and no post-processing will help save your photograph.
I can help you with 3 key tips that are essential for getting the finest pictures from your photoshoot. So, those are-
1. Shoot in a Well-lit Room
Natural light coming from a window is an incredible alternative versus a photograph studio or counterfeit light. To begin with, you presumably approach a window. Because it appears from a single direction. As a result, it creates common shows and adds texture to your products.
Think about the climate—is it radiant or overcast? To get the look you’re going for, you may incline toward somewhat cloudy versus full daylight.
2. Place Your Setup Close to The Window
Focus on 90 degrees to one side or left of your arrangement. Expect to begin your photoshoot at the shiniest time of day. If there is excessive sunlight, you can generally utilize a diffuser sheet to mellow the light.
Whatever you do, keep away from hard light no matter what. As it can make colors look immersed. And it also may bring out the littlest imperfections in your product photos. Most importantly, individuals can’t see these tiniest flaws with an unaided eye.
3. Control Natural Light
In some cases, the sun will vanish out of nowhere behind the mists mid-shoot. If occurs, don’t stress, utilize your froth sheets to skip and heighten the light to fill shadows.
In case you’re utilizing a reflector, you can control the light reflecting onto your item by drawing the reflector nearer or further away. This will help mirror characteristic light from the sun back onto the item. You have to test different angles with the reflector to find the right balance between shadows and lighting.
Best Camera Angles for Smartphone Photography
If you are taking product photographs for your internet business site, i can suggest you few angles that work better compared to other people. These angles may show different perspectives of your products to a shopper. And a they may have the answer of the question that your description does not answer.
About 93% of customers utilize visual appearance as a key main consideration when purchasing something on the web. You need to give however various perspectives to feature key highlights of your item. An inside-out visual is really captivating and can help customers imagine themselves wearing or utilizing your item. Consequently, it can prompt more deals in your store.
It’s likewise critical to incorporate close-up shots of your items also. Close-ups let you capture features that represent the quality of your products.
Regardless of whether you’re shooting dress photography or footwear, there are the five camera points you should test in your photoshoot:
- Eye-Level– This view gives you the visualization of looking straight. To clarify, seeing the image you would have a feeling that you are looking straight on it.
- High- Angle– This view will show as if you are looking down at the product from an angle
- Low angle– With the help of this angle, you will have a view of the product as if you are looking up at it from the floor.
- Bird’s Eye– You will see the product as if you are standing over it with this view.
- Slanted– With this view, you can see the product from the outside.
Above all, you have to place your phone and the tripod at the same place during the photoshoot. In addition, don’t forget to rotate your product to change the angle you want for your image. This will guarantee consistency and will reduce the work of post-processing likewise.
Photography with Smartphone: Checklist
However, you have now all the stuff set up with the understanding of the distinctive camera angles and lighting. Therefore, it is now high time to shoot some photographs.
Before going down to the field, you may want to follow the checklist to make sure if you phone camera is ready for shooting-
- Make sure you have the full battery and enough storage for the images you are going to shoot.
- Set up white balance according to the light temperature.
- Adjust the exposure by tapping the exposure button at first and then touch the product to let the camera know to expose it.
- Do the same thing to adjust the focus. Make sure to keep everything in focus
- After adjusting everything, don’t forget to lock your camera settings to stop the camera from automatically adjusting the settings while your taking shots.
After you lock your settings you are prepared to begin shooting. But remember to avoid the following three things in order to get the finest product photographs-
- Firstly, a selfie camera because it is not as good as a back camera.
- Secondly, Flash. Because, this will overexpose the photo and may mess up the color.
- And finally, adjust the zoom. Otherwise, it will reduce image quality.
Post Production of the Images
How carefully you shoot the photos, you are still gonna need to get a post-production service for your eCommerce photography. Your photos need to be edited to have a polished elegant look. Because editing will ensure the difference between mediocre and professional results. For a person, it would be pretty difficult to both shoots the photos and edit them. Because editing images will be time-consuming. Besides that, it is pretty difficult to do editing properly without a professional. So, you must get an editing service.
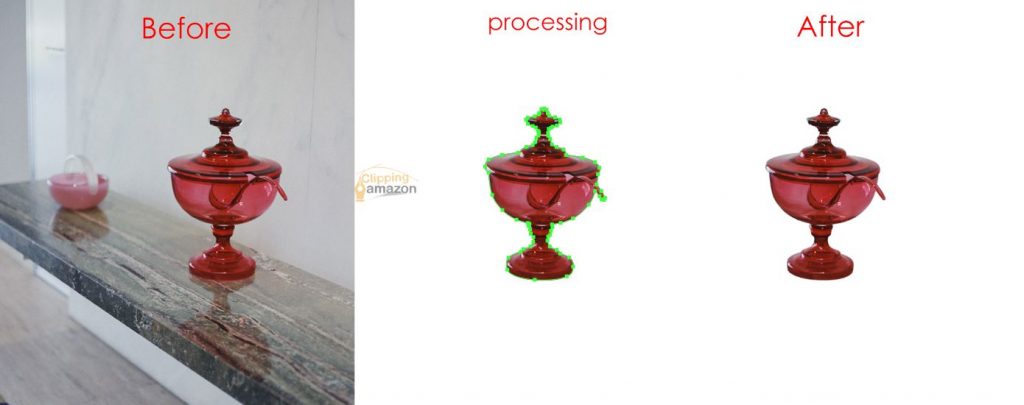
Luckily, Clipping Amazon is always available to help you with all of your photo editing needs. We provide 17 photo editing services including but not limited to retouching, background removal, color correction, ghost mannequin, etc. You can pick as per your need. The best part is, you don’t even have to worry about the cost because Clipping Amazon is quite a budget-friendly service provider starting from $.39 only. You can also have a FREE TRIAL if you want! You have to just send your test image and wait for a maximum of 30 minutes! Because we’ll deliver that within 30 minutes. If you don’t want to make a deal after the free trial, that’s completely okay with us.