The Pen tool in Photoshop uses to create a clipping path. But, when you don’t know how to use the Pen Tool, you will face problems making selections in photos. Unfortunately, most people find learning how to use the Pen tool is difficult and confusing. That is why they don’t show importance in working with this tool.
This article will present the basics of the Pen tool. And you can use it easily after learning.
So, let’s start-
What is the Pen Tool in Photoshop?
The Pen Tool is one of the essential tools of Photoshop. When you learn about Photoshop, the Pen Tool is the first thing that you will touch. The pen tool’s working range is vast. So, it is most probably the most used and most powerful tool you will find in adobe photoshop.
The first thing that the Pen Tool can do is to create clipping paths. And can shapes all along with the artboard and wherever needed. Those shapes and paths can be copied and manipulated. So, by copying and manipulating those shapes and paths, one can simply create complex selections, masks, and objects.
The brush tool and pencil tool are only suitable for drawing pixels over the photo. But the Photoshop Pen Tool is not such as them. It is different and vast from those two tools. So, when using the pen tool, it always creates a vector path on the artboard.
So, here you will see a pen tool tutorial. Click on this video and see how to use the pen tool.
Some Common Uses Of The Pen Tool.
The Photoshop Pen Tool is a generally useable tool by any user. There are a lot of areas where you can use this. This tool is also considered the most helpful tool of the entire Photoshop.
The pen works as the first touch of knowledge for any child. In the same way, the Pen Tool also works as a pen for new users. In the path in front, that Pen Tool has more usage in Photoshop.
You can modify, store, and reuse the paths and the shapes you created using the Pen Tool. It can be your main weapon in various sectors. Sometimes you might need to remove the background from a product photo. So, the Pen Tool is essential for that.
Sometimes you may need to select any part from any product photos. After selecting the part, you can switch its color and do that with the help of the Pen Tool. It is also able to make multiple paths within any photo.
Where Is The Pen Tool In Photoshop?
When opening Photoshop, you will see a window above. Then, you will see a toolbar on the left side of your screen. And there is also a working panel on your right side. If you want, you can customize both the toolbar, panel, and window.
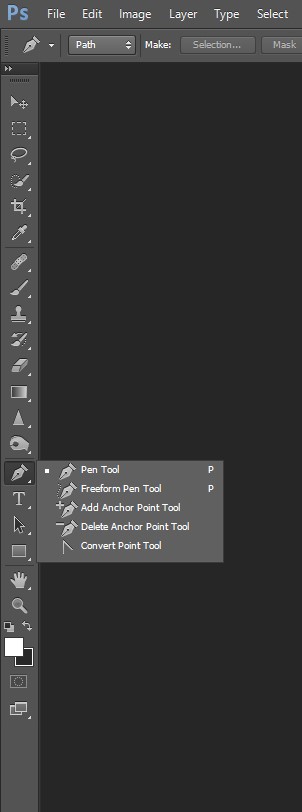
The Photoshop Pen Tool is not difficult to find, as it is set in the lower part of the toolbar on the left side. It is placed there by default in Photoshop. There has a pen sign for the pen tool. So, take the Kircher there first. Then click and hold over the pen sign.
After that, you will see the six several Pen Tools that will, as options. You can choose any pen tool as per your need. If you use CC 2020 of photoshop, you will find six tools. Or, if you use an older version, you will find five pen tool options.
There is an alternative (shortcut) method that will take you to the pen tool. Just click ”P” from your keyboard, and after that, you will see the pen tool option.
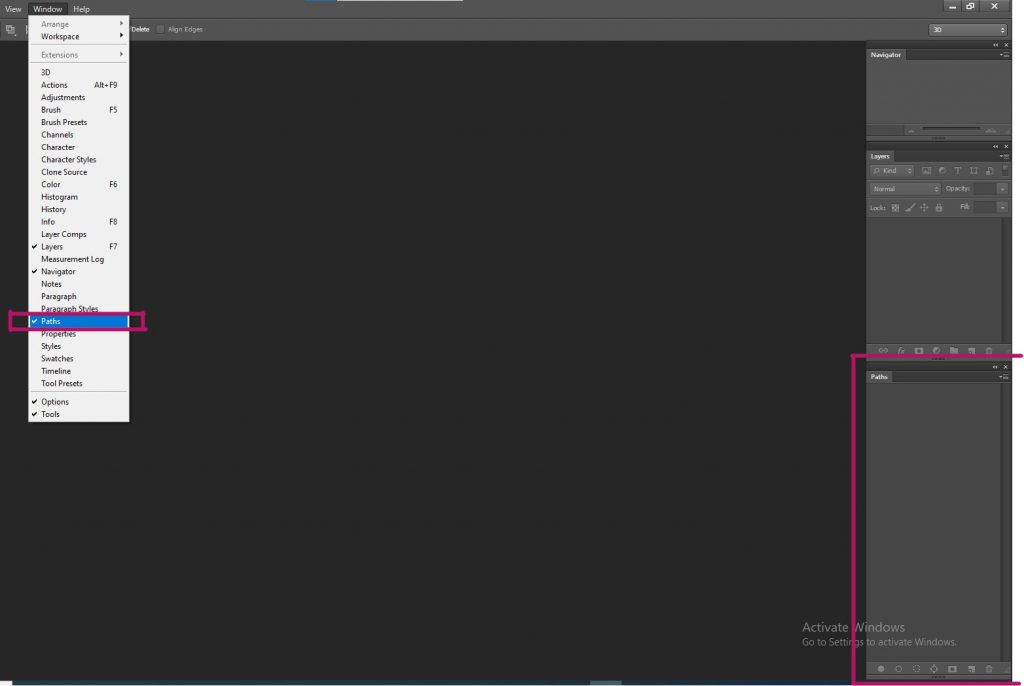
Where Is The Photoshop Path Panel?
The Pen Tool and the paths panel are alike as they are like hand-in-hand relations. The pen tool and the paths panel are both needed for each other. When you use the Photoshop Pen Tool, you will use the paths panel to maintain your work. So, the path panel should be visible on the screen.
There are some options for workspace. However, you can edit and customize that too. The paths tab is not difficult to find, as it will be visible on the Layers panel on your screen. If you don’t find that, there is another way as well.
You will see a menu named ”Window” nearly at the end of that bar. You need to click on that option. After clicking on that option, a long option bar will look. On the below half of that session, you will see the Paths panel.
When you click on that option, the Paths panel will see at the ”bottom right corner” of your screen.
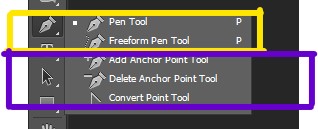
If you need to create a new path, you will find a total of 2 different Pen Tool options in the Photoshop version of CS6 or above. They are:
- The Basic Pen Tool
- The Freeform Pen Tool
You may have a question about the use of the other 3 Tool options in the Path panel. Such as, Add Anchor Point Tool, Delete Anchor Point Tool, and Convert Point Tool. They are not like the 2 Pen Tool above. You can use these 3 tools to edit or modify any actual path or shape.
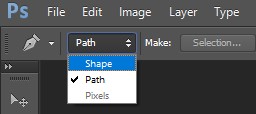
When you use any of those 2 Pen Tools, you will see an option on the top-left corner of your screen. There will be two sections, the shape, and the path. You can modify that option to either of them as you will need for your work in Photoshop.
If you draw something over the art board using the pen tool, it creates a new work path. This work will appear on the paths panel on your screen.
Here, you can draw on the art board using the Photoshop Pen Tool while the shape is selected. It will help to create a new shape path. This shape path will appear on both the Paths Panel and the Layers Panel, unlike the clipping path. You will see that on the bottom-right corner of your screen.
When you are working with the shape option, you can change some special settings options. You can change the fill color, shape color, and stroke thickness of that shape from the settings.
How To Use This To Create A Path?
You can create accurate and curved paths with the use of the Basic Pen Tool. And you can also art them with accuracy. But if you want to learn that tool by being a perfectionist, you have to go through some practices.
It will seem a bit hard when you will use them for the first time. But We (Clipping Amazon) will suggest you not get discouraged by the difficulties. And find a way of adjusting the path after you will create the clipping path. This way will help you with mastering the tool.
To create a clipping path, at first, you will have to choose the Basic Pen Tool. After that, you can choose the Path option from the drop-down menu bar. You will notice that in the application window that is on the top-left edge of the screen.
Create A New Path With The Pen Tool
There are some systems if you want to begin the drawing of your clipping path. At first, you will have to click on that, from where you need your clipping path to starting. You have to keep the whole method of drawing the clipping path simple and easy.
For this reason, find any straight line and the edge of it. Choose the starting point of your clipping path from there. We will help you with a simple example here. You will see an image.
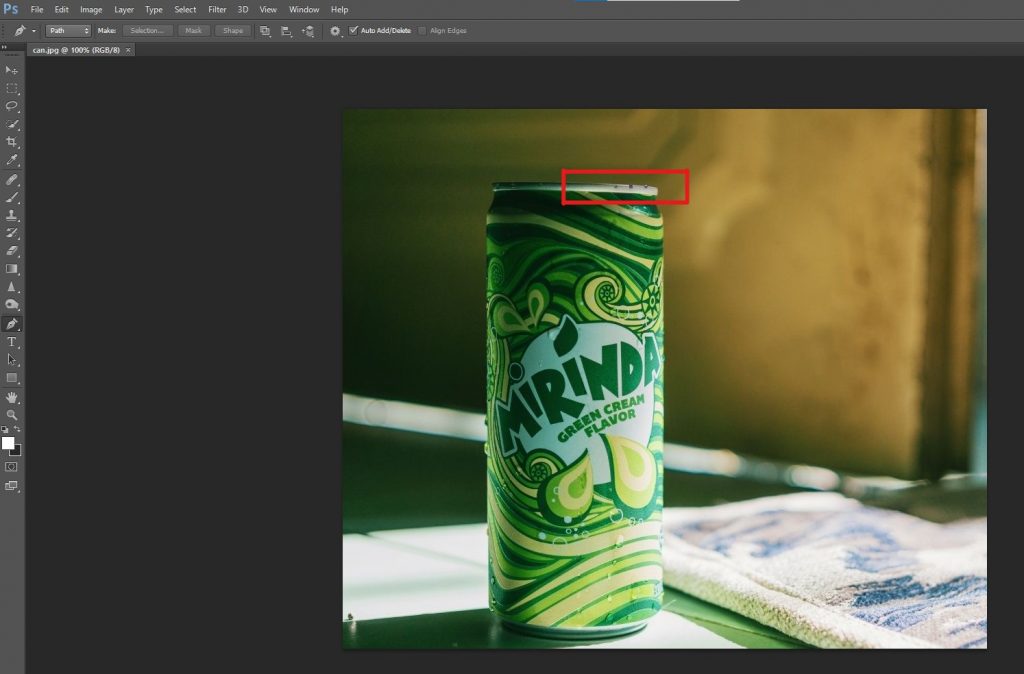
You will see the edge of the image as there is an arrow pointing towards it. Choose that edge of the image as the starting point of your clipping path. On the other photos, find an edge like that and start drawing the clipping path.
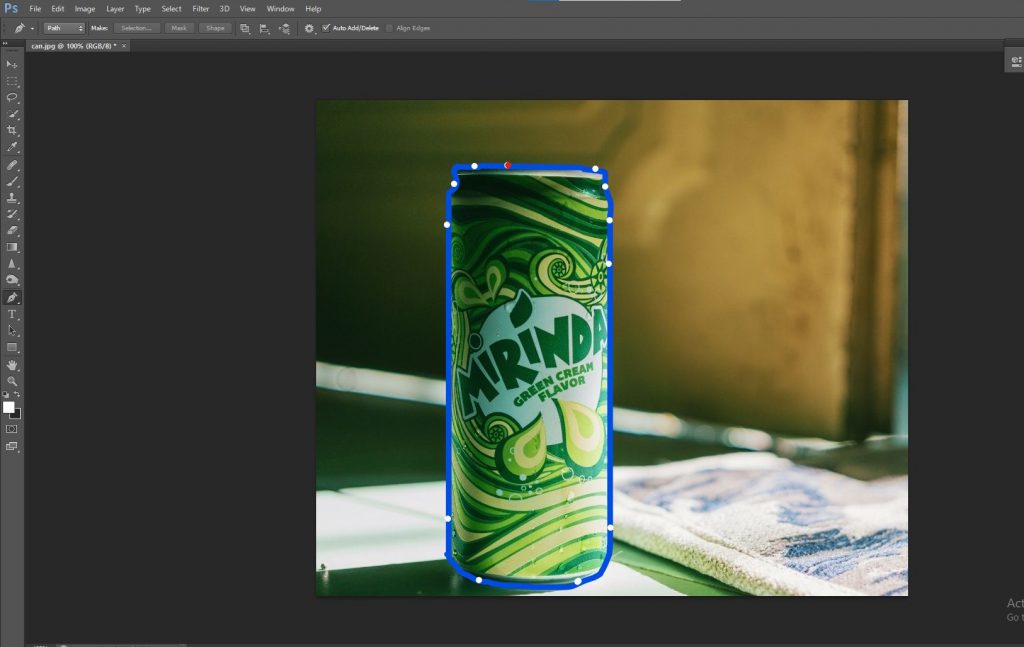
Then, you have to draw the first portion of the clipping path that you want to draw. For that, using the Photoshop Pen Tool, you need to click along the edge of that object or the photo.
In the photo here, you will be able to see a straight line. That is the first segment of your path. Just like that, you can make the whole clipping path area, which will become a selection at the end. There is another point that we (Clipping Amazon) want to mention. When you place the second path, you will see the work path.
Closing Your Clipping Path With The Photoshop Pen Tool
When you complete the selection, you will have to close that path. For this, you have to put the Pen Tool over the 1st point that you created for the selection. While doing so, you will see a circle there.
You will find the circle near the Pen Tool, and all you have to do is click on the point to close your clipping path.
How To Save Your Clipping Path?
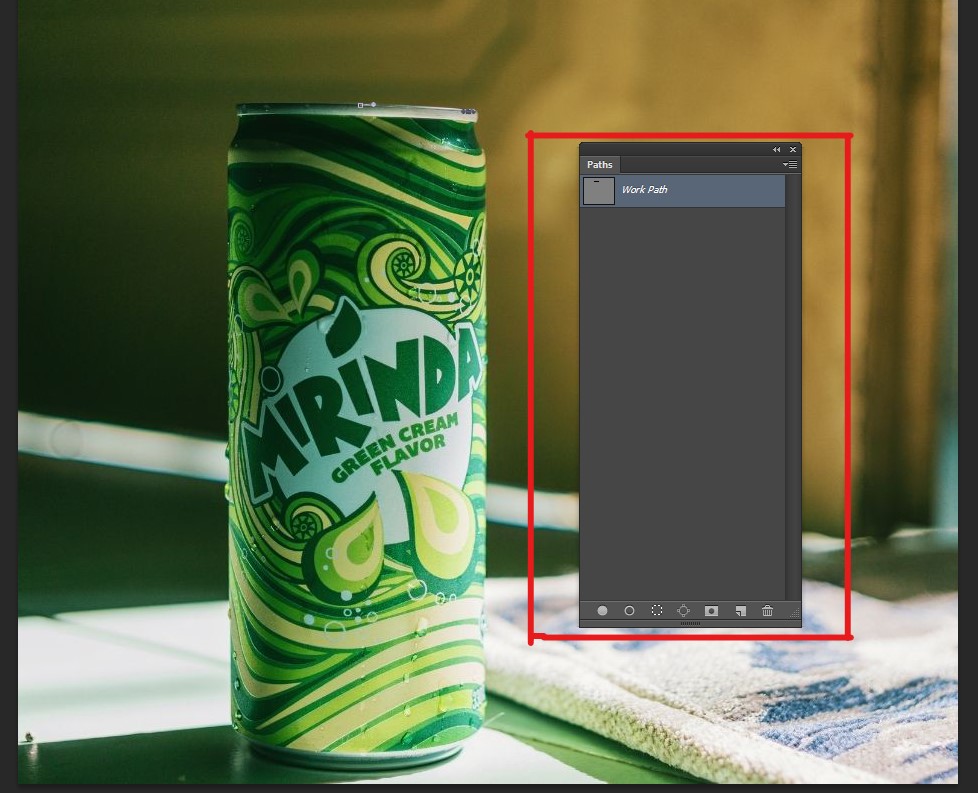
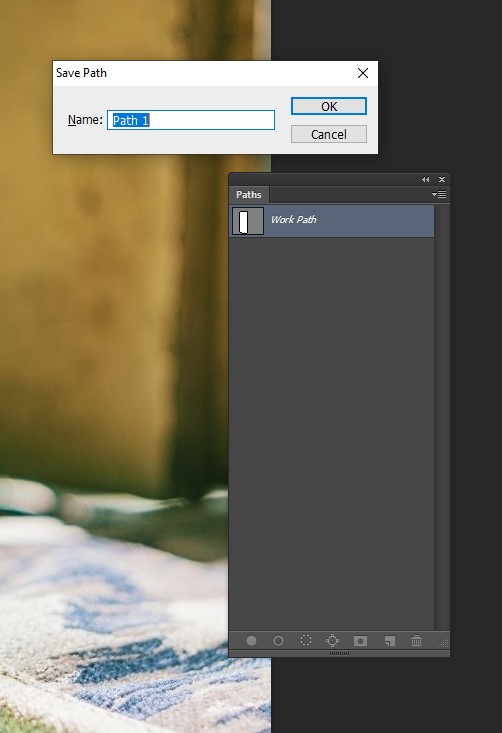
After the selection process, the next thing is how to save the selection that you created. To save the path is very much important. If you don’t save, everything will be lost.
Now we will show you how to save that path. You have to go to the Paths Panel. Here, you will see a new Work Path. Then you will need to double click on the Work Path. From here, a blank space will appear.
Now write down your path name. Then click on the “OK” button. You will understand the whole process when you will see the image below.
Last Words
Learning about the Pen tool, you will never face struggling to work with it in the upcoming days. If you are still confused or not getting enough time to edit your photos, take help from a photo editing service provider Company. Clipping Amazon is always with you.