Clothing product photography has become the most compulsory requirement for online stores. The garment business was not so effective before the twenty-first century. Today, we have smart internet, live storage, e-commerce marketplaces for creating and posting, etc. It is basically a golden moment to present through online stores. So, it is very important to take and edit apparel pictures for your online store business. And it also helps to spread your business smoothly and move forward to competitors. In this article, I am going to give you some apparel photography tips that will help you a lot in clothing product photography for e-commerce.
What is Clothing Product Photo
Clothing or apparel is the second basic requirement for people. As social people, people need clothing to cover the body and maintain fashion trends. Based on this need, a number of organizations have sprung up around the world. And, with clothing marketing, reaching out to every person in the world is impossible through physical marketing. So, the photographs made it easy. And, the pictures that you can use instead of clothes are called clothing product pictures. We’ll talk about apparel photography tips here that will help you with reasonable instructions.
Apparel Photography Tips
If you want to increase your sales, you must do perfect photography of clothing products for eCommerce stores. Although clothing product photography is not as difficult as jewelry photography, doing it perfectly is always a challenge for newcomers. Check out the step-by-step apparel photography tips to achieve perfection.
Get Your Clothing Product Ready
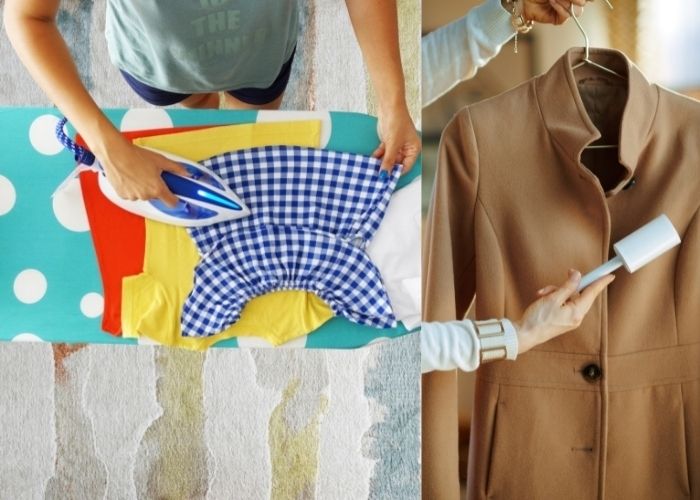
- Dust removal by lint roller or stiff brush: Clothing should be dust or dirt-free before photography. So, use a clean cloth and remove dust or unwanted things with a lint roller or stiff brush.
- Remove unwanted elements: Be sure to delete labels, price tags, stickers, etc. before the photoshoot. You don’t need them in photographs. They are even confusing for a good presentation.
- Iron: Iron the garment to look smart. Even fold marks can damage the presentation. However, you can also do this by editing photos. However, prevention is better than cure.
- Masking tape for shaping: If you use a mannequin, use masking tape to maintain the shape of the garment. Try your best to fit the dress. Be sure to avoid creases when applying masking tape.
- Use invisible pins and clips: You can use pins and clips to fit clothing on a mannequin. Keep pins and clips secret so they are not visible in photographs.
Decide on how you want to display your Clothing products
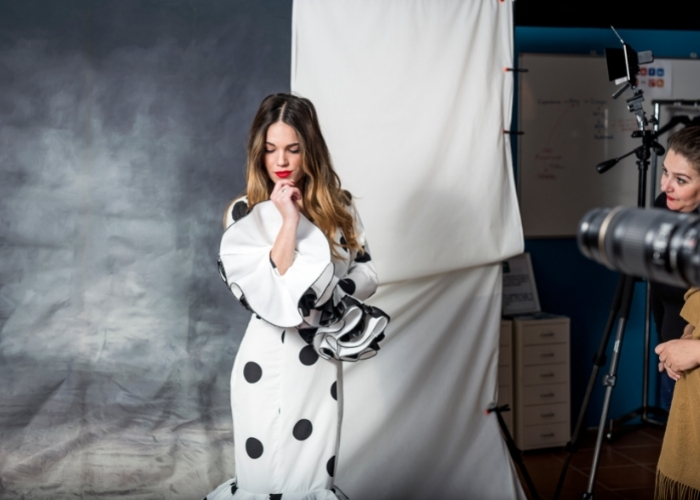
Costume Photography in Live Models: Using live models for costume photography is the best way to present clothing. Models are expensive and in demand. Still, the output is noticeable with proper photography and editing.
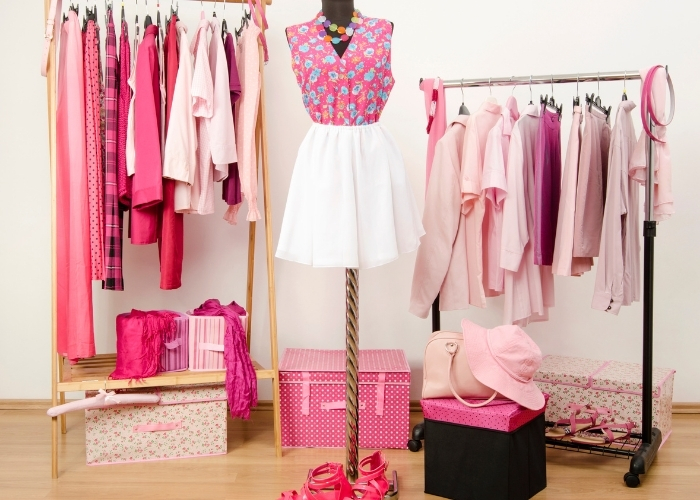
Using a Manquin for Clothing Photography: Manquin is an affordable process in clothing product photography. Also, it is a one-time investment. Thus, the Mannequinuse for costume photography comes in second place. It is possible to give the outfit a smart professional look by removing the mannequin with the Ghost Mannequin process of the photo editing service.
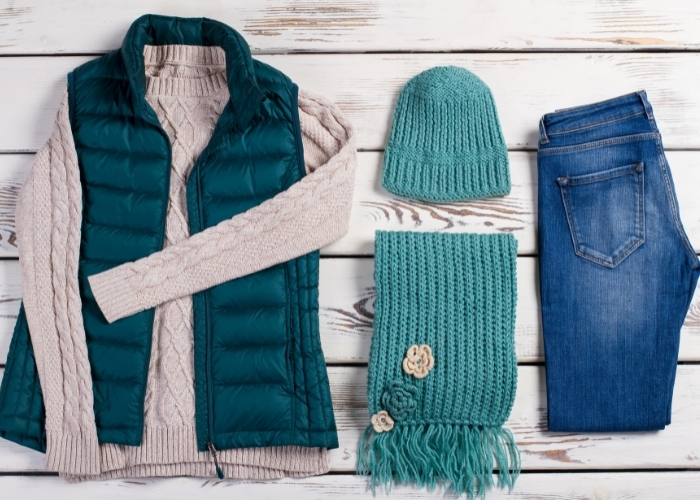
Flat Lay Photography: Another way to present costume photography by flat layer. You can use a large space where clothes can easily lay down. Also, you can add another folding version of the same dress to make the dress look better.
360 ° Costume Photography: 360 ° Costume Photography is a great way to present clothing. Multiple shots from different angles can give the best position while maintaining geometric differences. Later, by editing the photos through the packshot, you can put a movable image.
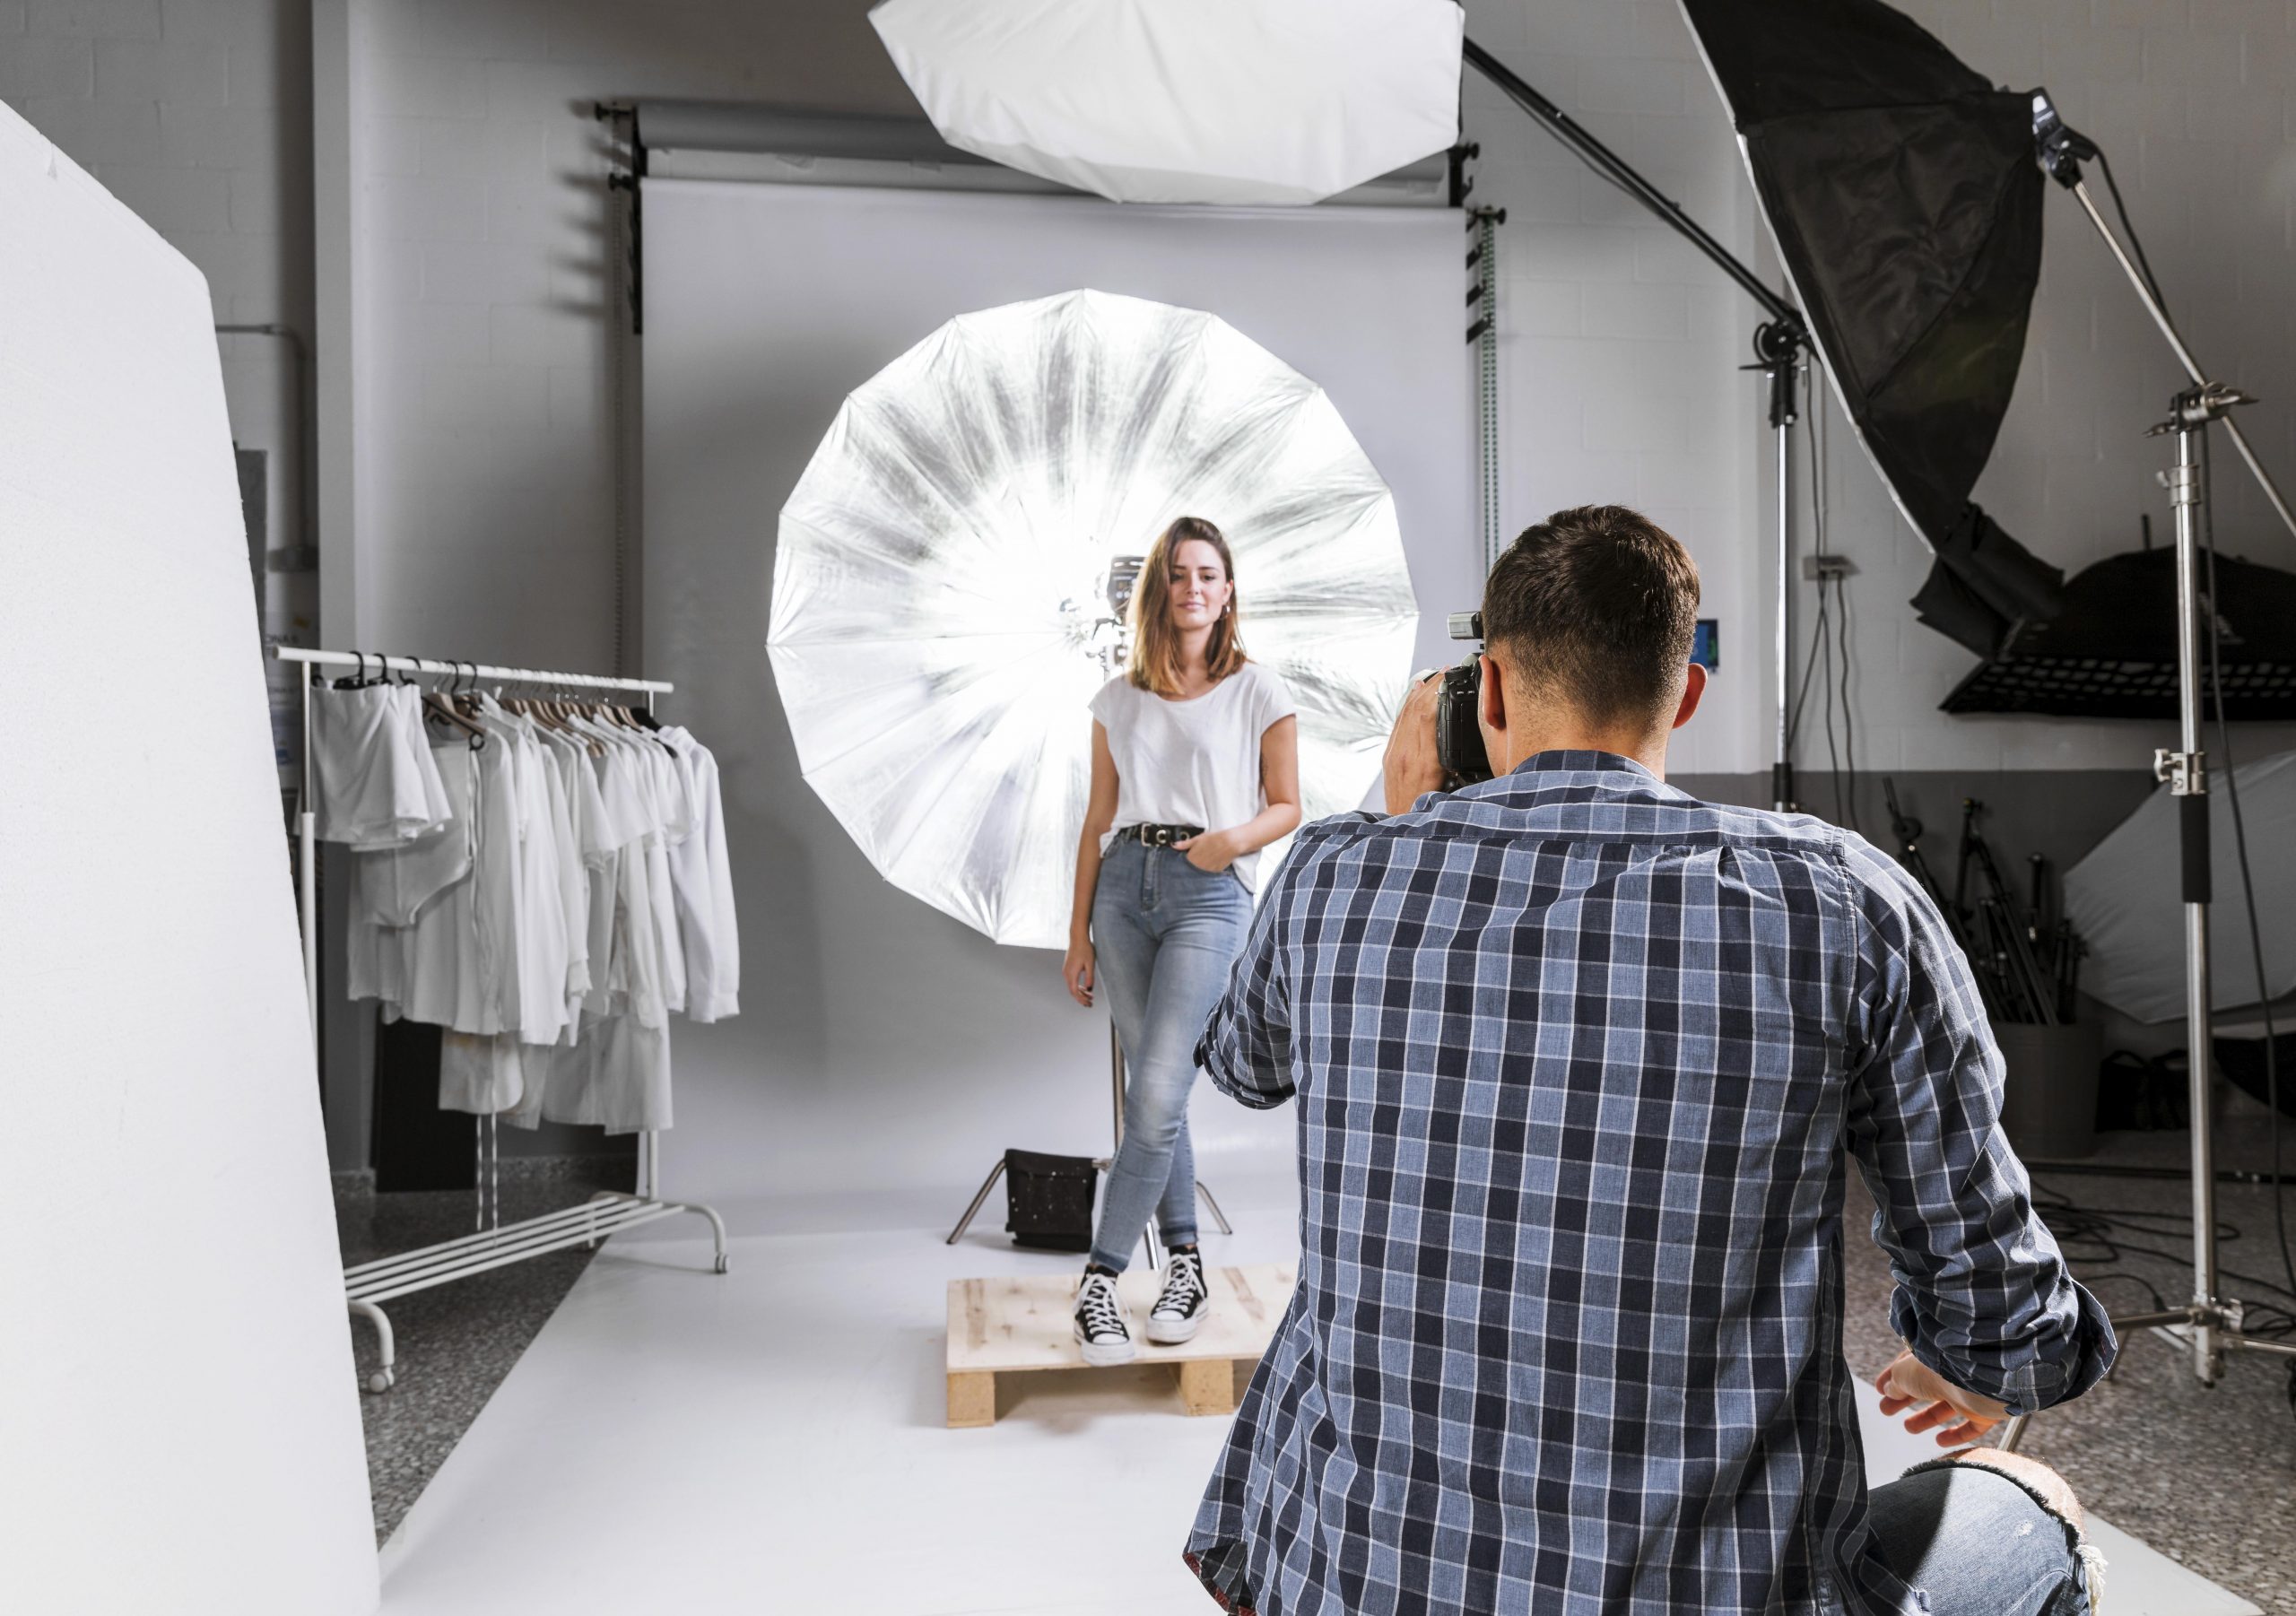
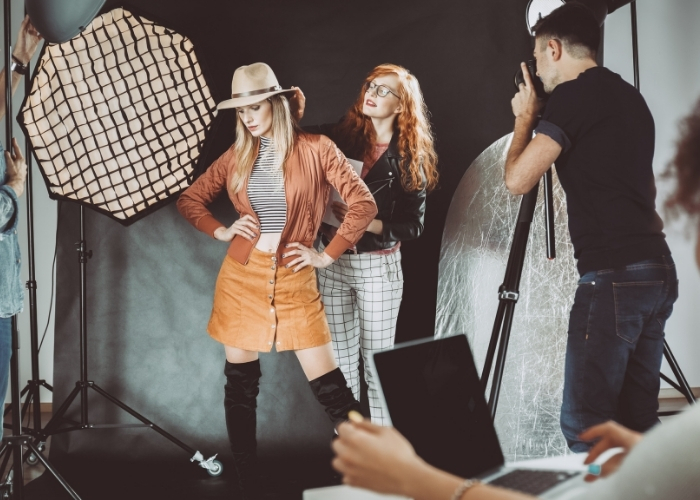
Set up your photography studio
Your Clothing product photography studio could be professional, or just an extra space at the back of your store. As long as you have the right camera and lighting, it really doesn’t matter.
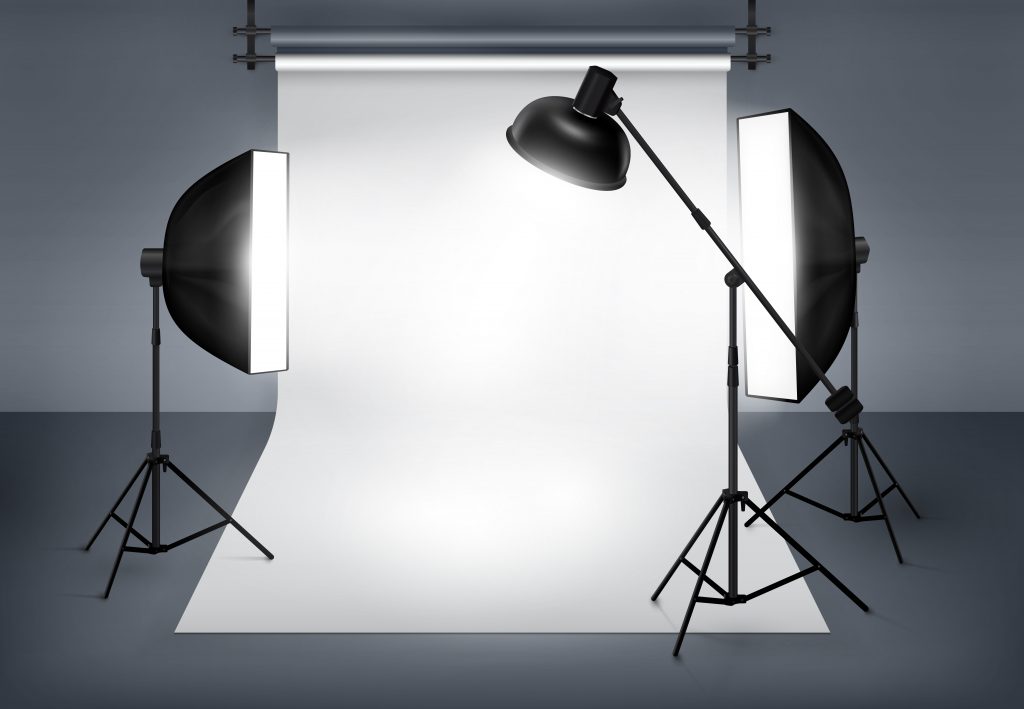
Set up your backdrop first. Once this is done start placing your lights and camera. Three-point lighting is best for costume photography.
To get started, place a light next to your camera and direct it towards the mannequin, this will create the key light.
The second light will act as a fill light and should be located at an angle of 45 degrees to your standard and further away from the first key light.
Finally, the position of the remaining light should be between the mannequin and the backdrop.
The tips above are a good guide to how your camera, tripod, and lights fit best compared to your model or mannequin.
Check your camera settings
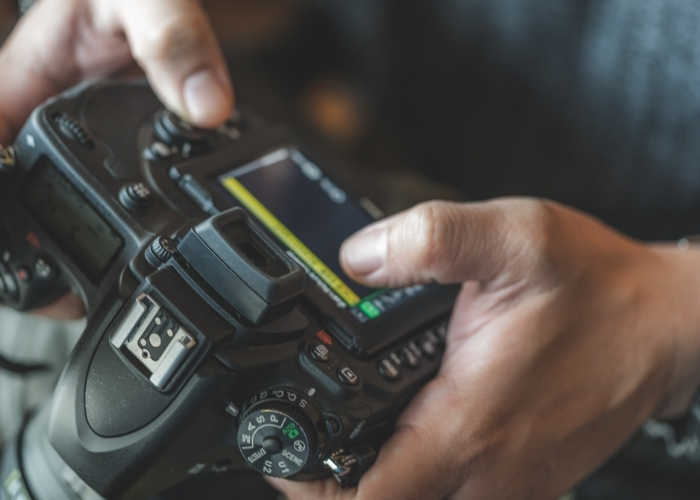
When setting up your camera, there are three things you need to pay attention to – aperture, ISO sensitivity, and shutter speed.
- Aperture: For costume photography, shooting at a high f / stop between f / 8 and f / 11 is ideal. This will help you get more focused shots on your clothing product.
- Shutter Speed: Shutter speed refers to how long your shutter stays open. Ideally, you should set it around 1/125 when taking pictures of clothing product.
- ISO Sensitivity: Standard ISO settings range from 400 to 800 when photographing clothing. This will depend on what type of light source you are using. If you are using artificial illumination, set your ISO between 600 and 800 instead, allowing you to reduce noise.
Start Taking Your Clothing Product Photos
Now is the time to take some action. If you are still reading, I assume that you have followed the steps mentioned above and decided how you want to sell your clothing products online.
Make sure your camera is stable. Use a tripod as it will keep your camera still and allow you to shoot clear and sharp images of the product. Place your camera on a safe or flat surface if you do not have a tripod.
To make your clothing product photos more effective you can consider a few photography techniques that we are going to share with you below.
Get An Effective Framing
Your model or mannequin is indispensable for shooting a clothing product photo and the result of your product photos mostly depends on the framing. For clothing product photos, close shots are more desirable on e-commerce platforms.
When capturing product photos, fill 80% of the frame space with the product
Use optical zoom instead of digital zoom because digital zoom reduces image quality and gives you a lower quality image.
Use a timer when photographing a product otherwise, there will be no focal point and your image will look grainy and noisy.
Mark The Spot
This is important to look for if you are working with a model or mannequin.
With the help of mannequins and models, you have to identify the place where you got the perfect shot at once or it will be very difficult to find it again whenever your models or mannequins are moved from the spot.
In particular, when you work with mannequins you need to move your mannequins more than once to change the direction of the cloth and if you do not mark the place at that moment you may lose it and you will have to waste some of your time again to find it.
Always mark the place where you get the best output for your product photos.
Close Shot
Some close shots of some parts of your clothing product can really make your store stand out. Taking close-up shots of the neck, collar, cufflinks, etc. increases the credibility of your outfit.
It shows viewers that you are proud to highlight every detail of your outfit.
In fact, if you have details of clothing, close shots are a must. You can only use your own hands if you have difficulty lowering your tripod too close to clothing.
While taking photos with your hands adjust the shutter speed to avoid blurring.
Full Shot
A full shot is basically a whole dress image in a one-frame. full shots work just like close shots, as they highlight multiple features of the fabric. There is no doubt that photography for all costumes requires full shots.
Editing Clothing Product Photos
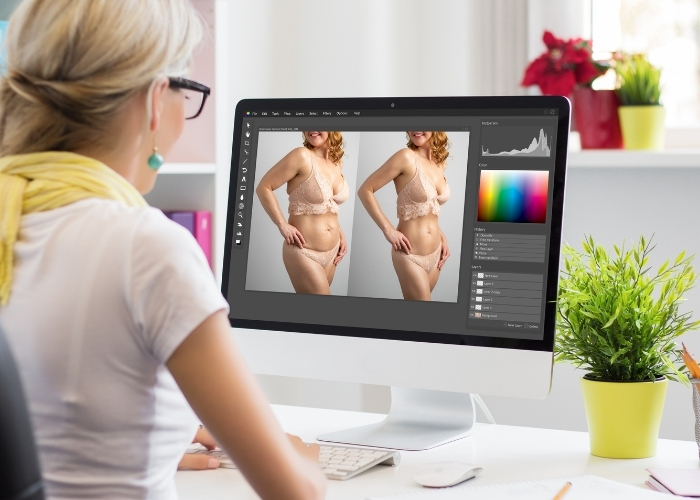
Once you’ve finished taking pictures of your products, the Next step is to edit your clothing product image to make them all looking consistent for your online store.
Your post-production process should consider how you want your photos to look in your e-commerce store. Make sure your photos aligned, white background, cropping, and color correction to ensure consistency. These Apparel Photography Tips can be called the last step of Clothing Photography
- Separating costume photos: A common way to edit costume photos is to separate the subject from the background. You can use Background removal, clipping path, masking, or some other method for this.
- Retouching: Photo retouching is an important part of editing where we take care of impurities. Clothing Product Retouching for clothing and models is inevitable.
- Ghost Effects: The photos of the costumes on the mannequin don’t look good. However, if we apply ghost effects by editing, the costume will have a smart blank look.
- Color correction: adding some vibration or making the pictures of the dress attractive; Color correction is a great way. If necessary you can change the theme of the dress by it.
- Color change: Clothing product photos often require color change editing to present the same clothing in multiple colors. Although it is a part of color correction, you can change any specific region.
- Post-processing: Post-processing is all types of photo editing after capturing clothing photos. So, whatever changes you may need for clothing product pictures, you can get it.
- Image cropping: Photographs of clothing may be incorrect in position or angle. So, you can use image cropping to correct the angle and cut off the unwanted edge areas.
Conclusion
Clipping Amazon has helped thousands of clients transform their high-quality photos into digital masterpieces. Our team of professional photo editors, with the ability to edit in powerful programs like Lightroom and Photoshop, make sure they have the skills to turn your Clothing product photography images into truly impressive works of art! Contact us today if you want to use our photo manipulation, photo retouching, photo post-processing, Ghost-mannequin, and other image editing services.
Keep clicking as much as you can. Increase networking. Maintain good relationships with people. You can certainly be a good and qualified Clothing Product photographer. Keep the above Apparel photography tips in mind and move on. Remember that just clicking on a good one will not get you a good picture. After taking a picture, editing it is much more important. So don’t forget to take the help of any good Photo Editing Company