Photoshop is an amazing software to create different effects and have fun. Photoshop Dripping Effect is a kind of effect that you can create for fun. So, in this article, I am gonna guide you through the process of creating the dripping effect in photoshop and have fun together.
Photoshop Dripping Effect Steps
It may seem a little tough at first and you may be overwhelmed. But Believe me, you will have fun creating this effect and it’s not that tough. So, let’s walk you through the steps–
Step 1
At first, open the image where you want to create the effect. To do so,
- Go to File from the top bar
- Then click on Open
- Select the image
- Hit Ok, the image will be opened in photoshop.
You can simply press Cntrl+O to open an image.
Step 2
Now, you have to remove the background if there is any. Therefore, you can use any selection tool. So, I am using the Quick Selection Tool.
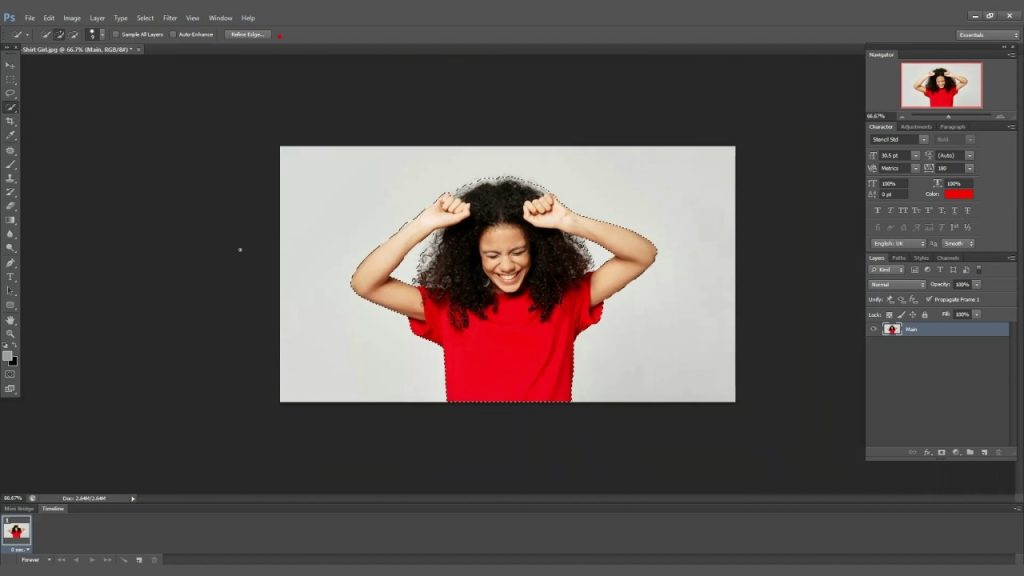
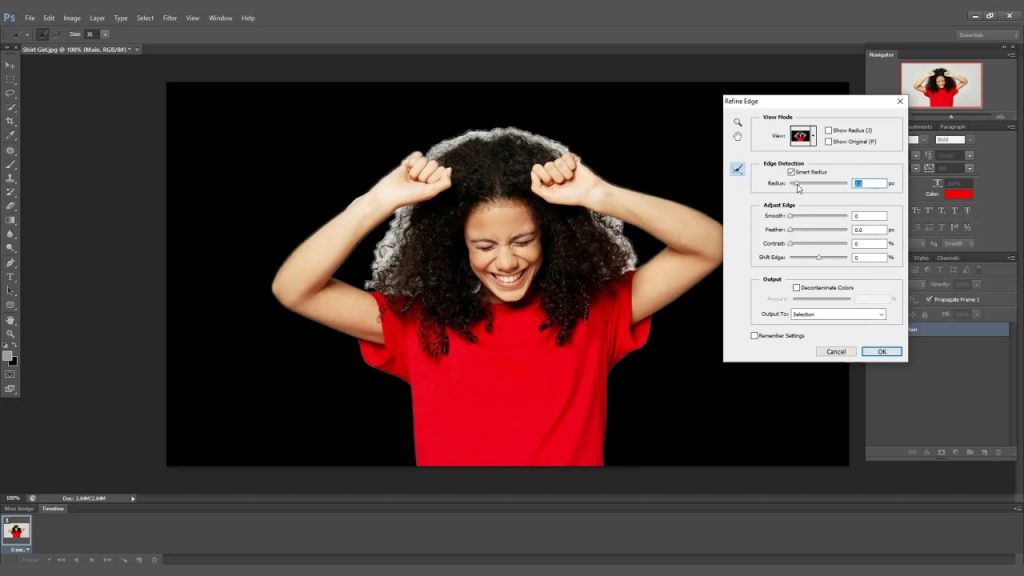
After the selection is done, you have to use the Refine Edge tool for making the edges smooth. You can see the edges are not smooth.
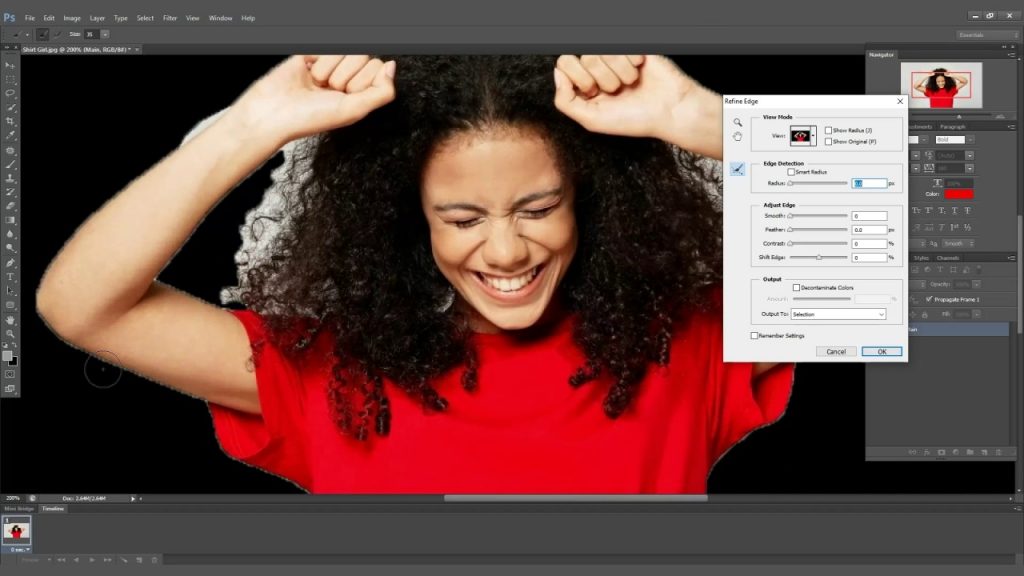
At first, select the On Black option from View Mode. Then, tick mark on the Smart Radius from Edge Selection and move the bar a little bit to the right. You will see the change to the edges. The edges will be more smooth than before. But, see the hair is not smooth yet. So, we have to paint the area to make it smooth. It will make the photoshop dripping effect more smooth.
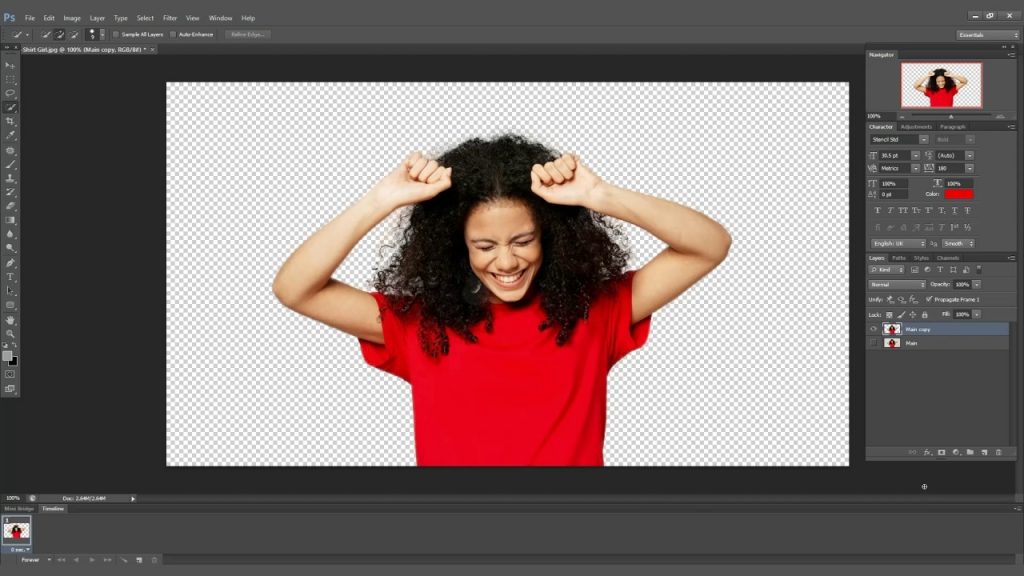
As a result of the painting, the hair portion will be smooth. Now, In the Output section tick mark on the Decontaminate Colors and choose “New Layer”. Hit ok and certainly, You will see the background is gone.
Step 3
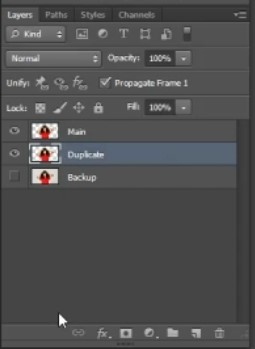
You should rename the layers. It will make your editing easy. So, I am renaming the layer with the background as backup, and the layer without the background as the main layer.
We have to make a duplicate of the main layer. Press Cntrl+ J to make a duplicate of the layer. Rename the layer as duplicate and drag it under the main layer.
Step 4
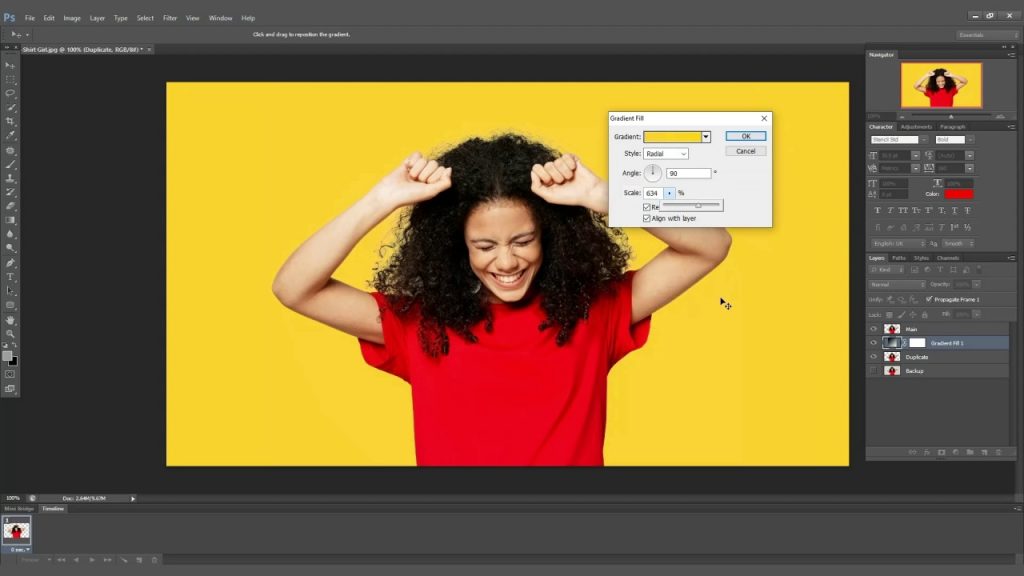
Now, I will add a gradient background so that it focuses on the photoshop dripping effect. To do so-
- Go to the Adjustment Layer at first
- Select Gradient from there. A Gradient Fill box will pop up
- After that, Click on gradient fill, select black and white preset from there and choose the colors.
- Select the Style as Radial, Check mark on the Reverse option and Scale a bit.
- Once you are finished, hit okay. See how gorgeous the background.
Step 5
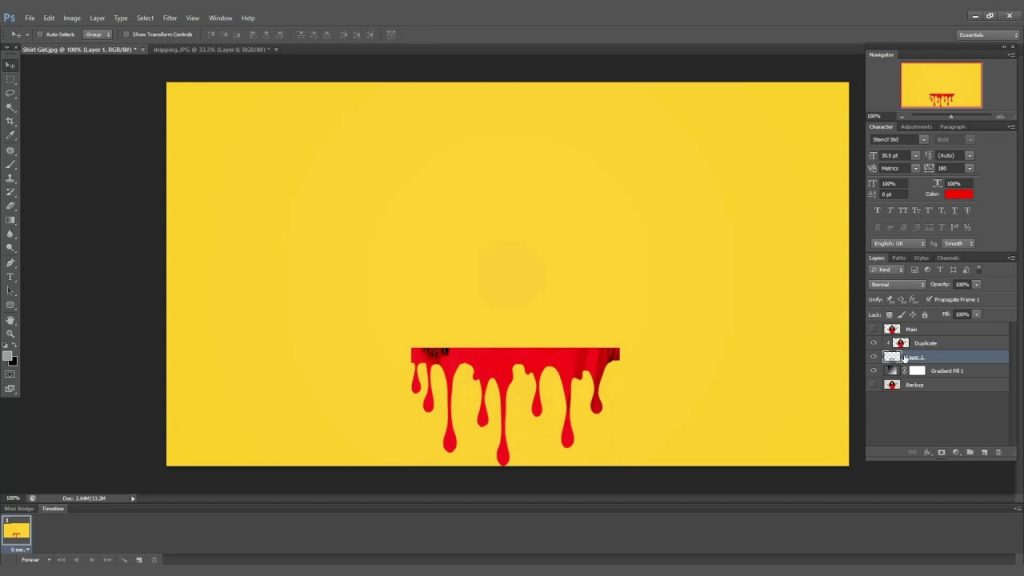
It’s time to bring the image of the photoshop dripping effect. You can create the effect with the brushes. But that is a bit complex. So I am bringing an image to create the effect. You can search in Google. There you will find a lot of free images which you can use. Open the dripping effect image and adjust it to your preferred size.
Drag it under the duplicate layer. Now, select the duplicate layer, click the right button of your mouse, and select Clipping Mask. Toggle off the eye from the main layer. So, You can see a mask it create. You can adjust it if you want.
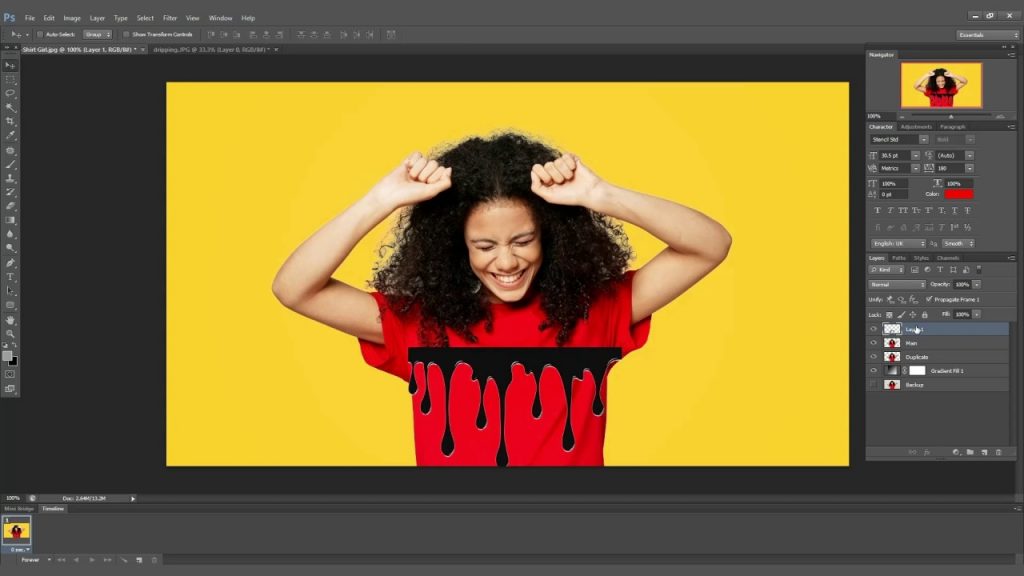
Step 6
Now, we will create a layer mask at the main layer and remove the area where we have created the photoshop dripping effect. To do so,
- Click on the main layer to acivate it
- Then click on the Add Layer Mask option. You will see a mask on the main layer.
- Now, click on the mask and activate it.
- Select the brush and set the foreground color as black
- Time to paint over the area. You will see the area are removing. Do it slowly.
- If by mistake you remove a bit more, swap the foregraound color from balck to white and repaint the area and the removed portion will come back
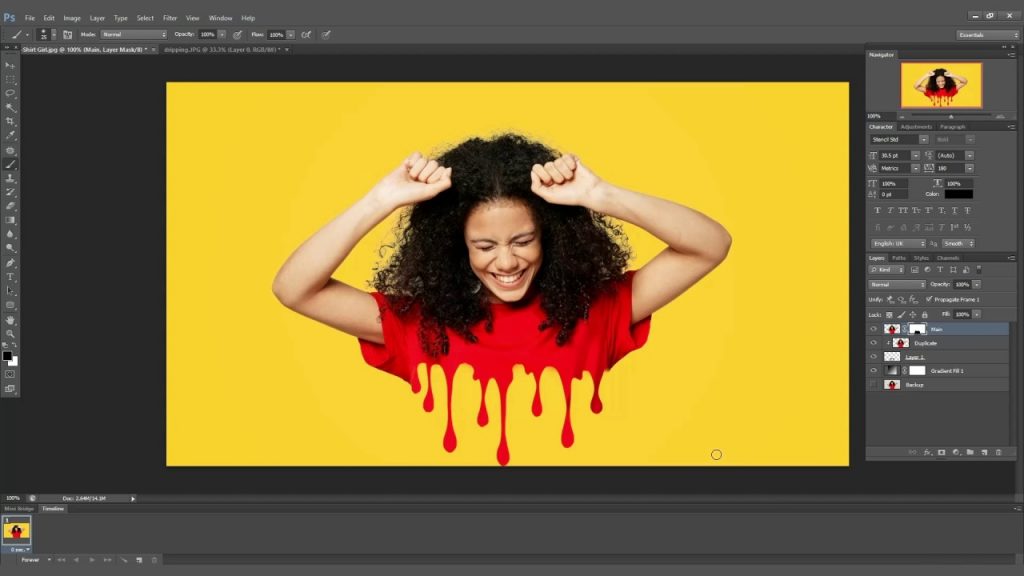
At this point, you can see the photoshop dripping effect is created. But I will add some splash around the image to make it look more attractive. So, let’s add some splashes.
Step 7
To make the effect more vibrant, I will now add splashes. Therefore, I am bringing the splash image and dragging it under the dripping effect layer. I making a duplicate of the splash image by pressing Cntrl+j and setting that in the corner.
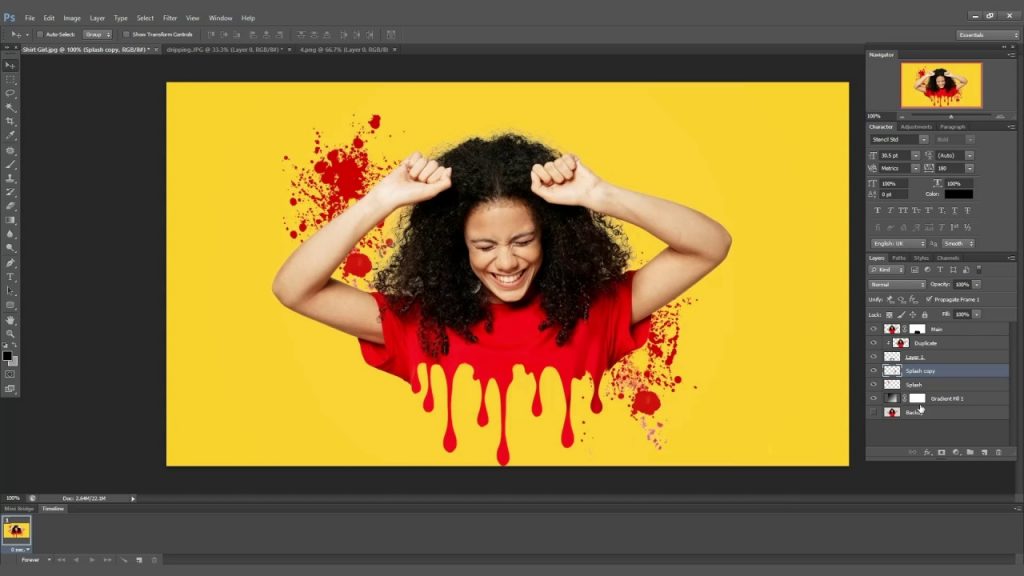
So, the photoshop dripping effect is created. It’s your turn to try and let us know how did it go in the comment section. I bet you will have fun doing this. Watch the Following video for learning the steps-
Hope you have enjoyed and learned something new. If you want to learn exclusive photoshop tutorials, you can come back to Clipping Amazon. We are a photo editing service provider. Therefore, if you need any image editing service, you know where to find us.